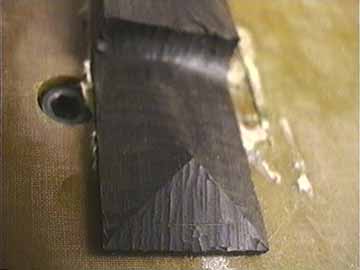
Here's my favorite template. I spent quite a bit of effort hand filing this baby out of a hunk of steel:
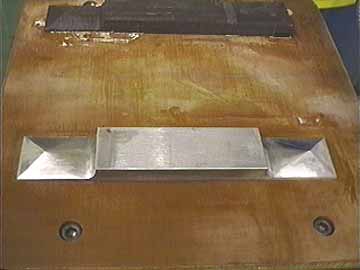
It's the exact finished size and shape of the standard Martin 1" x 6" pyramid bridge as used in the 1920s. I left the center section 3/8" high and square so I could customize each bridge to fit its guitar appropriately. I'd copy the original exactly, but usually I'm replacing a damaged one. This way I can contour the center section to accommodate a new neck angle, or whatever.
My work table is a piece of 1/4" phenolic that I screw to the machine's 1/4" steel table. I have my steel template screwed on from below, and I simply glue my bridge blanks to the table. If I use cyanoacrylate glue, catalyst and a piece of paper between the blank and the table I can secure the blank instantly and pry it off safely after it's shaped.
I do most all my cutting with a plain two flute end mill:
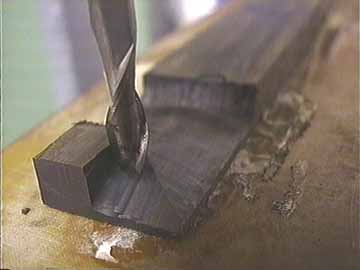
It cuts cleanly and fast.
My stylus is a brass rod turned to 1/4" diameter to match the cutter bit:
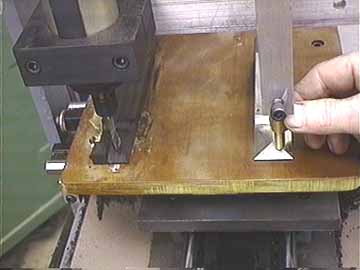
The brass stylus won't scratch my steel template and glides over it easily.
Here I'm copying an original ivory bridge:
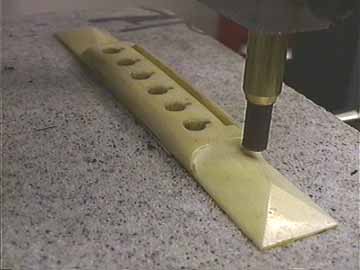
This bridge is smaller and more delicate than my template. I'm using a Delrin stylus to avoid scratching the ivory. I've glued the bridge to this Corian table with a piece of heavy paper between it and the table so I can pry it off when I'm through. If I drop down to a smaller bit and stylus I can duplicate the bridge pin holes. I'll leave the saddle slot for later because I prefer to do that job after the bridge is glued on the guitar.
Here's the result I get using just the standard 1/4" end mill:
I just have a bit of hand sanding with 220 grit to smooth out the profiles.
As much as I like hand carving Martin pyramid bridges (I really do) this machine has saved me a few headaches. Especially when I'm carving an ivory bridge, I worry about that little slip that will force me to start over! With my 3-D bridge carving machine I don't sweat as much. . .