
For 1920s Epiphone
Banjo Nuts
© Frank Ford, 2008; Photos by FF
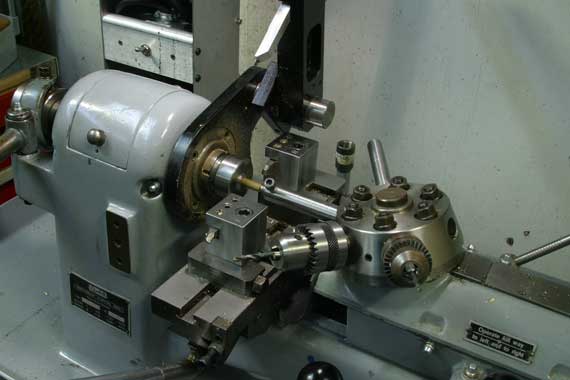
This weekend I did my first "production run" on my little Rambold turret lathe. It's a swell old tool, bigger than a jeweler's lathe, but built along the same lines with the cantilever bed. Despite its diminutive size, this machine takes regular 5/8" shank turret tools, and is very substantially built. In its current configuration it has a variable drive with a top spindle speed of 7500 RPM. An eBay purchase, it required a full rebuilding, but today it shines like silver and hums like a bee:

It's REALLY crowded in my small garage shop, so I can't stand back and get a good front view of the machine. Here's a shot from the other oblique angle:

That "tower" on the left is the control unit for the variable frequency drive that runs the three phase motor under the table.
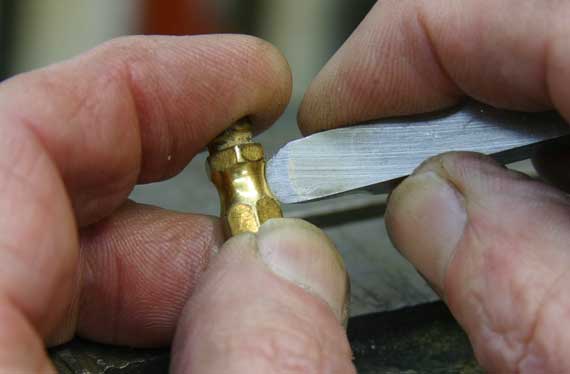
My first task was to grind a pair of "form tools" from high speed steel tool blanks to the negative of the profile of the turned areas on the original nut I was to copy. I simply ground them by hand until they fit the curvature:
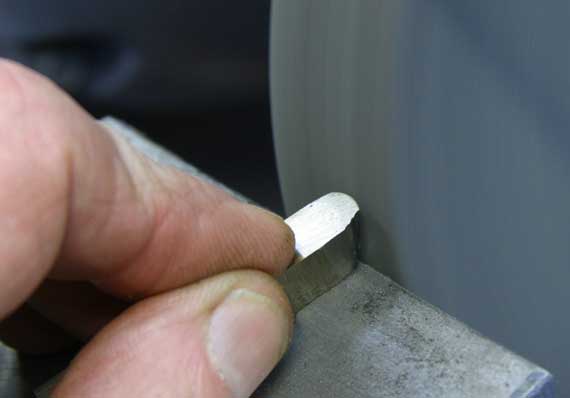
For the broad one, I used a regular bench grinder:
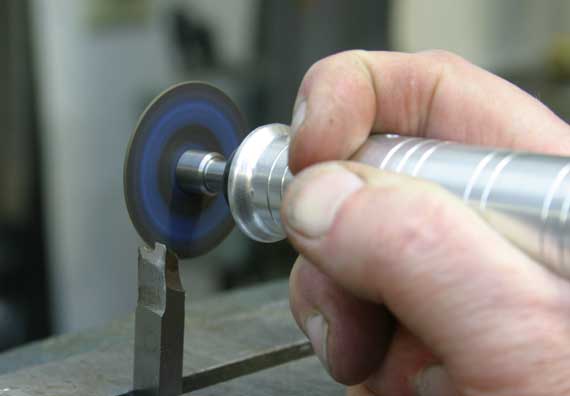
To produce the more complex shape, I spent some time with my Foredom tool with a carbide cutoff wheel so I could pick out detailed curves:
Before too long I had a nice fit:

I set the tools into the holders on the quick acting cross slide - the rear one cutting "upside down" and the front one mounted conventionally. Both tools have their cutting edges set directly on center.
Once I was all set up, I loaded the appropriate drill bits in the turret, adjusted everything and set about making brass shavings.
Here's Rambold in action:
1 - Move stock (9/32" hex brass) forward in the collet:

2 - Run the turret forward to press the stock with a stop rod so it goes precisely in place and lock the collet:
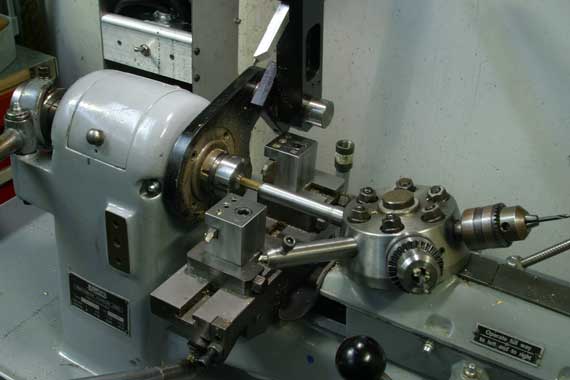
3 - Present second turret tool and spot drill:
The spot drill is just enough oversize that it leaves a nice little chamfer when the part is drilled.
4 - Run clearance drill halfway through the nut:

There's no need for dozens of threads in a banjo nut - by convention they are generally drilled for clearance at the bottom. The turret has adjustable stops on all six positions, so each operation goes to just the preset depth.
5 - Drill for 8-26 tap:

This operation drills just deep enough to make a clear hole through the part, but not so deep as to start a new hole in the remaining brass. These nuts will be nickel and/or gold plated, and threaded after plating and polishing.
6 - Run in first form tool:

The tool is clamped close to the tool block, so you can't see it here.
7 - Back off the slide and engage second, "upsided down" form tool:
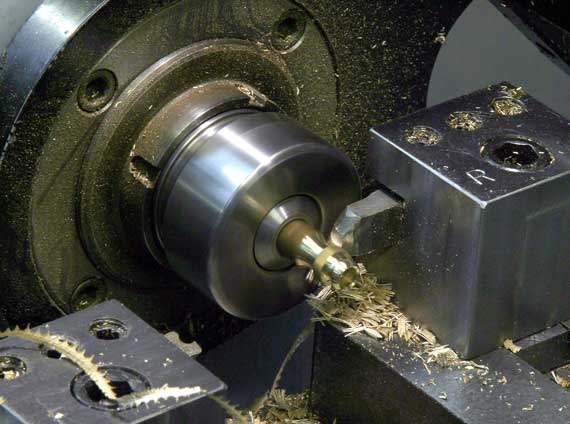
These closeup shots were a bit difficult because of space problems, so I didn't notice the focus problems at the time.
8 - Plunge parting tool and cut off the piece:
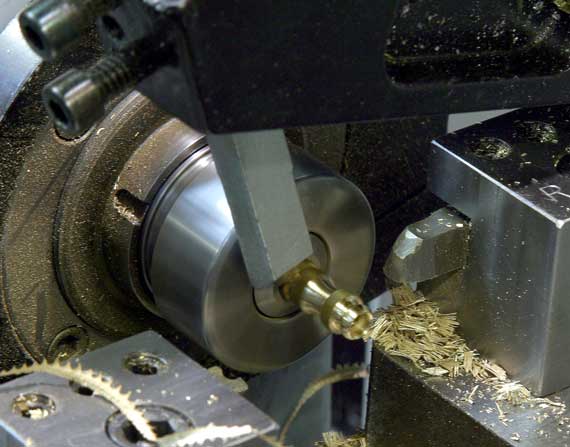
9 - Repeat 200 times.
Here's the final product:
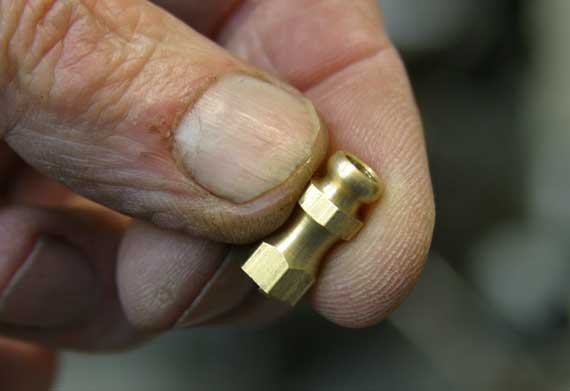
And it looks pretty much like a new version of the original:
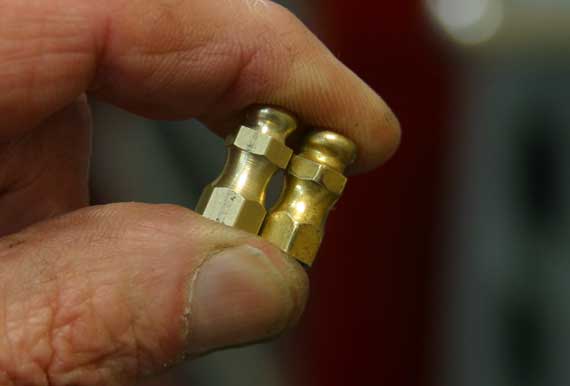
The original on the right is a deeper yellow because it has most of its original gold plating.
Off goes the batch into the tumbler for polishing:
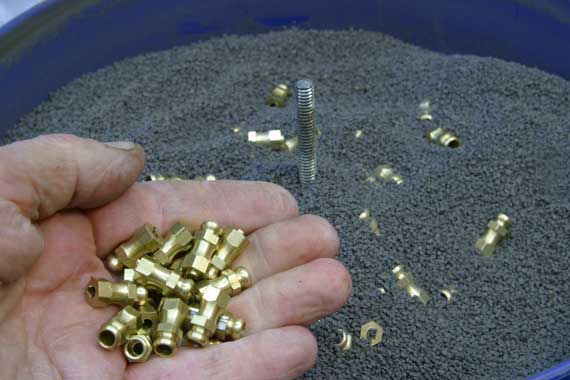
After polishing, I tapped the parts by holding the 8-26 tap vertically in the bench vise, and ran the nuts up and down using a chuck on my Makita variable speed hand drill.