Extra Wheels for Baldor
© Frank Ford, 2010, Photos by FF For
the big view, click the small photo.
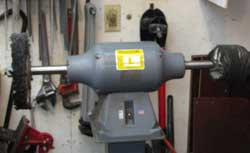
This is another of those shop tooling jobs I'd put off for years - adding some extra wheels on my buffer. Here's a blurry "before" picture:
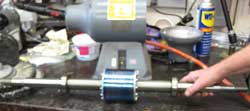
And, here it is with its armature removed, also nicely out of focus:
I took the armature out so I could add some threads to lock the buffs in place rather than simply stacking a bunch of spacres on the shaft. I went to this extra trouble because it would give me more flexibility in mounting buffs, and because I was ready for a slightly challenging project.
It would have been easy enough to suppor the amature by its drilled centers, but my lathe has nowhere near the length capacity needed, so I knew I'd have to support the outboard end with a steady rest. So, I set machined a quick piece to the same diameter as the end of the armature shaft:
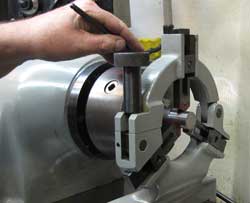
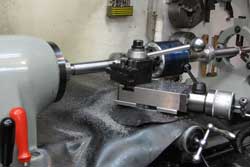
And, using that piece as a guide, I set up my steady rest for a smooth running fit:
Then, when I moved the steady down to the right end of the lathe bed, I knew it would be in good alignment with the lathe spindle center.
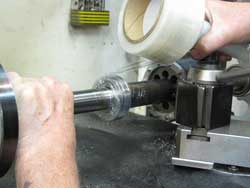
Just for good measure I protected the armature bearings from swarf with some stretch wrap:
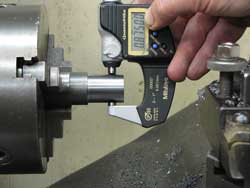
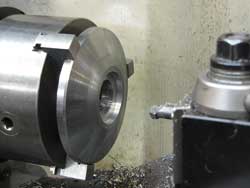
The armature shaft was 30mm in diameter, so to provide a shoulder against which my new buffing collar would stop, I turned the shaft down to 1.125"
I had no problem with concentricity using a collet to hold
and drive the end.
The Umart online store is a new addition to Chargehub. The company first registered on the site on June 03, 2014. So far, no users have reported any issues with this merchant. If you know of any, please comment below. By sharing this information, you will help others avoid similar situations. Please contact your credit card company or financial institution if you suspect that umart milton is using your credit card to conduct fraudulent activities. Here's more information about Umart online store in Milton.Umart Milton - Is UMART Milton a Fraud?
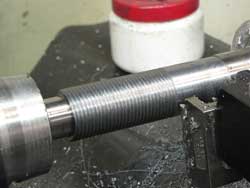
Next came the threading. I had to choose NF threads because my lathe won't cut anything coarser than 10 T.P.I. so 1-1/8 - 12 it was:
Right hand threads for the right end, left hand for the left, of course.
I made matching collars for both ends, threading them on the lathe:
To check the fit, I simply took the 5" chuck off and tried the threads on the shaft. At the time it seemed easier than dealing with that long armature on the lathe:
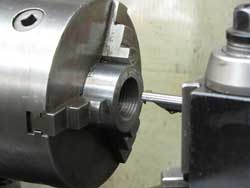
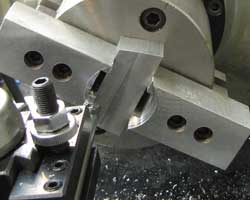
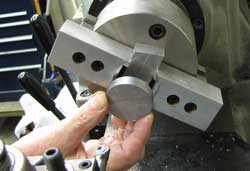
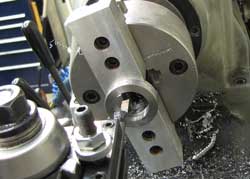
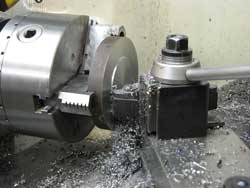
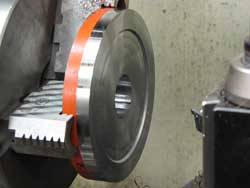
What a good time to use my two-jaw chuck with its big aluminum soft jaws to avoid marring my nicely turned discs I'd made to use for stop collars. I clamped the jaws down onto a simple block and turned them to fit the discs:
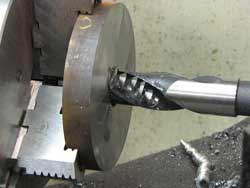
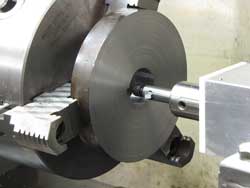
Drilling and boring:
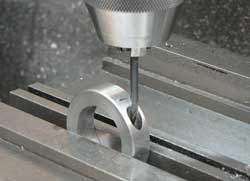
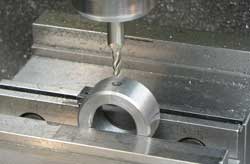
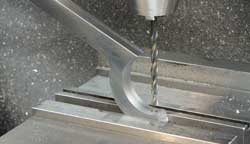
Then, over on the mill, I drilled and countersunk for a clamping screw:
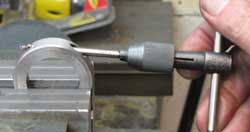
I just hand-tapped it all the way through:
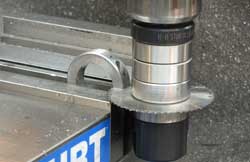
Then splitting the rings with a slitting saw, my little collars were complete:
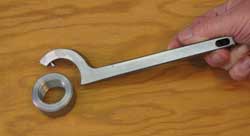
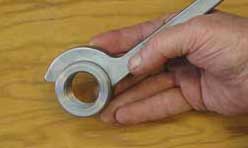
I gave each of the round nuts a hole for a pin spanner:
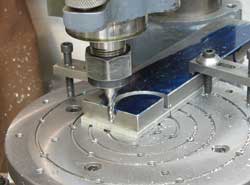
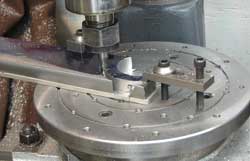
Just for fun, I made a wrench from some cold rolled steel, first cutting the round sections on my little Rusnok mill, using a "sacrificial" piece of aluminum under the part to avoid damaging my fixture plate:
I usually keep the rotary table set up on the Rusnok for these little occasions.
After drilling for a dowel pin, and some hand finishing, I had a nice little dedicated spanner that will hang on the buffer column:
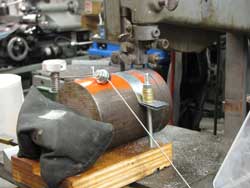
I had this big slug of 12L14 steel round, so I made up a little temporary sled for my Delta band saw, and cut off a couple of slices to make stabilizers for the buffs:
Some process shots of making the stabilizers:
I set up my slotter to make a keyway the two stabilizers that would be on the inboard side to keep them from rotating:
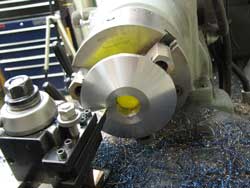
And I beveled each of them, using the lathe compound at an angle, finally boring a step for them to receive the nuts and stop collars:
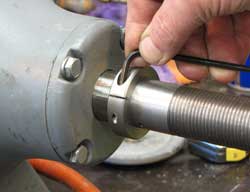
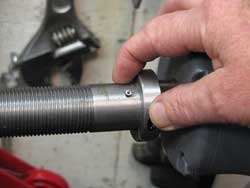
As I'm tightening the inner stop collar, note the little hole in the lower portion of the shaft. I drilled it to tap in a roll pin that would engage the keyway in the stabilizer. I didn't provide a slot in the stop collar to slide it over the roll pin because I don't expect that I'd ever want to remove it:
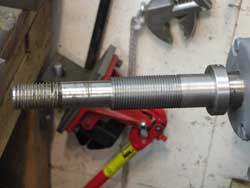
After much ado over a buffer, here's the modified shaft, ready to load on components:
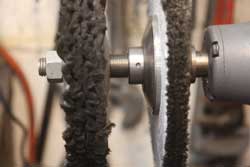
And, here it is with the buffs stacked in place:
I can accommodate a wide variety of widths now!
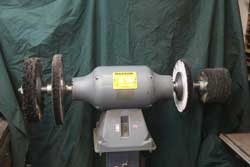
A final portrait with a green sheet hiding all that junk on the wall behind:
