

Ray's Outdoors is a leading outdoor leisure retailer in Australia. With 55 stores across the country, they stock the most widely-recognized brands in the industry, including Marmot, Coleman, Engel, The North Face, and more. They offer camping equipment, fishing tackle, clothing, and footwear to the outdoor enthusiast, and even offer a variety of luxury items under one roof. You can browse through their catalog and view the latest weekly ads for their latest offers.
Elevencom, a creative agency in Sydney, Australia, has developed the first rays outdoors campaign for a national chain of camping and outdoor stores. The company won the business at Christmas and is excited to launch a new campaign and slogan this summer. The campaign, entitled 'We're Always Ready For Any Adventure,' introduces a new slogan, "Believe in the Great Outdoors", and is backed by a series of in-store promotions and competitions.
|
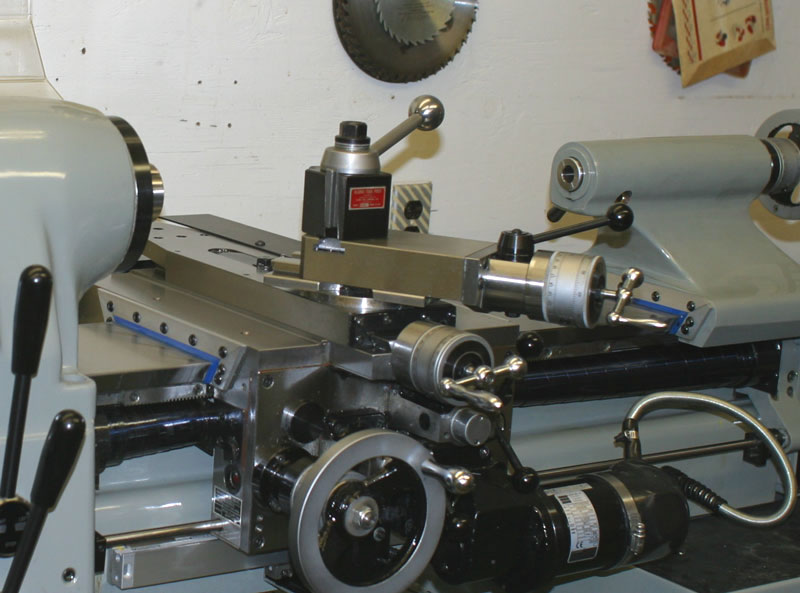
Here's a view of the compound with the QC tool post mounted. |
|
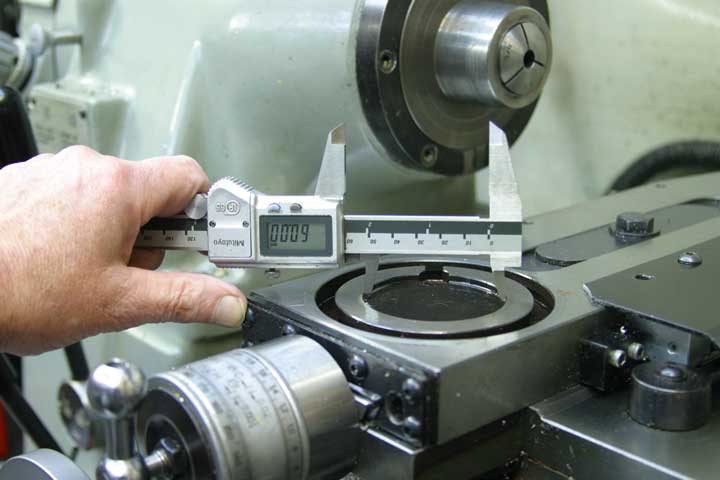
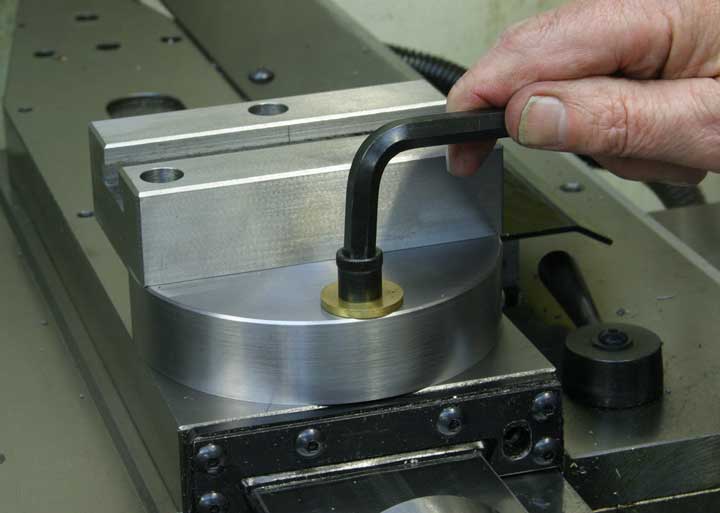
I removed the compound altogether and made some measurements to make an adapter. |
|
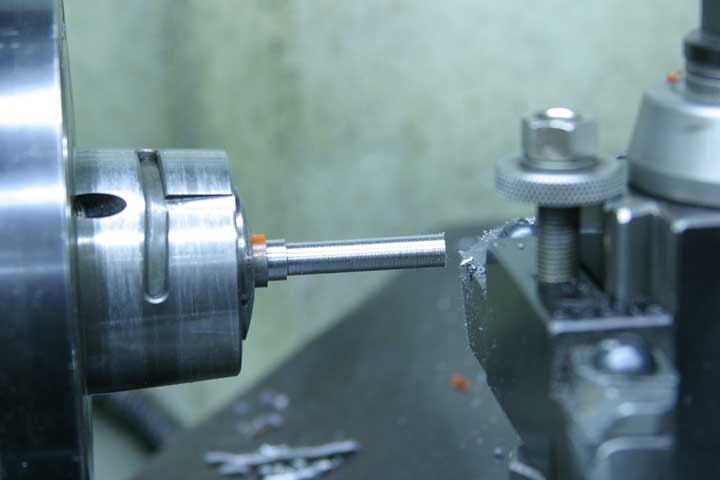
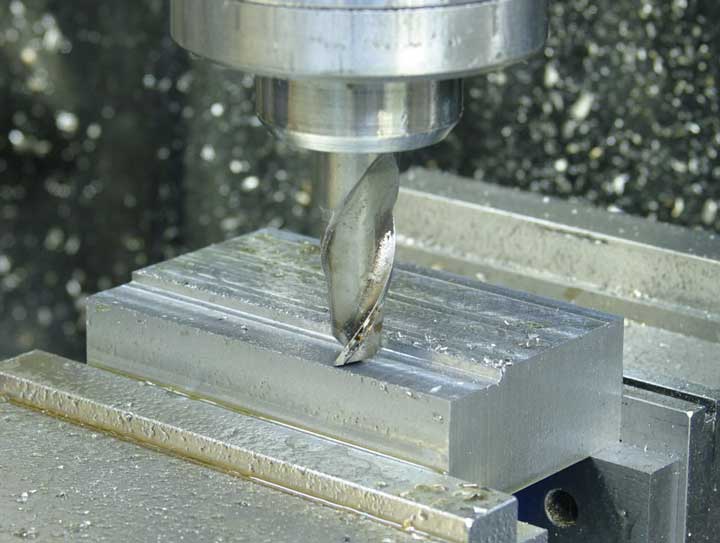
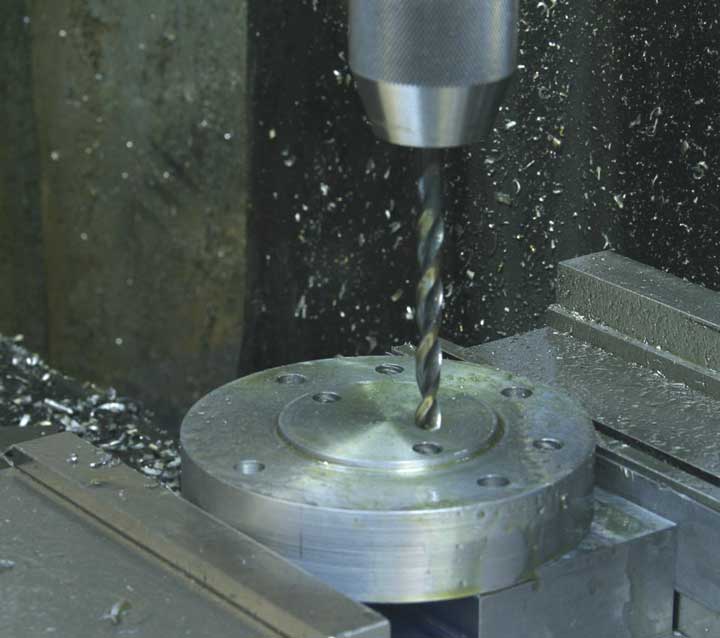
As it happened the only piece of steel I had at the ready was just big enough to cover the swivel area. It was a slice of cold rolled round. I had thought it would be good to make it oversize, but settled on the convenience of using what I had on hand. Sticking it in the six jaw chuck, I faced one side and trued up the diameter a bit. |
|
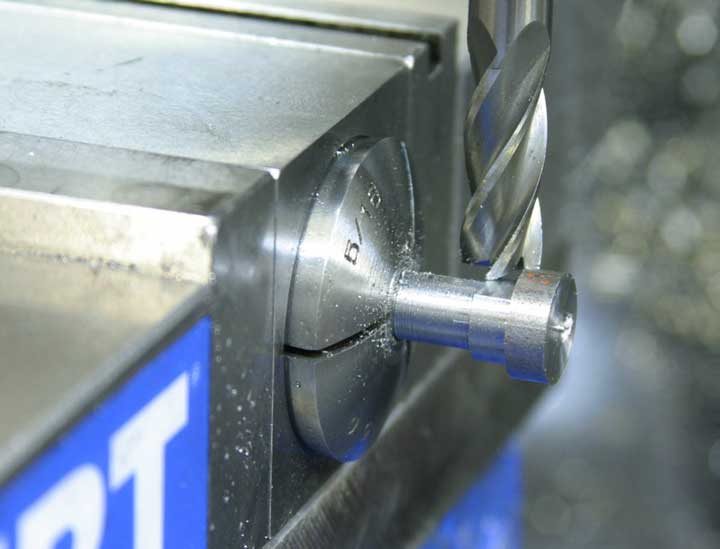
Flipping it around in the chuck, I used the "Set-Tru" screws to center the piece on my turned area so I could continue turning the diameter. |
|
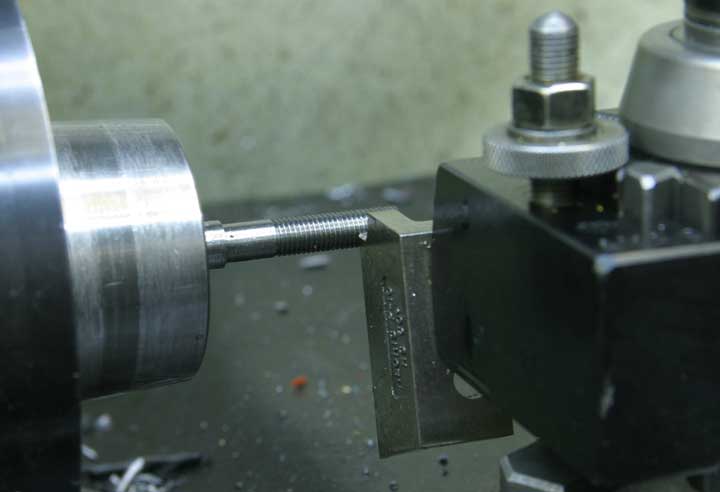
After I finished up the outside, I faced the surface and turned a "spigot" that would fit the central swivel area on the cross slide. |
|
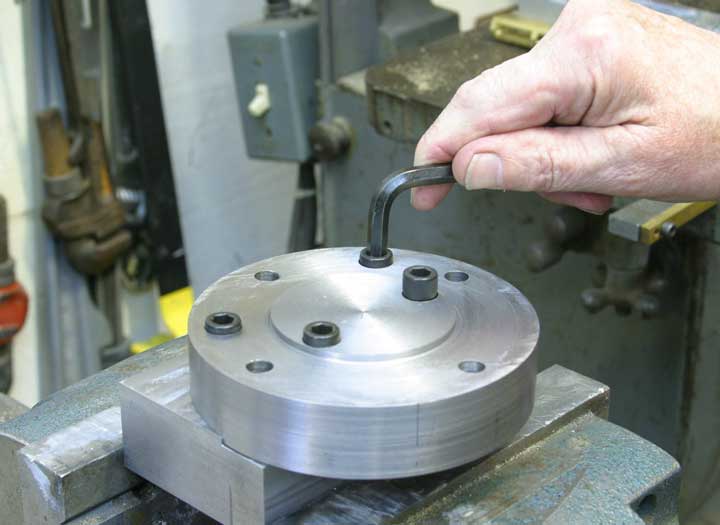
Next, for some mounting bolts. The original compound is secured by two bolts, and I figured to beef it up a bit, so I made four duplicates from cold rolled 1018 steel, first turning the bolt diameter. |
|
Then threading the ends. |
|
And finally, finishing off the heads to match the configuration of the original lock-down bolts. |
|
Now, if I'd had a big chunk of cast iron, I would have made the entire deal out of one piece, but since this was a "scrap box" job, I had to bolt together two parts. As usual, I was "designing" as I went, so I milled an arbitrary ledge across a section of the adapter plate. |
|
This is a hunk of steel, also from the scrap box. I milled a matching ledge on it to fit up with the adapter plate. |
|
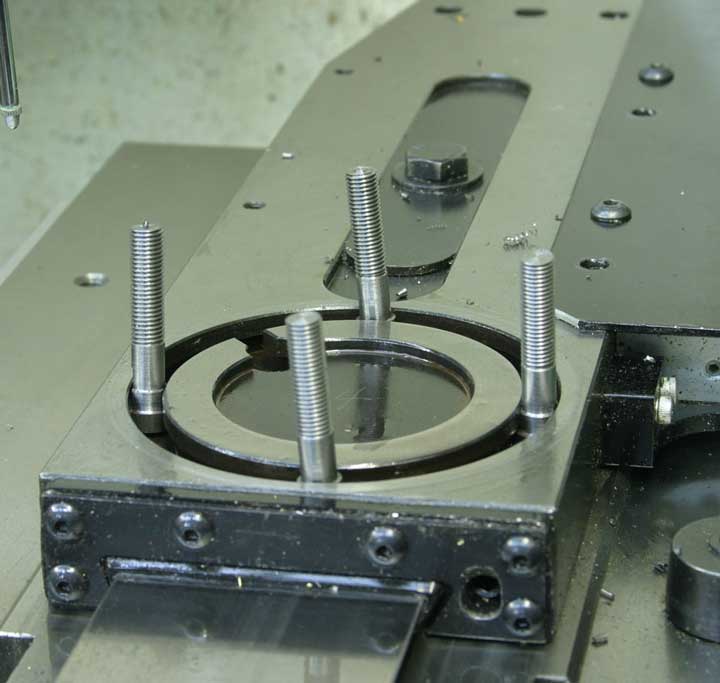
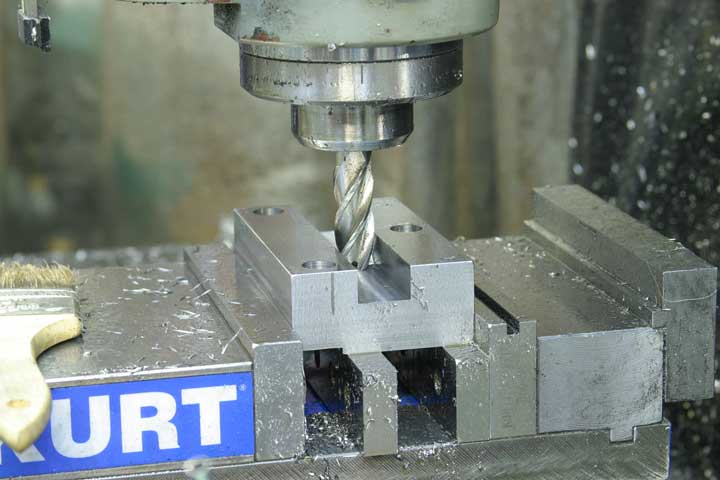
I drilled my four mounting holes around the perimeter of the plate, and four more holes to bolt on the upper piece. |
|
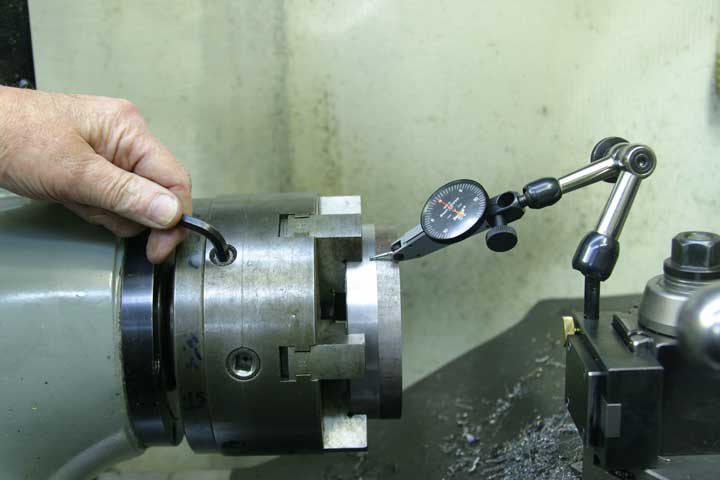
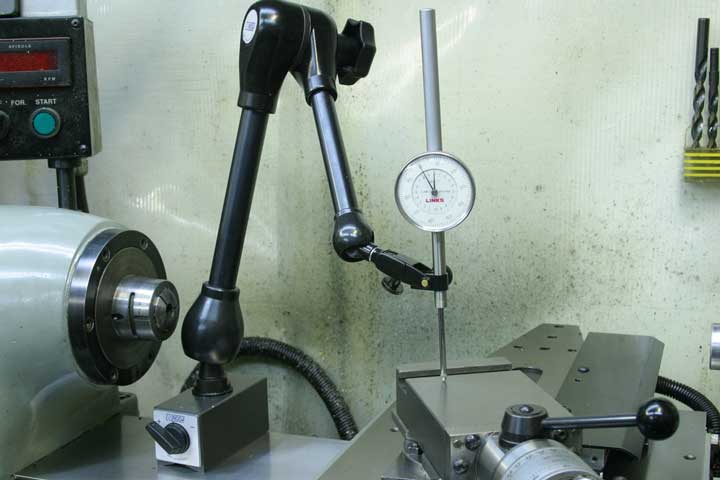
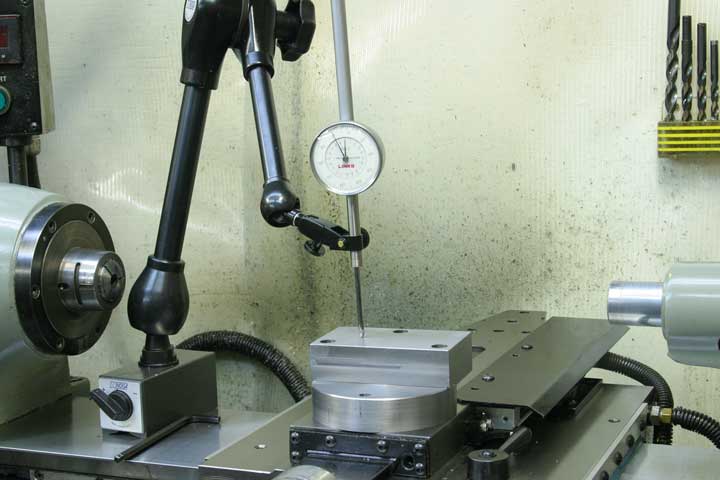
One thing I really wanted to get right was the finished height so my tool post and holders would not need to be changed when I switch from the compound to this new tool post setup. I set up a dial indicator mounted on the lathe bed so I could simply move the carriage over to clear it and put on my new part, leaving the indicator ready for a direct reading. I came back to check the height as I worked along. |
|
The bolts in place. |
|
I bolted the pieces together to set them up for a reading, and took them apart to work down the upper block to get the height correct. |
|
I milled it to within a couple of thousandths. |
|
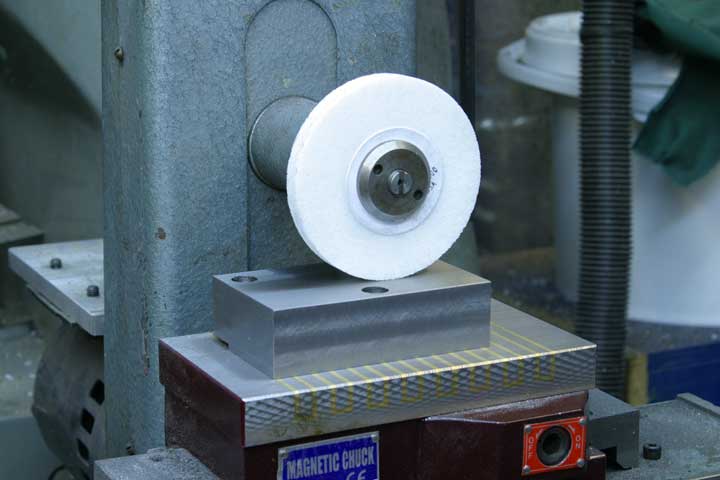
And, finally used the little surface grinder I'd found locally (on eBay, no less) to correct the height and produce a nice finish. |
|
It took a few tries, but I got the height dialed right in. |
|
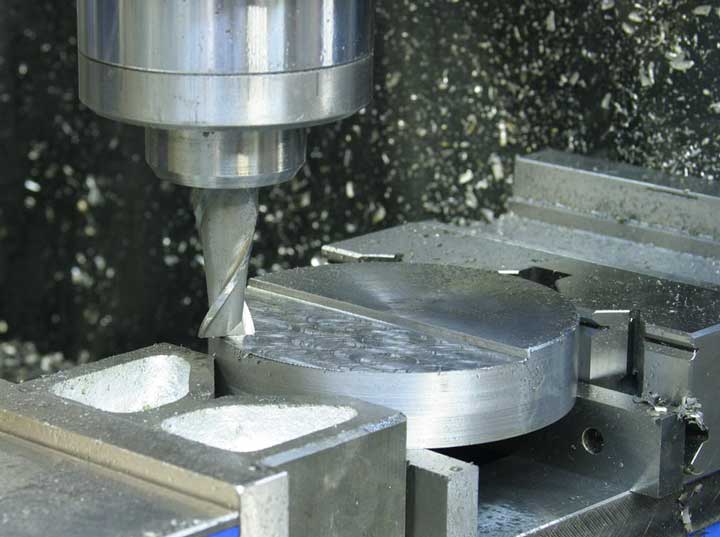
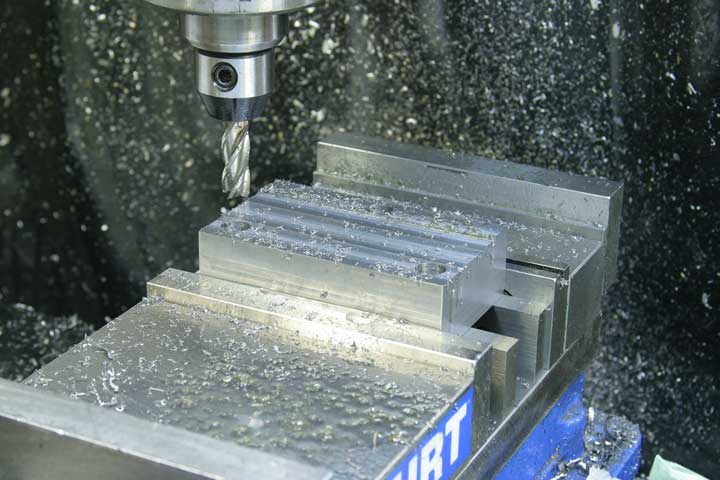
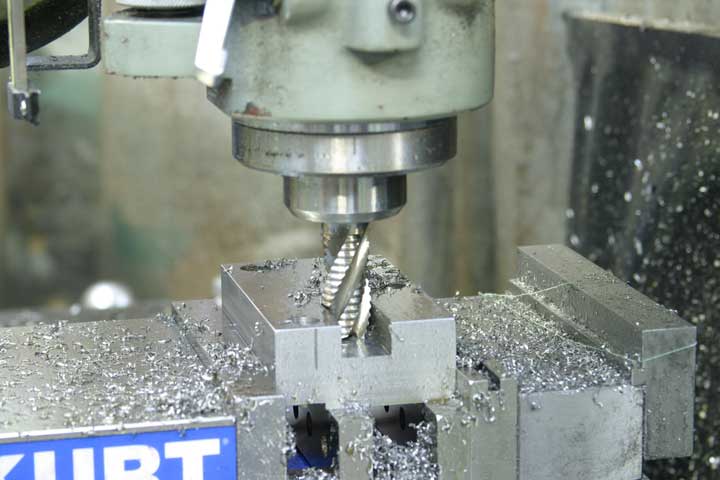
Then I set about duplicating the T-slot from my original compound. First a roughing cut. Not long ago I disovered the joy of using roughing end mills. They really do a job! |
|
Then some cleanup passes. |
|
And, finally the T-slot, using a Woodruff keyseat cutter. |
|
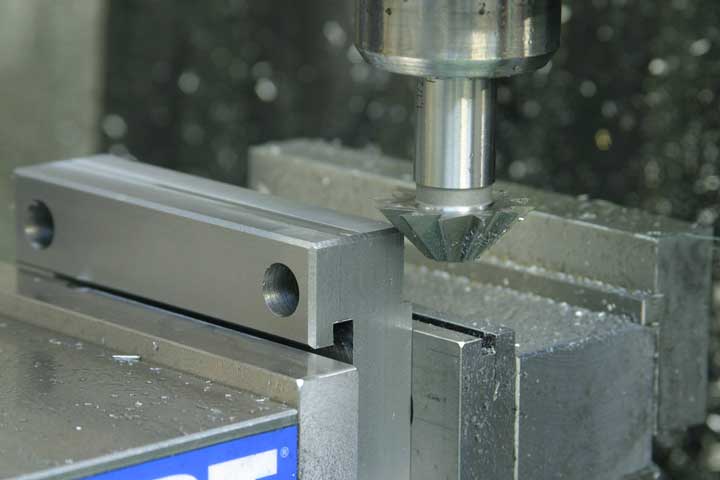
Once I had the upper block all dimensioned and ready to go, I added the simple finishing touch by beveling the corner edges. |
|
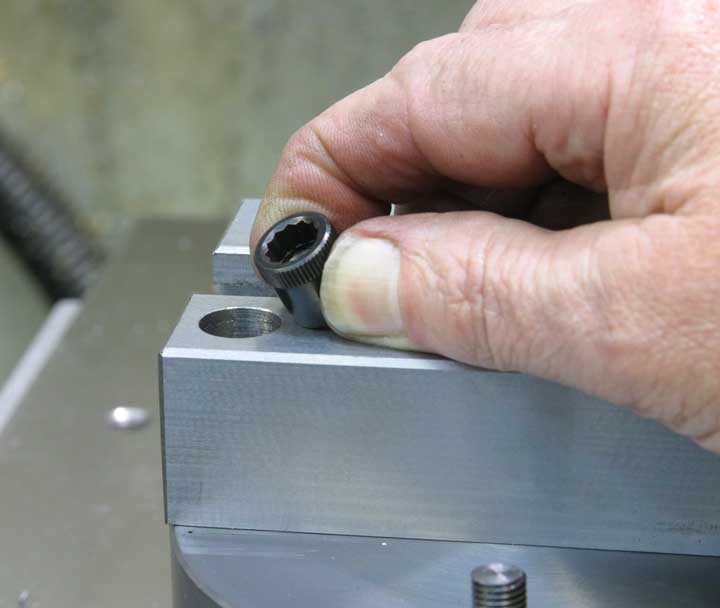
I used some of these hex key socket nuts to secure the hold-down bolts that run up through the upper block. |
|
I cut the rear bolt a bit shorter, of course. |
|
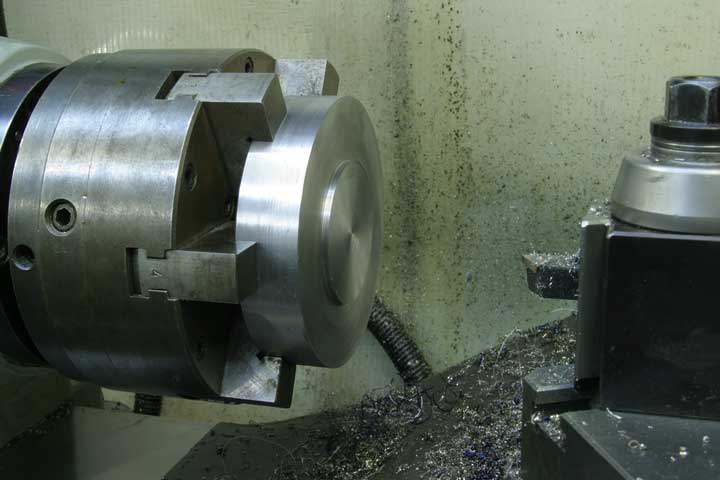
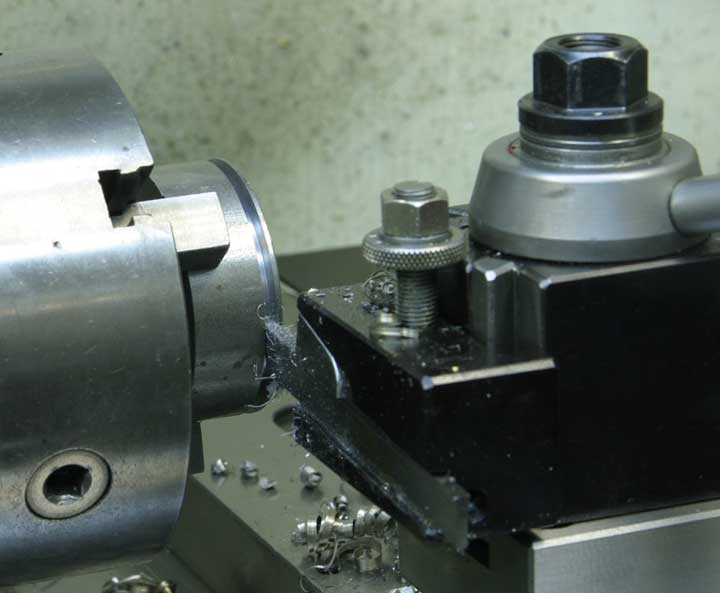
Now, this is really one of those "do you really need it?" projects, but it's also part of my learning process, so I really enjoyed the project. Here, I'm parting off a two-inch rod as a first test - and it's working well. I enjoy not having the compound in the way, so I'll probably keep this thing on until I next need to do a single point thread or taper. |