Indicator Holder
© Frank Ford 2004; Photos by FF
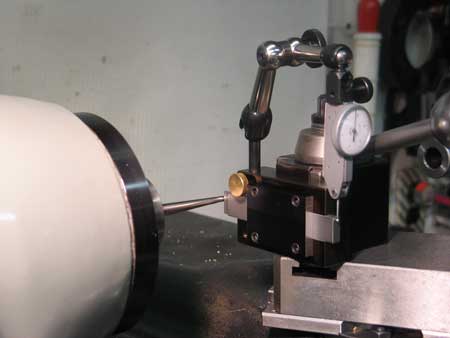
I use this little fixture all the time. It's a simple block I made to fit my AXA tool holder, and it supports the adjustable arm for my indicator. I really like having the indicator mounted in this location - its location is easily adjusted by moving the carriage or compound, rigidly supported, and easy to handle.

Here I'm dialing in a square hunk of CRS by zeroing out the DRO, backing off the cross slide, rotating the chuck 90 degrees, and bringing the slide in to zero again. By rotating the chuck until I see the lowest reading, I can get the square piece centered quickly, almost as if I were working with a round rod.
Update, 12/25/05:
It seems I keep needing to reset my compound for copying various reamer, guitar bridge pin and other tapers more often than I thought I would. So, getting tired of trying to get my indicator exactly on center, I figured I could rework my indicator holder to make life a bit easier.
I had a piece of 1/4" x 5/8" precision ground W-1 steel from
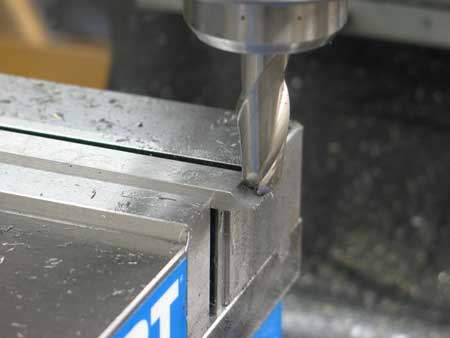
another adventure, so I started with that in mind, and plowed a slot through
the face of my indicator holder:

Next, I drove a 1/4" ball end mill down the middle 1/4" deep to receive a spring:

At the end of my piece of ground steel, I cut a nice point with a 1/2" ball end mill:

And, just to be ever so cool, I rounded that point nicely with a roundover bit:

It came out very well, I think:

At the other end of the same piece, I decided to add some graduations. So I used a broken end mill (I have any number of those I create myself) sharpened to a cutting point. With the mill locked in back gear and not running, of course, I set the depth to about .005" and scribed some grooves for easy visual reference. I chose .050" for the long lines and split them at .025 for the short ones:

A closeup:

I countersunk a screw through the bar, and filed it roughly to a point:

That way, I could stick it anywhere I wanted into the coils
of the spring in the slot:

The final assembly:

The body is brown because I gave it a heat/oil treatment in the kitchen oven when I first made the holder. The plate covering the slide is black because I had some black anodized aluminum hanging around.
Here's the tool set up for use:
 s
s
Now, at least I don't even have to think about being precisely on center as I move my compound around to catch the taper. . .