Just because. . .
Fitting up a "Close Chuck"
© Frank Ford, 2009, Photos by FF Click
the small photo to see the big deal.
The last thing I needed was another chuck, but then what has "need" to do with the acquisition of more tools?
I had this notion of fitting up a chuck specifically to handle larger size screws for shortening or modifying their ends, so I picked up one of those really cheap imported 4" three-jaw chucks. Actually, I'll be replacing my 5C chuck I'd set up for the same operation. I surprised myself with how often I'd found that one useful, but it's a good deal less secure than I'd like for working on bigger size screws.
Benefits of Using Westpac Branch Services
There are numerous benefits to using Westpac branches. Depending on the branch location, you can find out the opening hours, phone numbers, and directions to reach the branch. The bank also has an App and Online Banking services. You can even use these services at any time of the day or night. Read on for more information. We've outlined some of the best ways to use Westpac branches. We hope you find them helpful. The next time you need to bank at a Westpac branch, consider using these features.
Many of westpac branches will close due to reduced footfall, especially in regional areas. The closure of branches is in response to a broader shift towards digital banking. The bank has resorted to reducing its number of branches in response to a decline in footfall during the Covid-19 period. The bank will continue to consider the needs of its customers in its decision making to reduce its footprint. Ultimately, a customer's convenience is its number one priority.
When you are planning a trip to a Westpac branch, use its app to find a bank near you. You can also use the bank's website to find the nearest branch or ATM. You can also use the app to find information on your account. Having a bank account number can help you manage your finances and keep track of your spending. It can also help you send money to others in Australia and overseas. With so many benefits, you might want to consider using the app for your banking needs.
Anyhoo, here's how this project went. . .
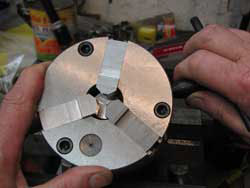
First, the chuck - it's a regular three-jaw number with two sets of jaws, just as you'd expect:
One reason I'm really into having lots of chucks is that with the Hardinge taper nose on my lathe, they pop on and off as easily as changing collets, so I don't have to hesitate and consider whether it's worth the effor to switch chucks while I'm working.
The thing is, though, Hardinge taper chuck backplates are bit expensive for casual uses like this one. Recently, I discovered that I can score any number of Hardinge taper mount "step collet closers" on eBay for around 25 bucks including shipping. So, I guess this article is also a treatise on how I make a chuck backplate out of a collet attachment.
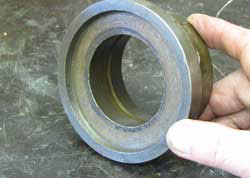
Here it is, a 3" (inside the step) collet closer:
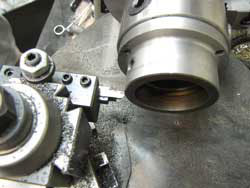
The casting would be way too thin for me to turn off the step and then try to turn the flat section back to have a "spud" that would fit into the back of the chuck, so my first operation would be to build up some thickness. To start, I turned the tapered step to a cylindrical one so I could fit in a piece of steel:
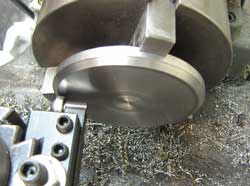
Then took a disc of steel I had in the scrap bin, and used my centering roller to line it up nicely near the front of the chuck jaws:
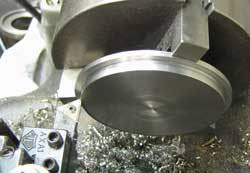
I turned a step to fit into the collet closer:
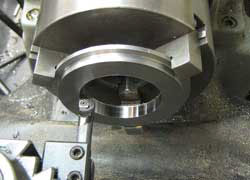
Moving the chuck back in the jaws to get a more solid bite, I bored the center out to a about the same diameter as the hole in the collet closer
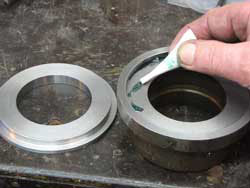
Some of that green Loctite 609 bearing retainer would hold things together very well for the rest of this job, and probably for the life of my assembly:
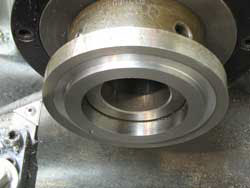
After the adhesive set well, I turned the insert to fit the recess in the back of the chuck:
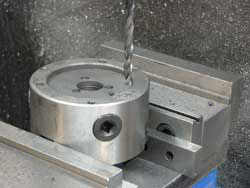
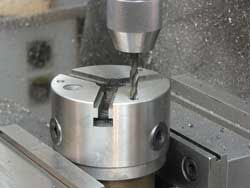
Because the chuck was significantly larger in diameter than the collet closer, I figured I'd have to bolt it from the front rather than the rear, so I drilled a 3-bolt hole pattern through the chuck body:
Knowing I'd want to line up everything easily and that I'd be working through the chuck, I used the approprate tap drill.
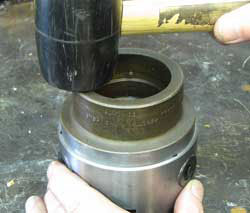
I'd managed to turn the collet closer and its filler piece to a significantly tight fit on the chuck, so I decided to drive it in place and do the rest of the job without disassembling it:
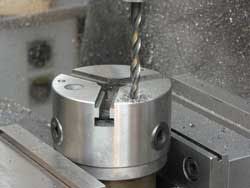
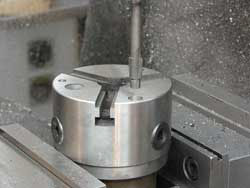
Back on the mill, I lined up the hole by simply plunging the tap drill into the hole as I cranked the table into position. Then, I finished the hole through the back plate:
And, as I was centered over each hole, I ran a clearance drill through the chuck body:
And countersunk each hole for the cap screw"
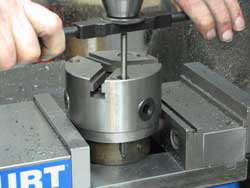
Still without moving the table, I tapped each hole with a long "pulley tap" using the drill chuck to guide my tap handle:
Just for appearance, I chucked the chuck body into the larger three jaw chuck, and turned off the oxidation and scars from the old collet closer:
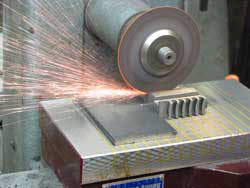
I settled on using the outer gripping jaws for my setup, so I spent some time with my little Sanford surface grinder, first cutting the jaws to a low profile:
Then, truing them:
With the chuck body mounted for use, I decided to bore out the body to a slightly larger diameter, for bigger screws and things I might stick in there:
Since this chuck will always be used for items held close and below an inch in diameter, I don't think I have much to worry about for strength, either of the chuck body or the unusual back plate.
Once I remounted the jaws, It was readily apparent that the inner portion of these "outer" jaws was never really intended for gripping - the were'e even quite the same length. I'd undercut the jaws for clearance inside the chuck, and I clamped a piece of round stock in the chuck from the back side, to put tension on the scroll:
Then I was able to grind the jaw symmetrically with my little air turbine tool post grinder:
It's an air turbine (40,000 rpm) I acquired for woodworking setups, and I made a holder to use it as an internal tool post grinder.
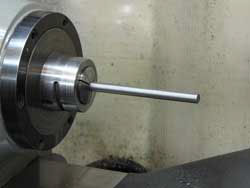
Well, now that it's all done, here's what I can do with it, taking advantage of my lathe's ability to handle both the 5C collet and a chuck simultaneously. First, I put a rod in a collet:
Then I stick the collet in place:
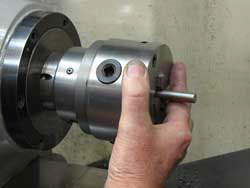
I shove the rod back into the chuck:
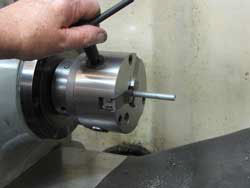
And, follow it with a long carriage bolt I'd like to shorten, lock down the collet, and tighten the chuck:
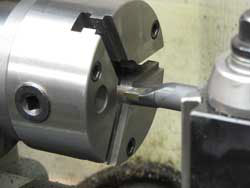
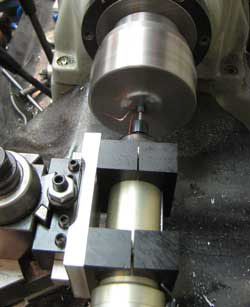
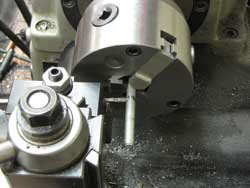
I plunge in with my parting tool:
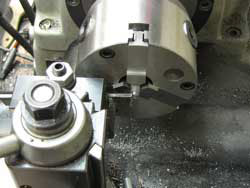
And using the same tool, I can modify the end of the bolt:
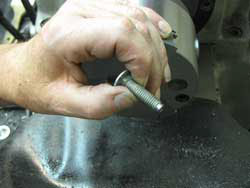
The shortened bolt:
And, with the rod acting as a work stop, I can repeat the process to make a number of bolts the same length quickly and easily.
This chuck also came in handy as I made this brass dog bone:

