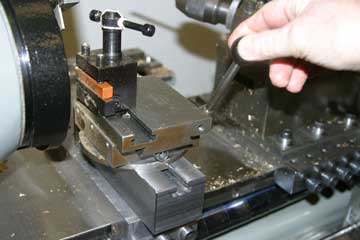
Adapting a Hardinge Turret
© Frank Ford 2005; Photos by FF
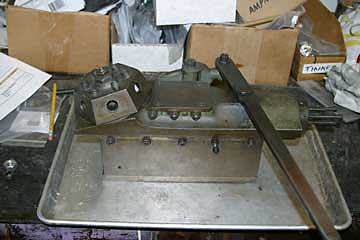
Last month I bought this old Hardinge turret through eBay:

It seemed to work OK, but I figured it would be a good idea to take it all apart and clean it up before spending a lot of time adapting it to my lathe.
Only one broken part - a cover plate screw:
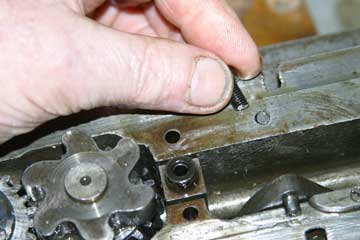
A small "easy-out" made quick work of the broken stub.
While I had it apart, I drilled the upper casting so I could put in a couple of Zerk oil fittings to lubricate the ways:
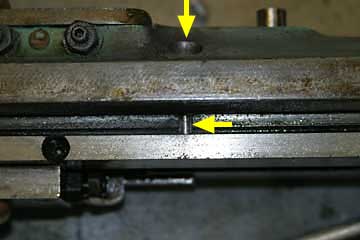
The old timer was made for the "Cataract" style Hardinge lathe with the "inverted" dovetail ways. Here's some detail on that machine, from the Machine Tool Archive Web site, used by permission of its owner, Tony Griffiths:
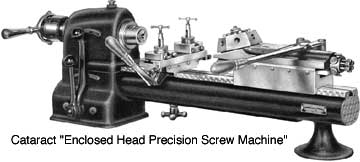 |
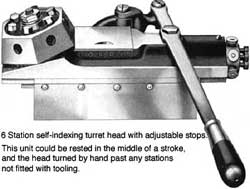 |
The bottom of the turret had two nice rails with a standard sixty degree bevel, so I thought I'd simply use one of them on my adapter plate:
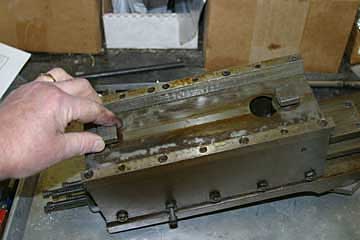
My lathe is a Hardinge HLV clone, and the center line is exactly 5-1/2 inches from the bed. This turret was made for a lathe with a nine inch swing, or 4-1/2" from center line to bed. So, I figured I'd need a one-inch adapter plate on which to mount this critter. In fact, I decided to use two plates, each of 1/2" x 6" cold rolled steel. I'd mount the bottom plate on my dovetail way, jockey the upper plate around until it lined up, and screw it down. That way I'd avoid any nasty measuring and calculating.
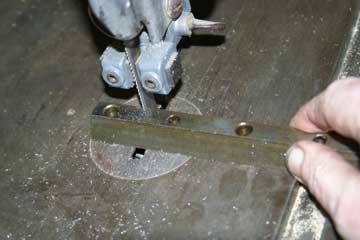
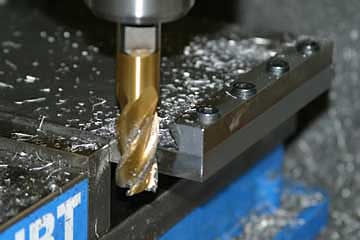
I bandsawed one of the rails to a bit over six inches, and screwed it to the end of a steel plate. Then I trimmed it by milling the ends off flush;
Clearance is kind of tight, and my turret will sometimes be mounted ahead of the carriage on my lathe, with back end of the turret actually overhanging the carriage, butting up against the cross slide. There are a couple of nice eight millimeter tapped holes in that area of the carriage, so I decided to take advantage of them by bolting the back end of of the turret to the carriage itself. I needed some tapped holes in the lower casting to mount my brackets:
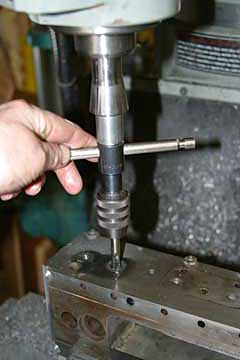
I'm using my lathe hand tapper here, just letting it ride up and down in a loose milling collet.
The completed bottom plate:
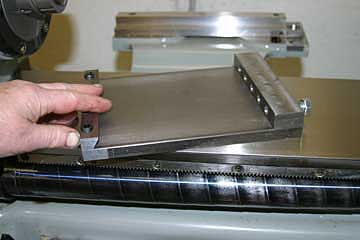
I used regular bolts for trial fitting:
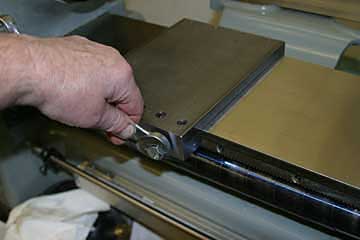
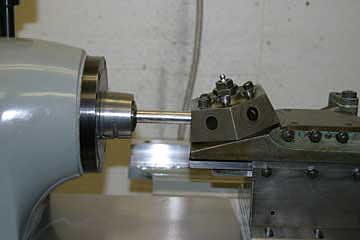
And, with the turret bolted to the upper adapter plate, I clamped a piece of 5/8" drill rod in the turret and slid it directly into a collet:
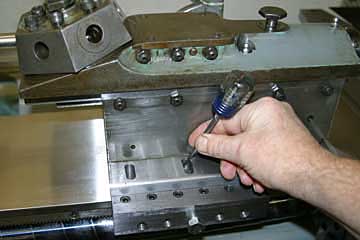
Then I scribed through the slots in the upper plate to locate my mounting holes:
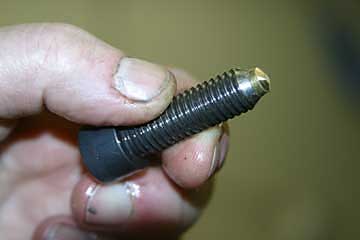
I made up some socket head cap screws with brass inserts to secure the lower mounting plate without scarring my dovetail way:
Here's a closeup of one of the brackets that connect the turret to the carriage:
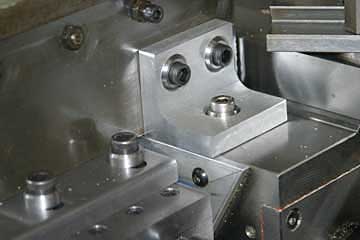
All the bolts are loosely fitted so I could line up the turret before tightening up.
The completed rig:
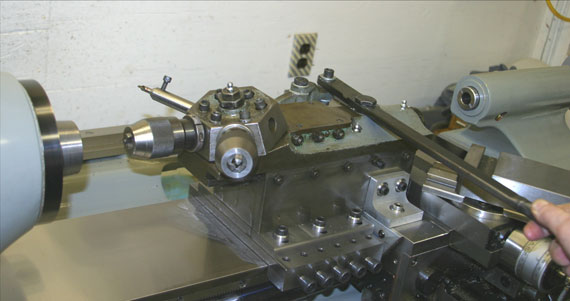
With the toolpost removed, the turret handle easily clears the compound, so I don't have to do too much disassembly to mount the turret. Fully retracted, there's about 8-1/2" clearance between the turret block and the collet nose which should be enough for the kinds of projects I get into most of the time. I can also remove the tailstock and run the carriage right up to the headstock so the turret will fit behind the carriage. That way I can handle longer drills, reamers, etc.
Here's another eBay item:
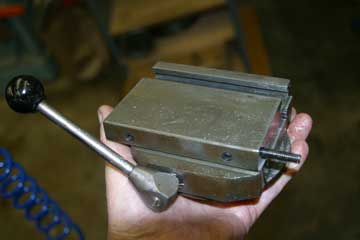
It's a nice little sliding tool holder I thought would make a good addition to my turret setup. I made a simple adaptor for it to get the tool height the same as it is on my compound to be able to use my regular quick change tool post:
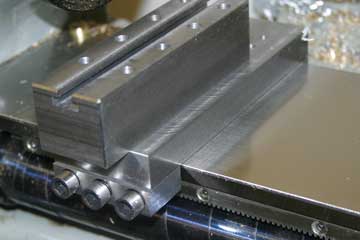
So, now I can have a six station turret, a sliding tool, and the cutoff slide mounted on the nose of the headstock:
