
Making a Fluorescent Inspection Light
Quick, easy, safe, cheap
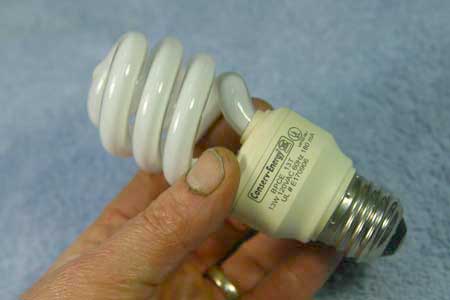
I started with one of these little twisty fluorescent lamps:
It's a 13-watt "replacement" for a regular 60 watt incandescent.
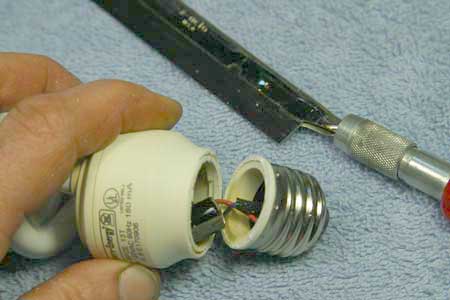
I sawed the base apart with my fine little X-Acto saw, revealing the wiring inside:
And, I broke the wires loose from the base.
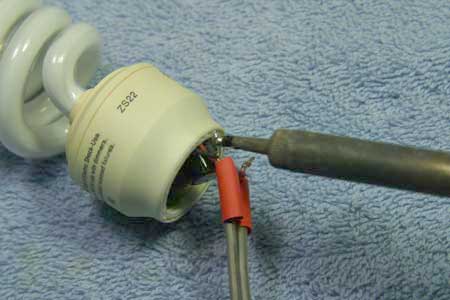
Then I soldered a salvaged power cord to the wires, sliding on a couple of pieces of shrink tubing first, of course:
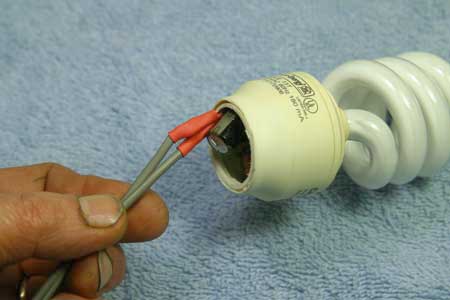
Then I had the lamp hard-wired onto the cord, and the leads nicely insulated:
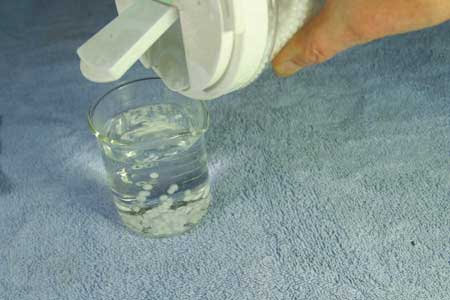
Time to introduce the star of our show, "Friendly Plastic." (generic name - thermoplastic beads) I poured some of the white pellets into a beaker of hot water:
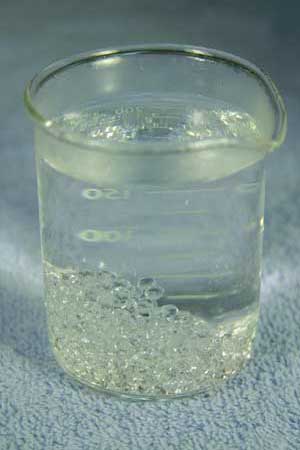
After a couple of minutes, the pellets melted and turned clear:
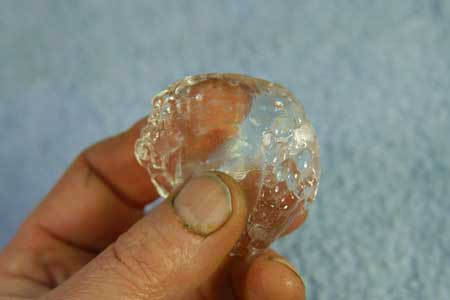
Fishing out the mass, I kneaded it a bit to make it into a rough ball:
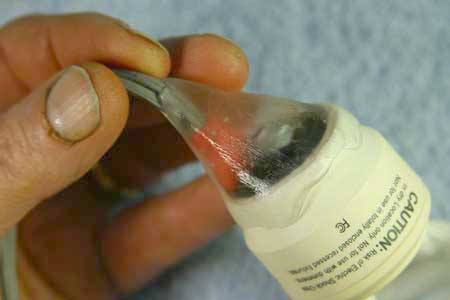
And squished it into and over the end of my new lamp:
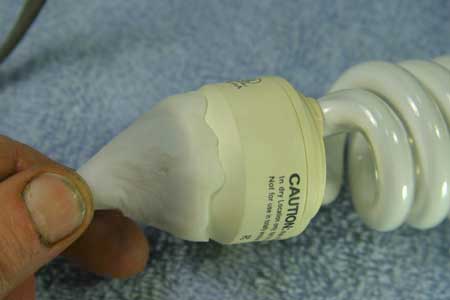
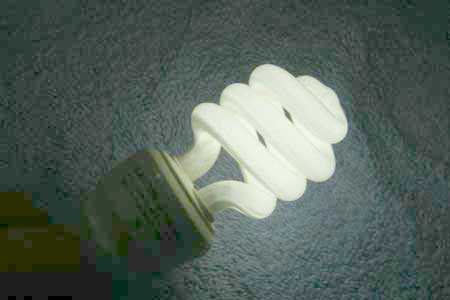
Once it cooled, the plastic returned to its natural white color, and my assembly was complete:
Even after it's been on for an extended time, the lamp never gets warm enough to remelt the Friendly Plastic:
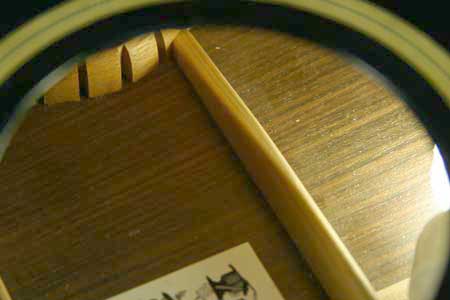
And, it gives a LOT of light inside a guitar body with no danger of overheating:
And, this tool was so cheap, quick and easy to make, I can simply toss out the whole thing when it burns out. . .