
Refretting a Gibson F-5 Mandolin
Refretting a Gibson F-5 Mandolin
Photos by Ken Torke, 3/00
As you look through the pictures in this photo essay, you might want a little more clarity on the fret tools, or some of the process. Please check out some of the other FRETS.COM articles on refretting, including Refretting Technique, When Frets Go Wrong, and My Refretting Tool Kit.
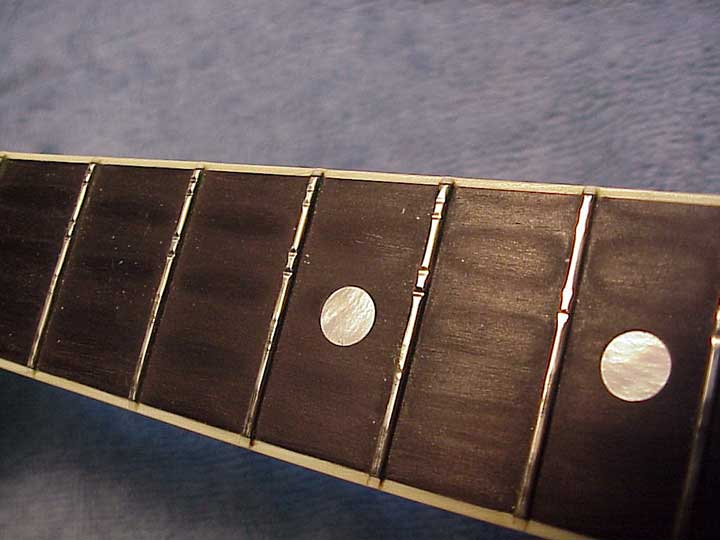
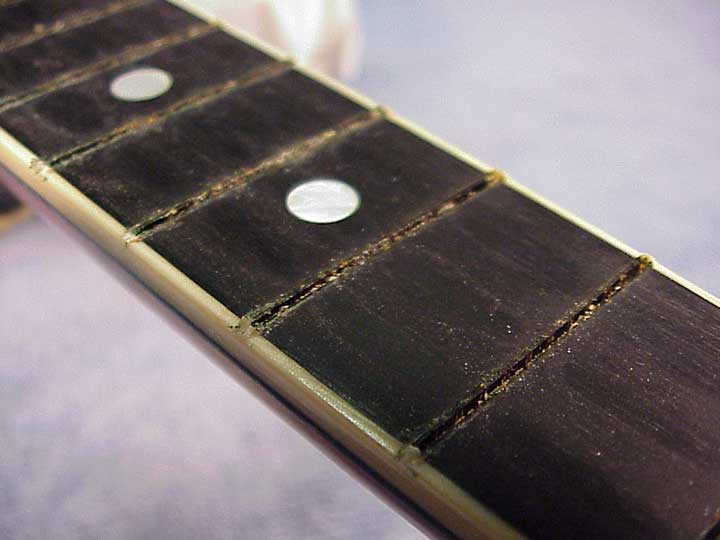
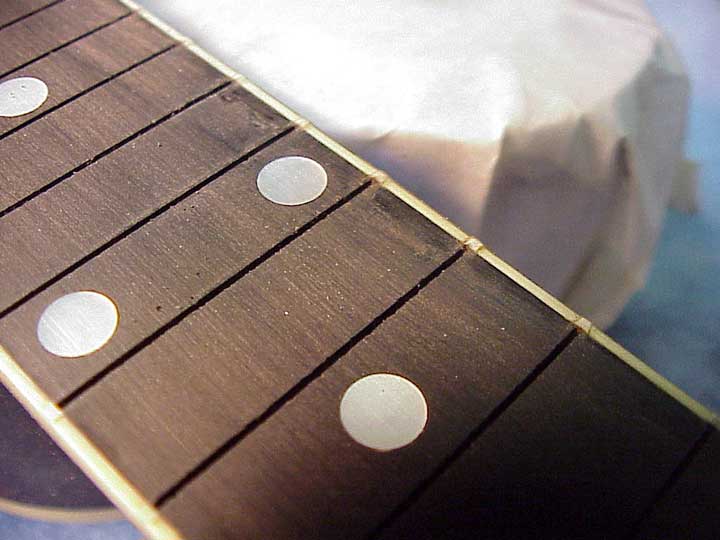
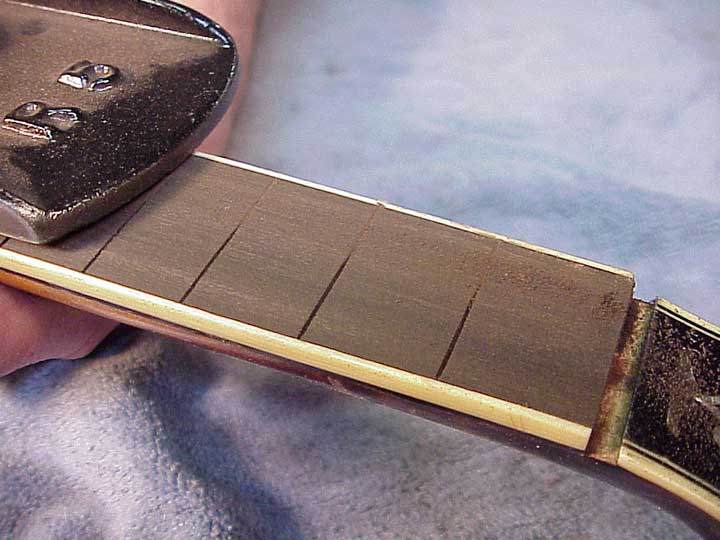
Well, the need is pretty clear. Just look at the divots in those frets. This instrument has been played by a very active musician who simply wants his 1991 Gibson F-5L to handle as it did when it was new.
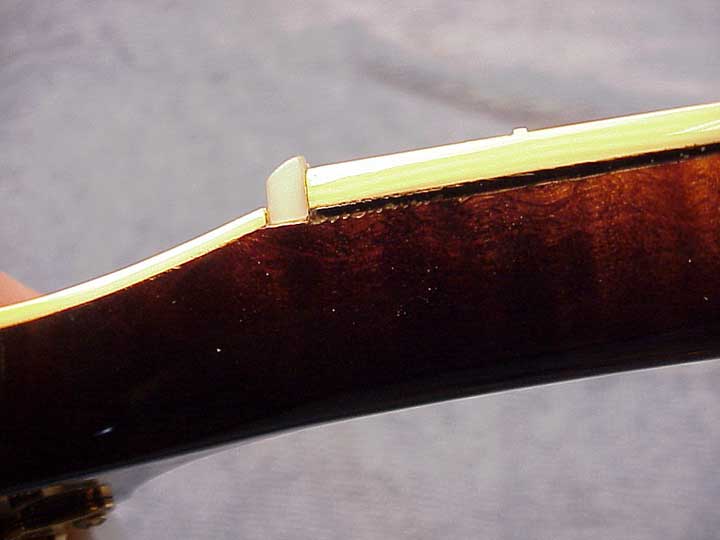
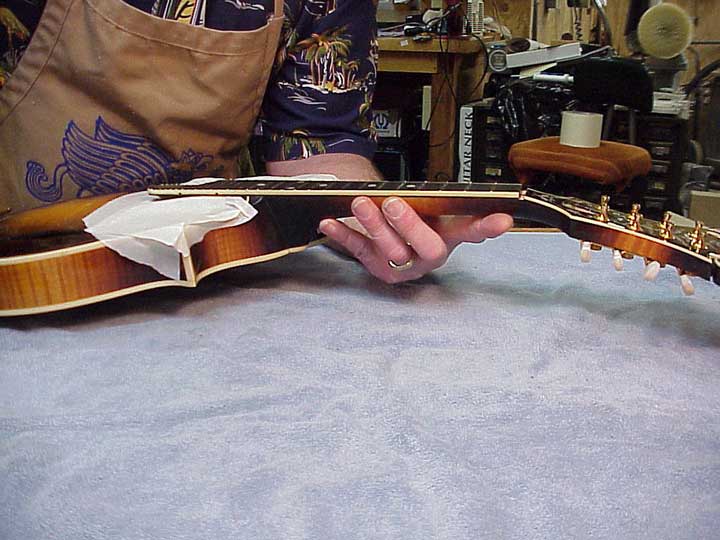
Whoops! The first thing I noticed as I took off the strings was a little separation under the fingerboard. I'll be sure to attend to that right away.
The fingerrest had to come off so I could get good access to the fingerboard.
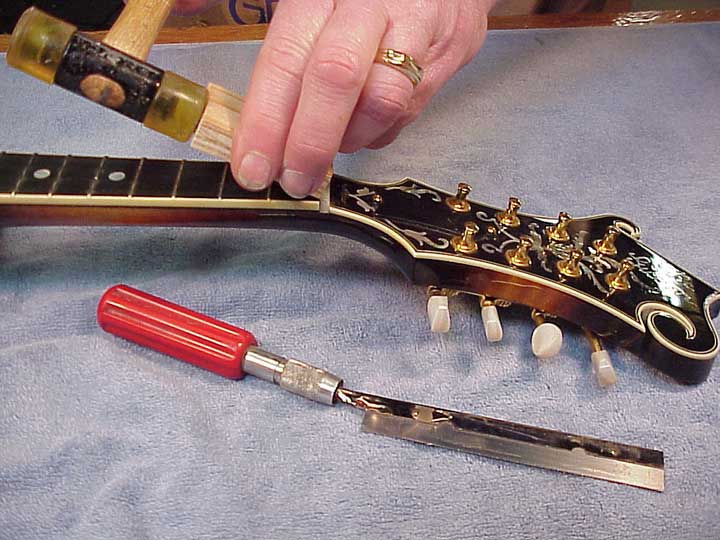
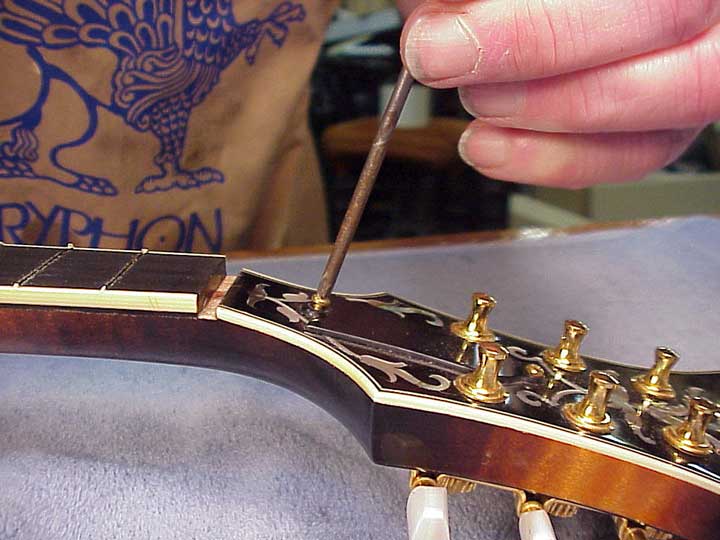
As you can see in the photo above, the nut is set level with the bottom of the fingerboard and peghead veneer, so I had to make a little relief incision behind it. I used my thinnest saw, a fine X-acto that makes a .010" kerf. I cut downward through the entire thickness of the veneer, right against the back edge of the nut.
With that little bit of relief behind the nut, I was able to tap it, breaking the glue joint, so I could lift it right out.
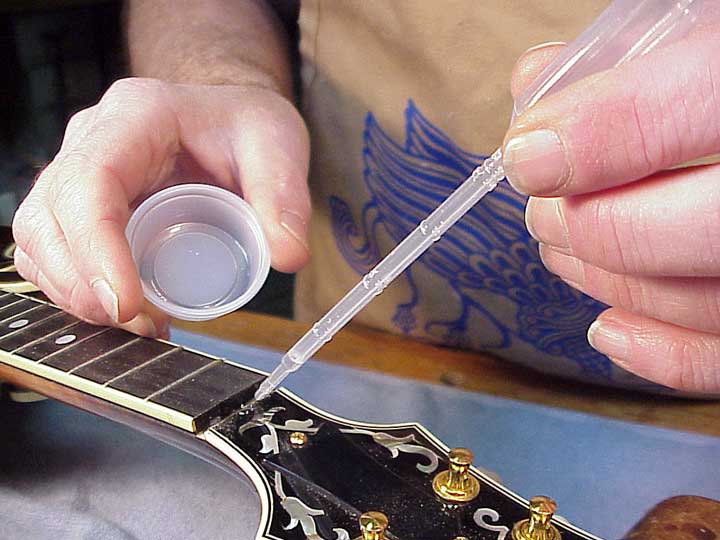
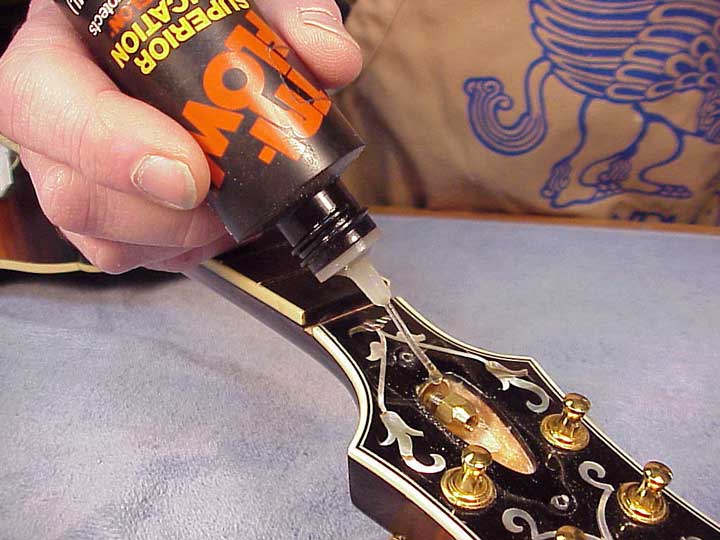
Now, to take care of that loose fingerboard. The fingerboard was so tight against the neck, I chose the thin viscosity cyanoacrylate glue. Its viscosity is so low that it runs into tight cracks by capillary attraction. Once in the crack, it is catalyzed by atmospheric moisture, forming a very good bond.
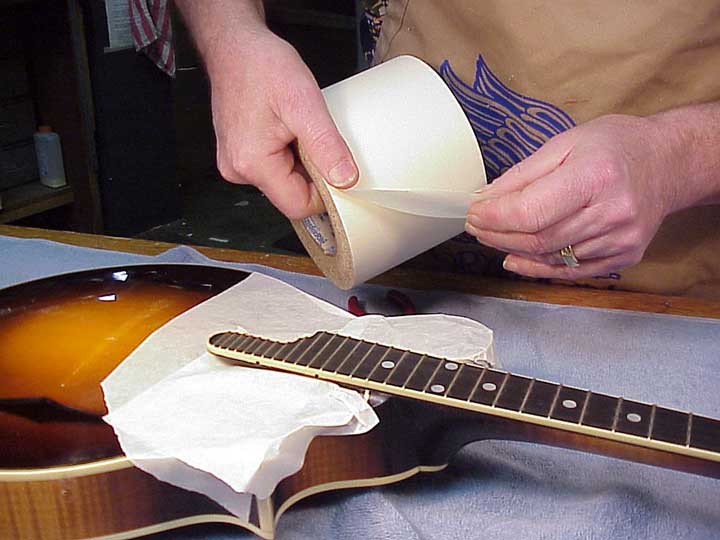
Some low tack wide sign maker transfer tape works well to protect the body as I work on the fingerboard.

Here's my fret heater. It's just an ordinary Weller 80 watt soldering iron, the kind they sell for stained glass work. I have the tip filed to a chisel point, with a little groove in it so I can balance it on a fret without fear of it slipping.
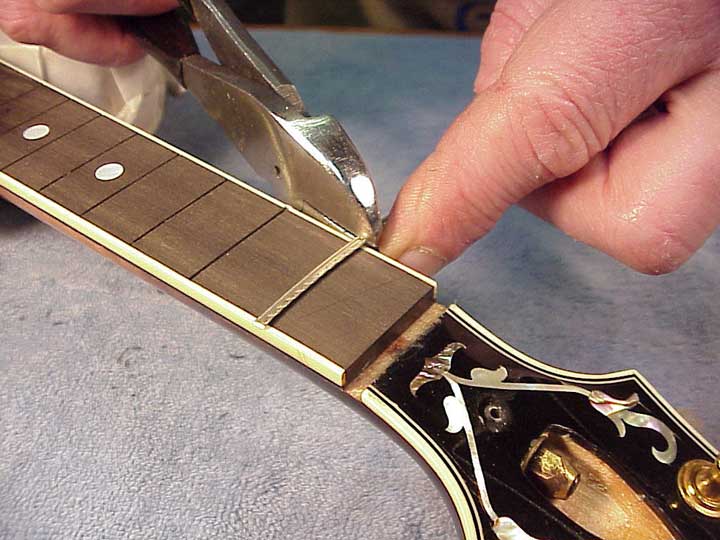
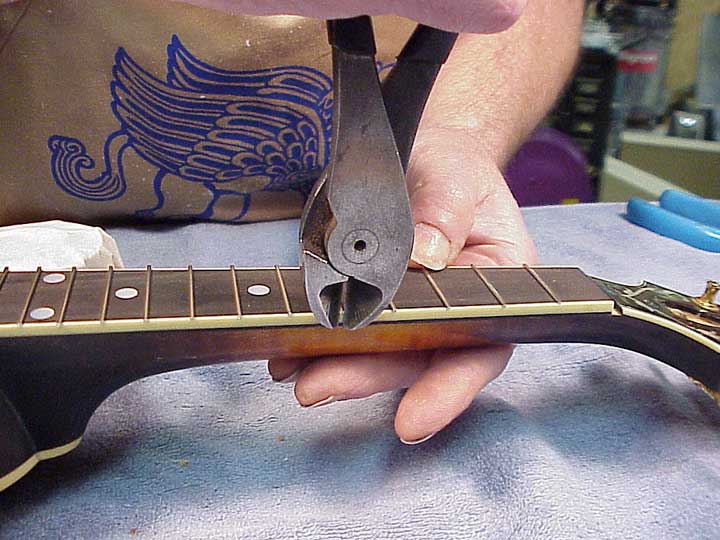
Gibson mandolin frets are so skinny that my fret pulling end nippers won't work by simply "biting" under them. In fact, after the fret is good and hot, I grip the end of the fret with the cutter, and rock the handle outward, basically prying the fret up at the end.
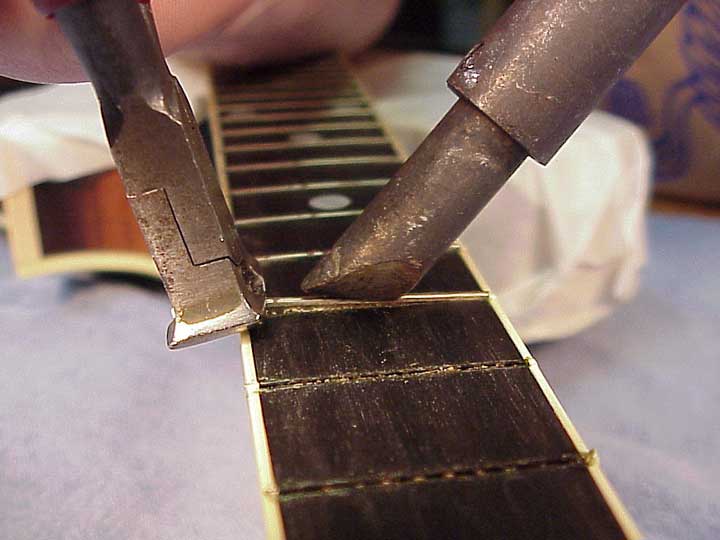
Mandolin frets are so short that they're rather stiff, and as I rock the fret upward, the entire fret lifts. It really pays to get the fret HOT during this process, and I keep the iron on the fret as long as it takes to get the fret out.
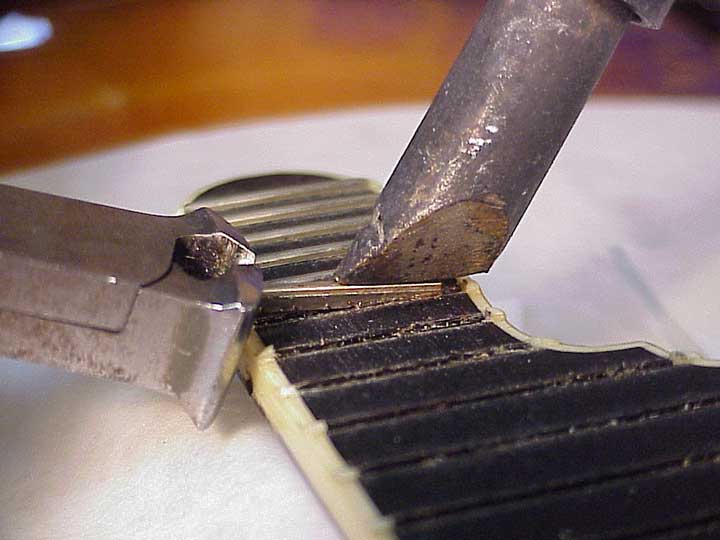
The little short frets actually get pulled out sideways by this rocking technique.
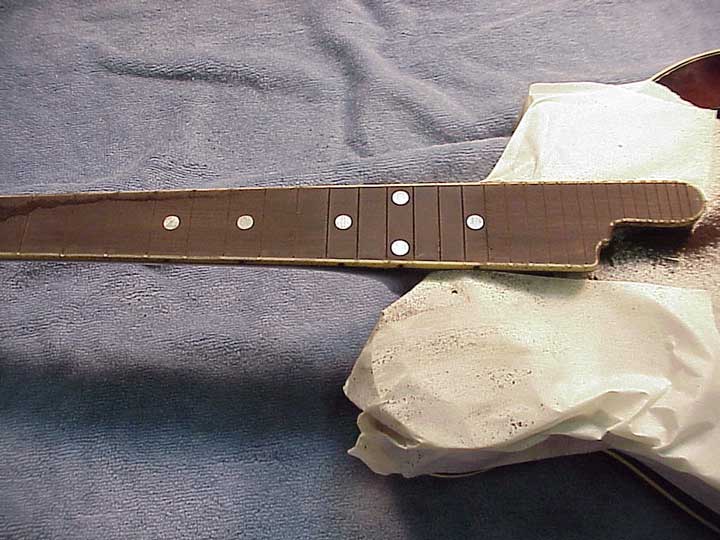
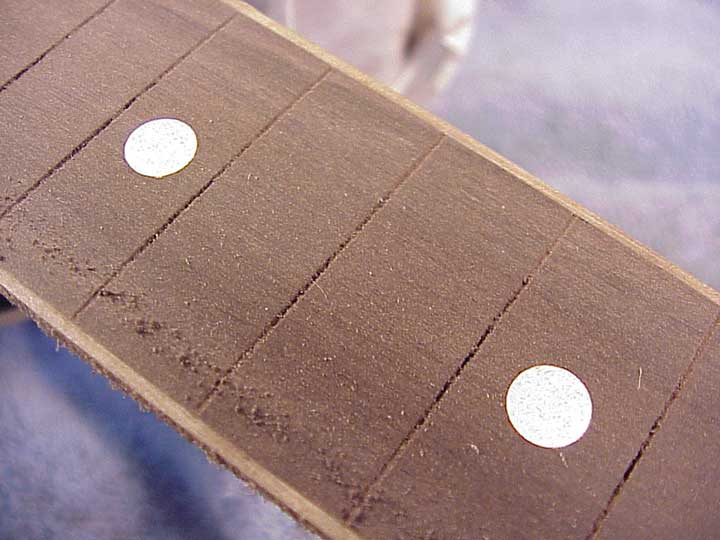
Well, here's how it's supposed to look. All the frets came out without chipping the fingerboard. I take that as a sign that I got them hot enough as I pulled them.
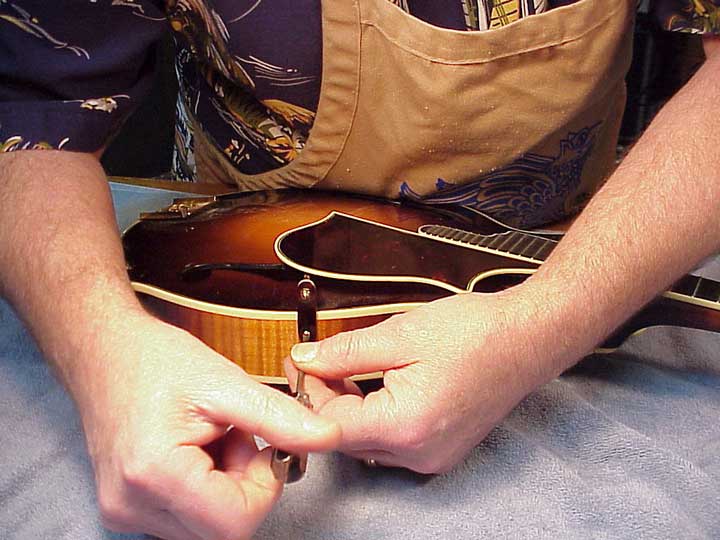
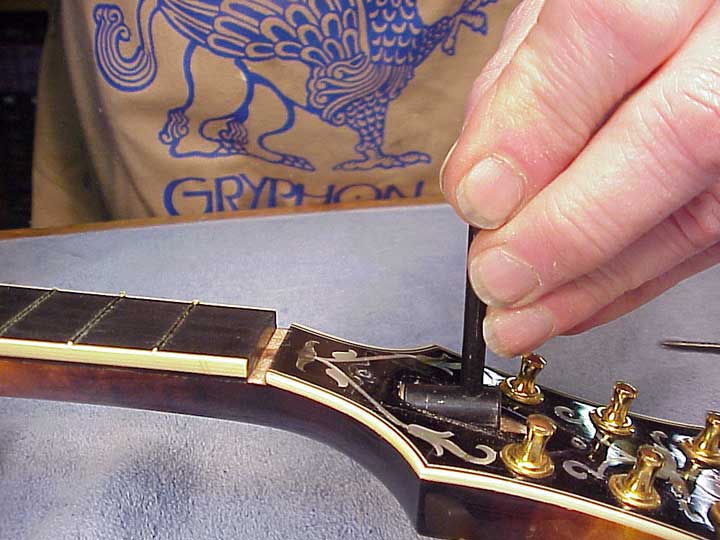
Time to take off the truss rod cover.
And the truss rod nut. If possible, I'll usually take off the truss rod nut and apply a little lubrication to the threads. I've seen more than one rod broken because the nut seized on rusty threads.
Once the rod is lubricated, I'll typically tighten it to produce just a slight backbow in the neck
I'll sight down the neck as I tighten the rod to get a feel for its action.

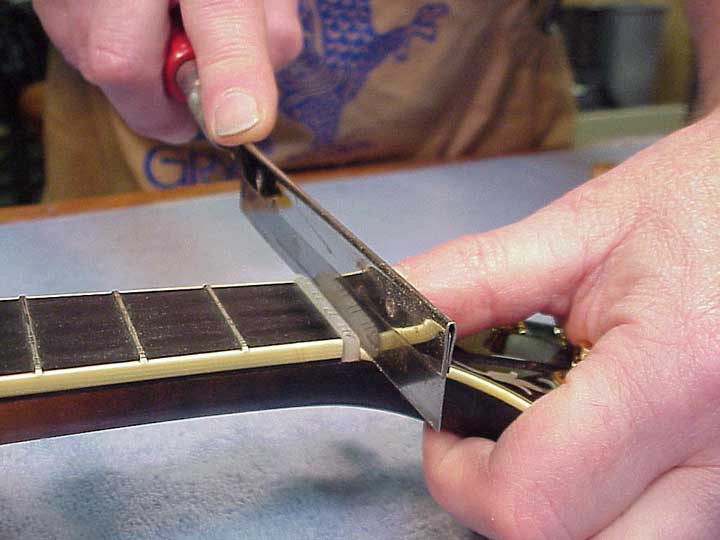
And, I'll check it with a straightedge. The idea is to produce a very slight backbow, so that when I sand the fingerboard flat, I can loosen the rod to produce a forward curve, and tighten it to make the neck bend backward. That way I'll have the best range of adjustment when setting up the mandolin.
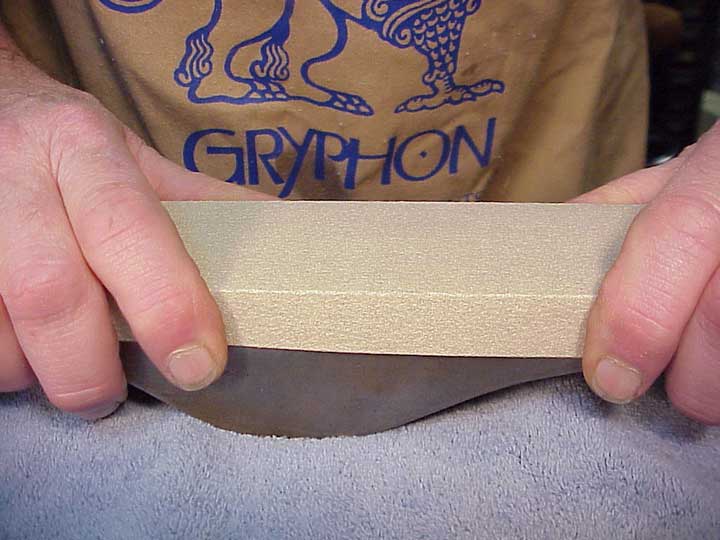
I cut some sandpaper to fit my jack plane body sanding block. After all these years, it's still the only sanding block I use for leveling fingerboards and frets.
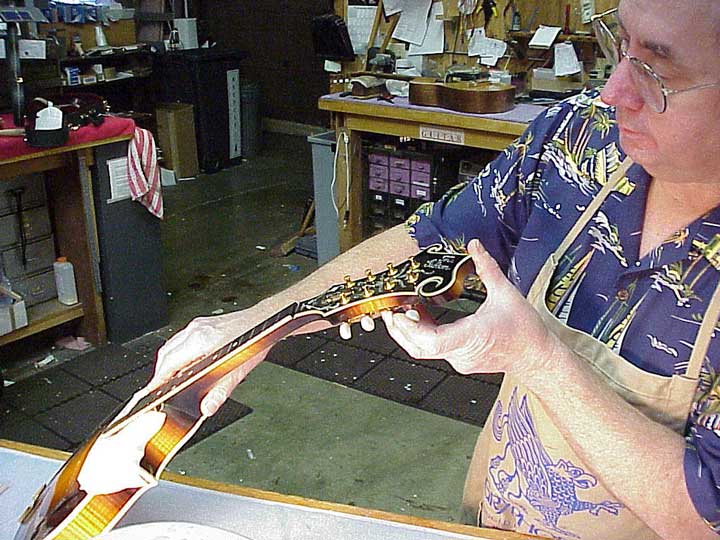
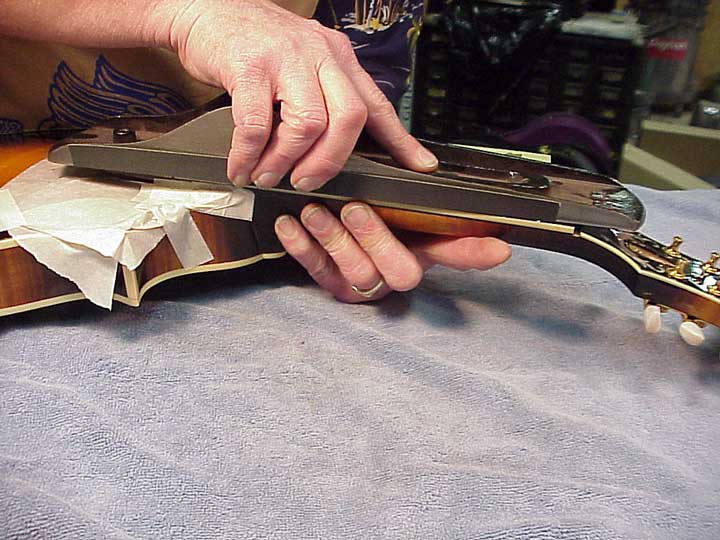
Supporting the neck as broadly as possible with my left hand, and with my forearm resting on the bench, I hold the instrument so the peghead "floats" off the bench.
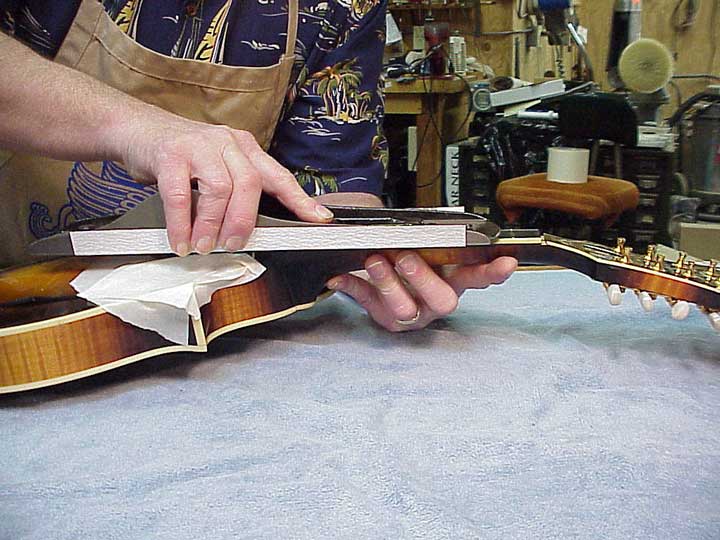
Starting, in this case, with 100 grit, I sand the fingerboard to straighten its surface from end to end.
See how the sanding reveals a hollow area right where the neck joins the body?

I run through all the sandpaper grits available, in sequence: 100, 120, 150, 180, 220, and follow with 320 for a fine shine.
Everything is starting to look level now, with only a tiny edge area still showing its original surface.
This is a flat fingerboard, but I still "roll" the sanding block over the edge just a little on each side.
Notice the sanding dust packed into the fret slots at the edges. By brushing the dust out after each grit, I can keep an watchful eye on where I'm sanding. Here, the idea is to sand the edges just a tiny bit.

The idea is to produce a very slight radius, which I can check with a small steel rule. I find that a flat fingerboard can have a tendency to look concave if it is truly flat, and that it will look a good deal more "healthy" if it has just a few thousandths of an inch crown or radius.
Once the fingerboard is nice and straight, and sanded smooth, I bevel the top edges of the fret slots just a little. That's to reduce the chances of chipping in subsequent operations.
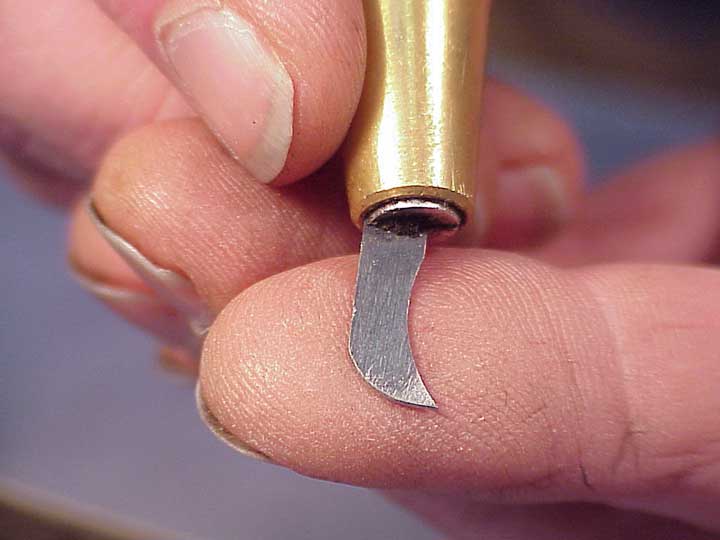
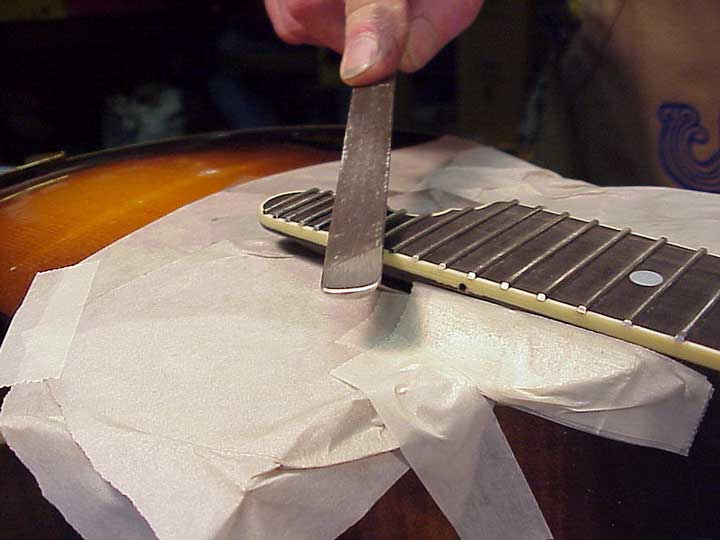
The most dangerous step now awaits. This nasty little tool is the Stewart MacDonald fret slot cleaning hook. I keep the leading pointy edge razor sharp.
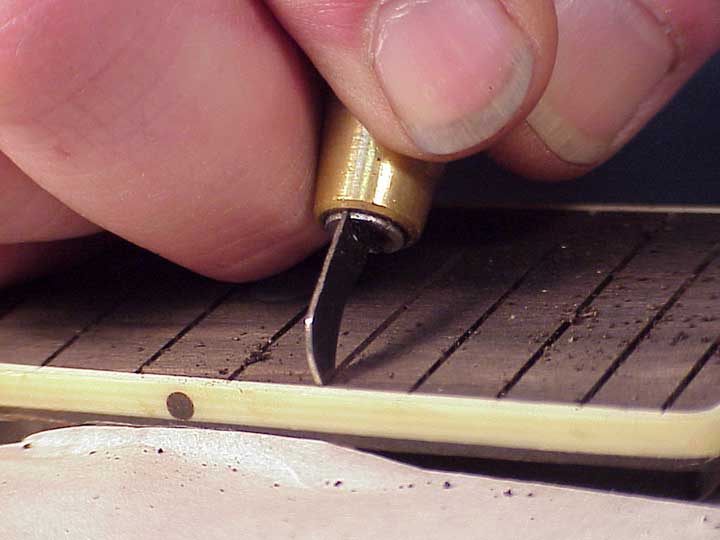
So I can drag it firmly through the fret slot to clean and deepen if necessary.
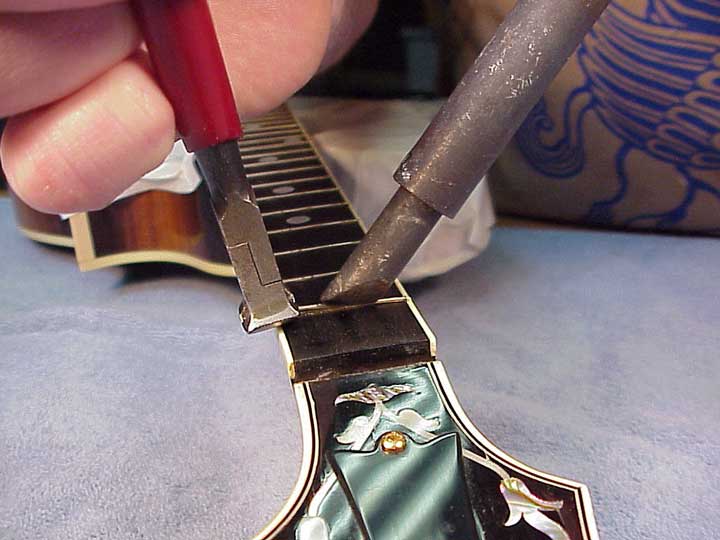
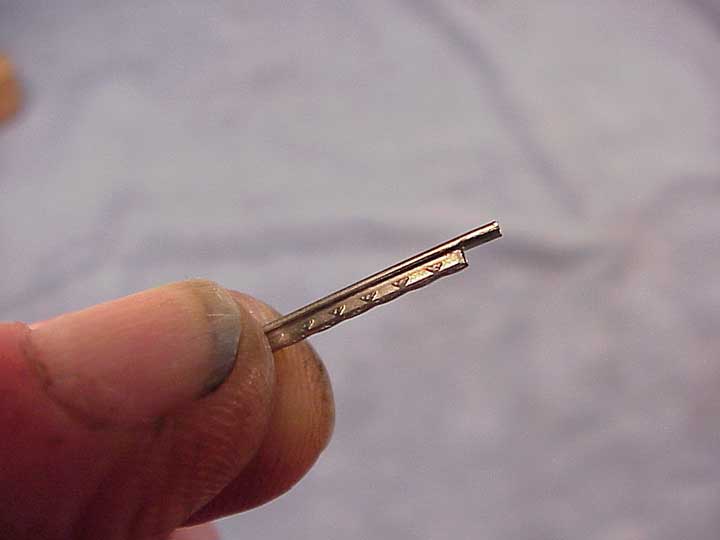
Speaking of which, here's how I check the depth. It's a little trick I learned from local banjo guru, Larry Cohea. I just take a piece of the intended fret wire, and bend a little leg like this, and file the tang very thin.
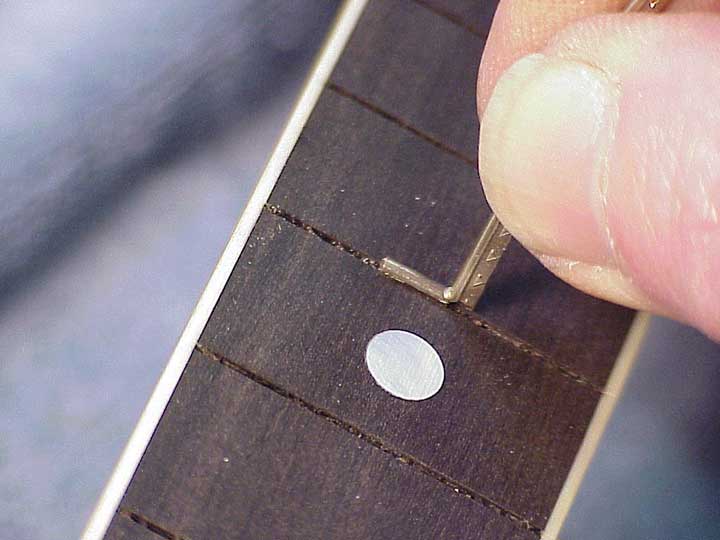
Then, all I have to do is drag the little end through the slot to feel any high spots at the bottom. Pretty neat, huh?
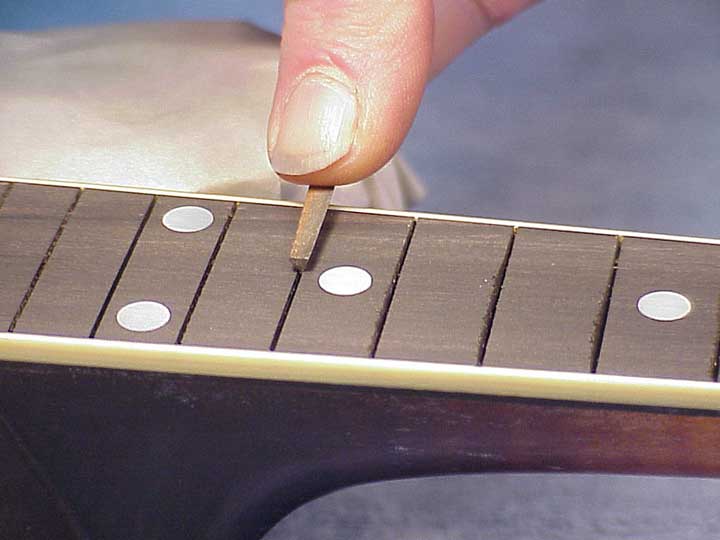
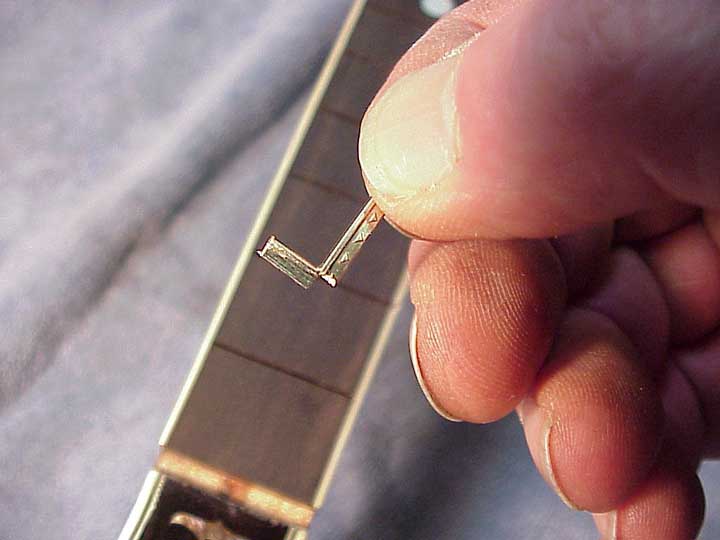
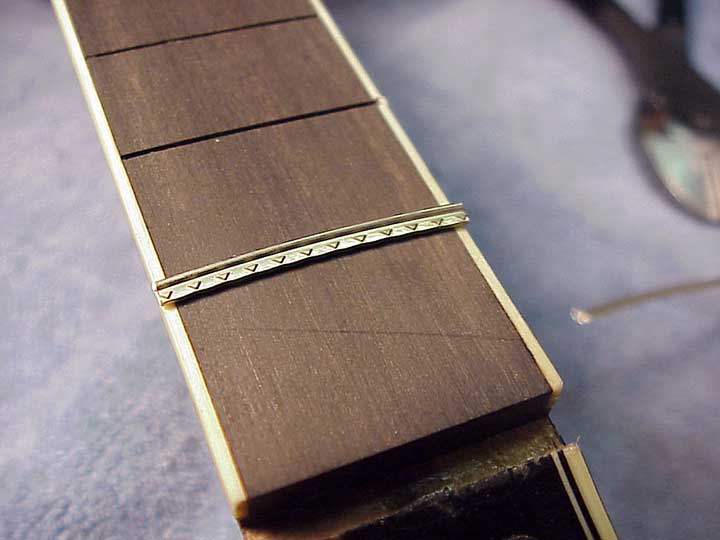
OK, time for my version of that little trick. Here, the goal is to try out a piece of fret wire to see if it will be a good fit in the slot. Same deal, just bend a dogleg in the end.

This time, I tap the end into the board without filing the tang.

If it taps in without too much effort, and I can pick the instrument up to about this height without it dropping back to the bench, I'm satisfied that the wire will fit tightly enough to do the job well. If I miscalculate, I can go back to look for another choice of fret wire, or I can modify the tang by filing, or using my fret tang expanding pliers.
I've got 29 frets to install, so I'll take my time and try to get each one cut just right. First to length, which I like to be just a hair wider than the outside edges of the binding.
Like so.
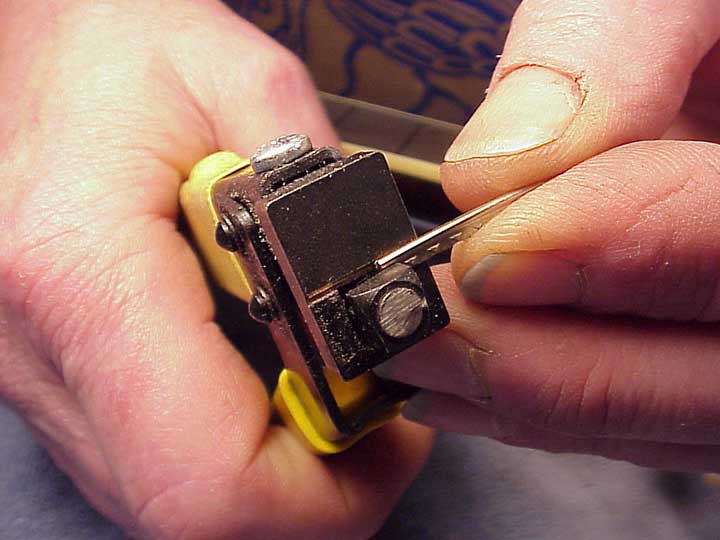
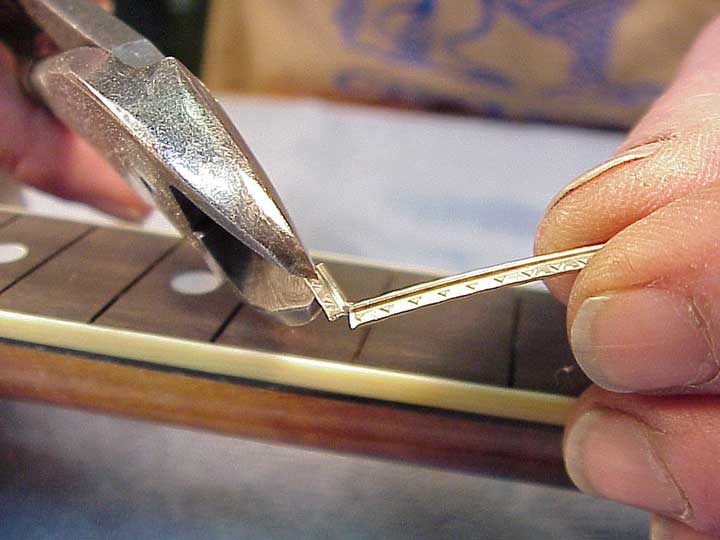
Next I'll use the yellow handle Collings fret tang undercutting tool from Stewart MacDonald. They come in three sizes to accommodate the full range of fret crown widths.
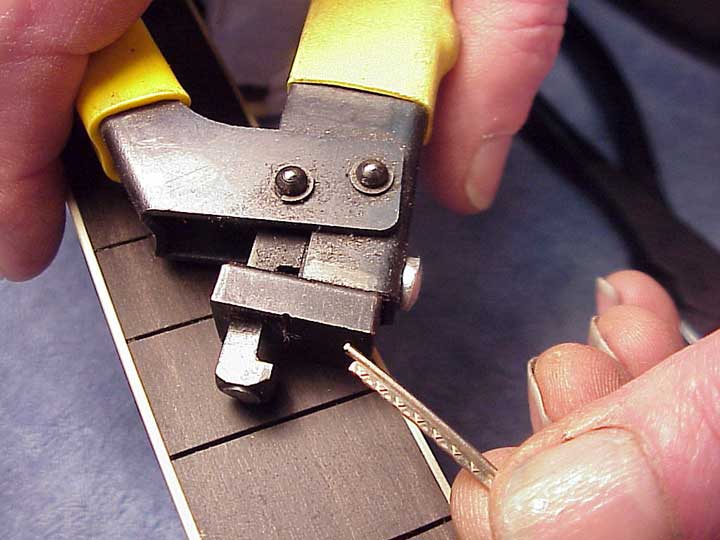
I like to cut each fret to overhang the binding, leaving as much tang as possible to grip in the slot.
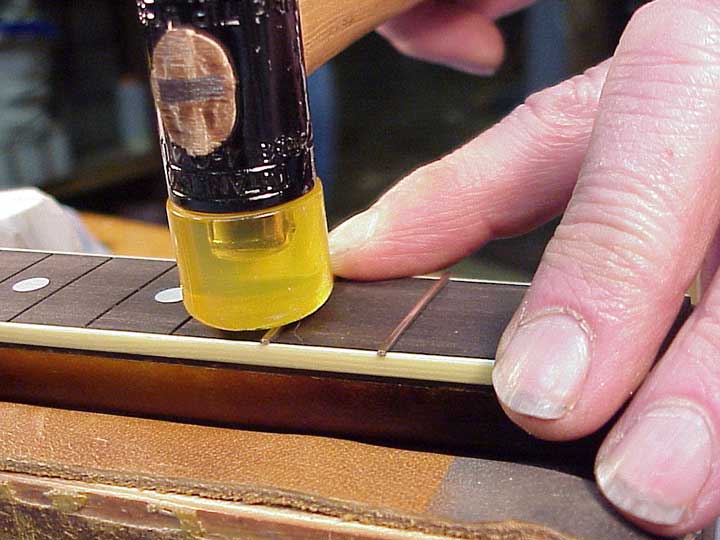
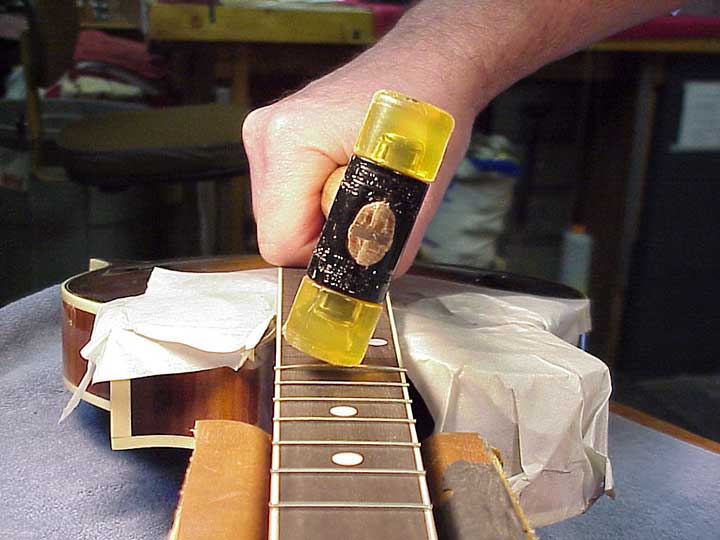
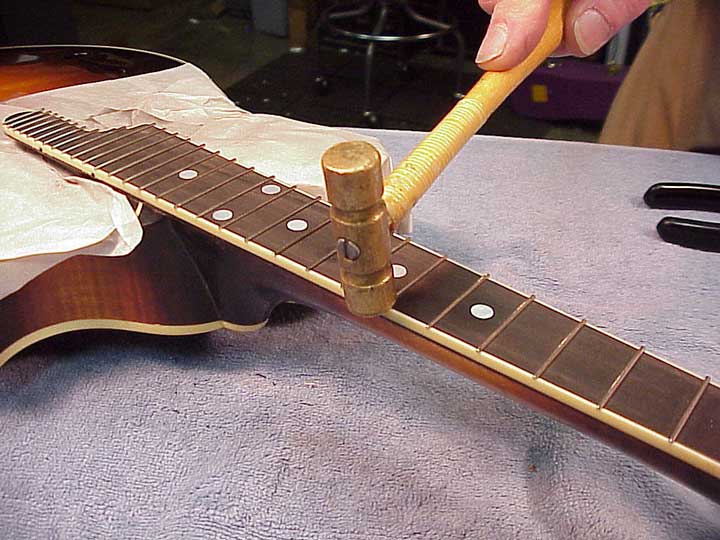
I like to use a hard faced, lightweight plastic hammer to tap frets in place. I have the neck supported on a leather covered block.
Notice how I'm holding the hammer, with the handle parallel to the fret.
Otherwise, if I were to rotate the head of the hammer, I could kink a fret and make it useless.
But with the hammer oriented this way, I'd have to raise or lower the handle to an extreme before I'd run into a similar problem
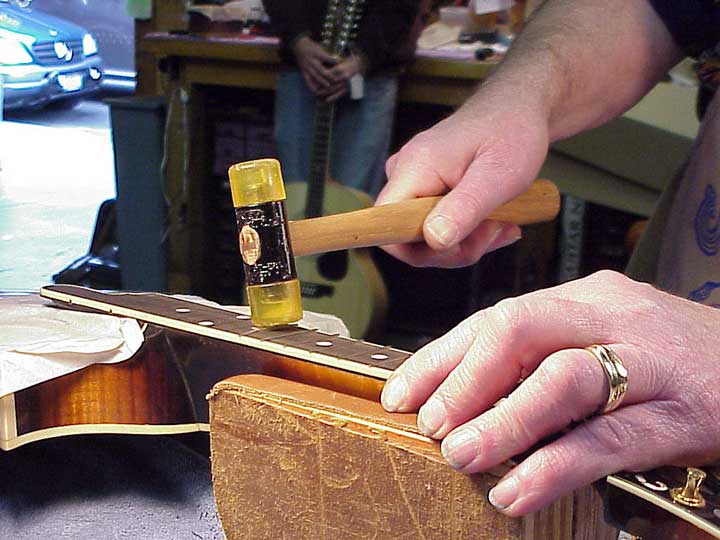
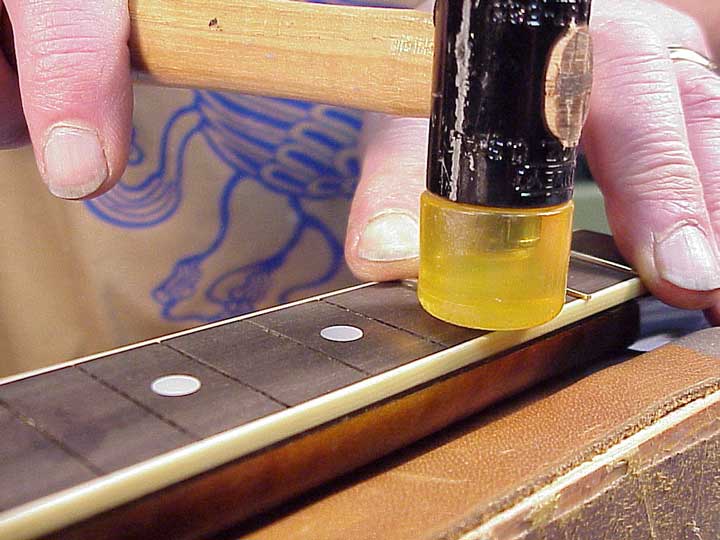
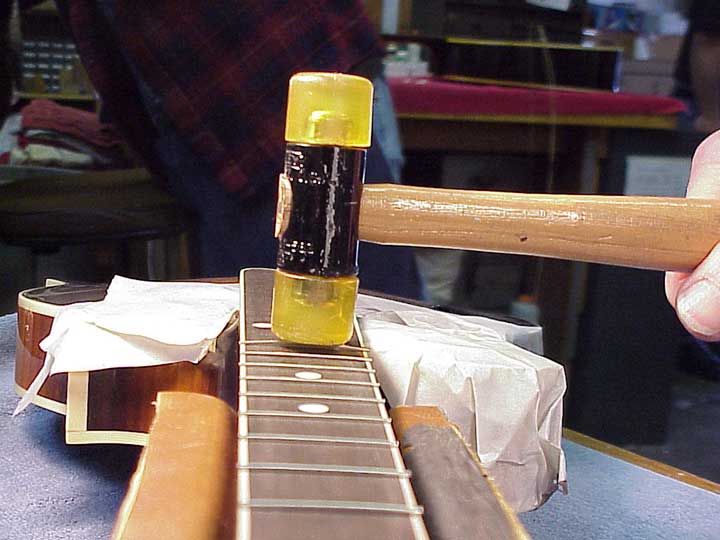
I choke up on the handle and snap the head downward sharply, delivering the lightest blow I can manage. Then, as the fret starts to go in, I increase the strength of the hammer blows until it's seated right down. I like to use as many blows as possible, rapidly tapping each fret up to 40 times.
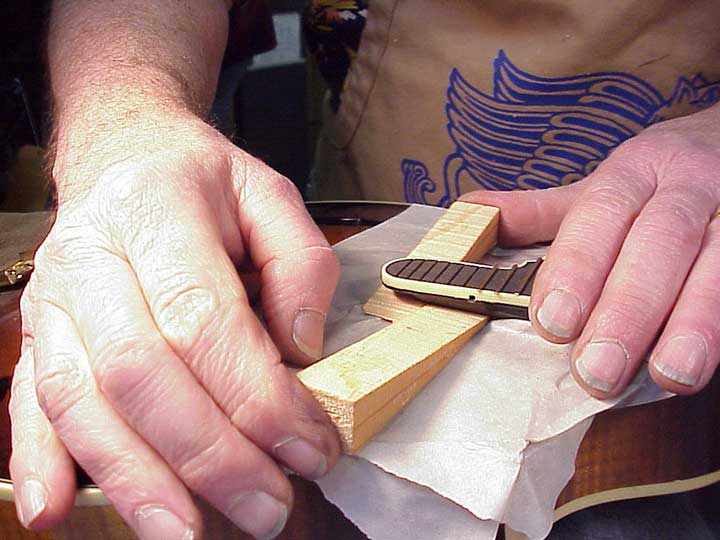
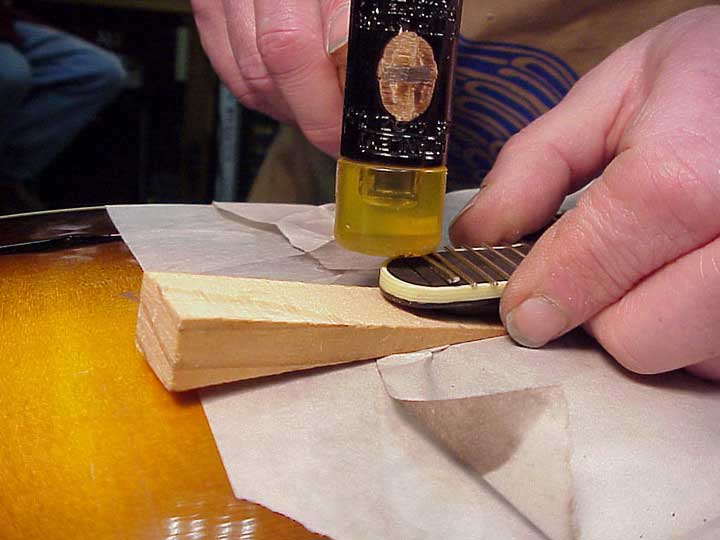
On the cantilever section of the end of the fingerboard, there's little chance of support to withstand my hammer blows. I push in little wedges to help out a bit. After each fret, the wedges need to be pushed back in place.
To make these delicate frets go in easily, I file the tang of each one to a point (in cross section).
That way, they take only a fraction of the effort to seat properly. I may also file the little barbs to make them go in more easily.
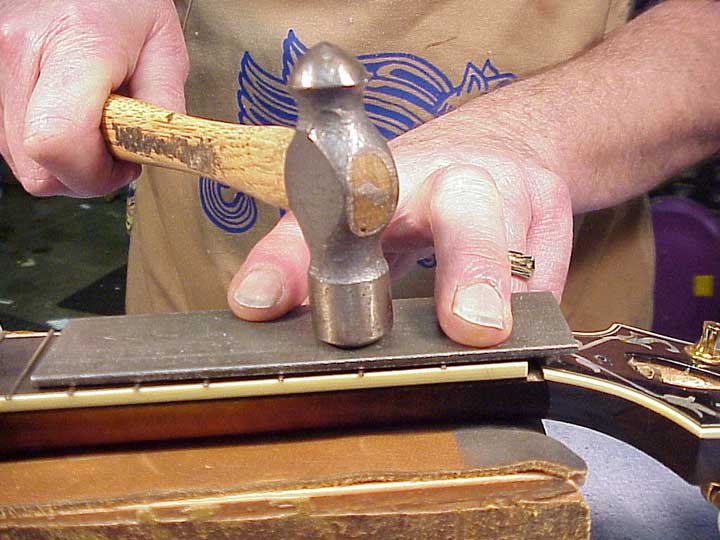
After all the frets are in place, I'll go over the entire fingerboard with a 3/32" thick steel plate and tap them hard with a steel hammer, so I can tap down any frets that aren't properly seated. I never hit a fret directly with a steel hammer, for fear of denting or scratching the fret.
I clip off the ends with my flush cutters.
And, to make sure each end is tight against the binding, I give each one a very gentle tap with my lightest brass hammer.
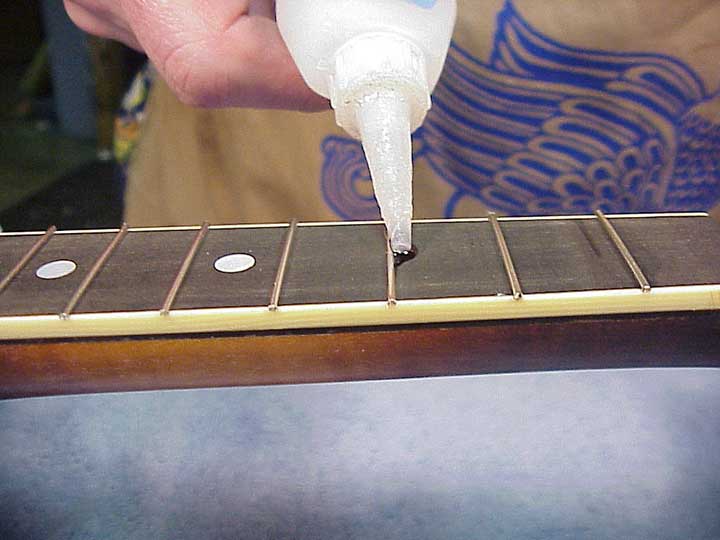
As a matter of insurance, I can use thin viscosity cyanoacrylate to help the frets stay in place. The cyanoacrylate runs in under the fret crowns and down into the fret slots to help hold them in place.
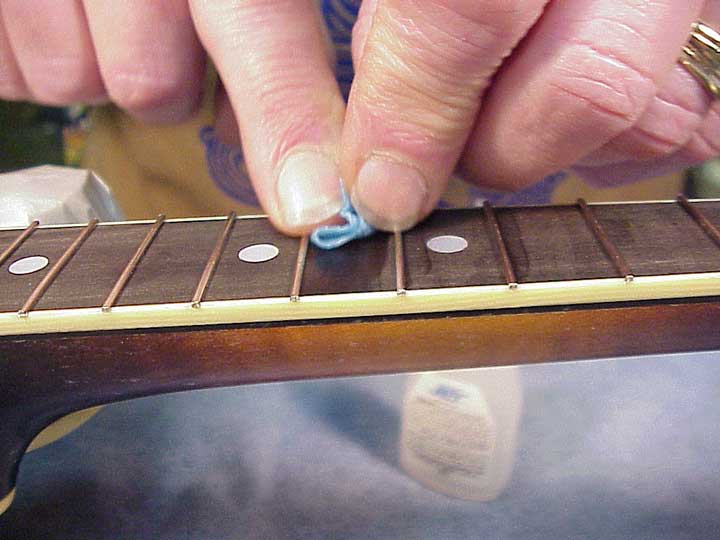
After each drop of cyanoacrylate soaks in, I wipe the excess with a bit of shop towel dampened with acetone. Then, I have virtually no glue cleanup later.
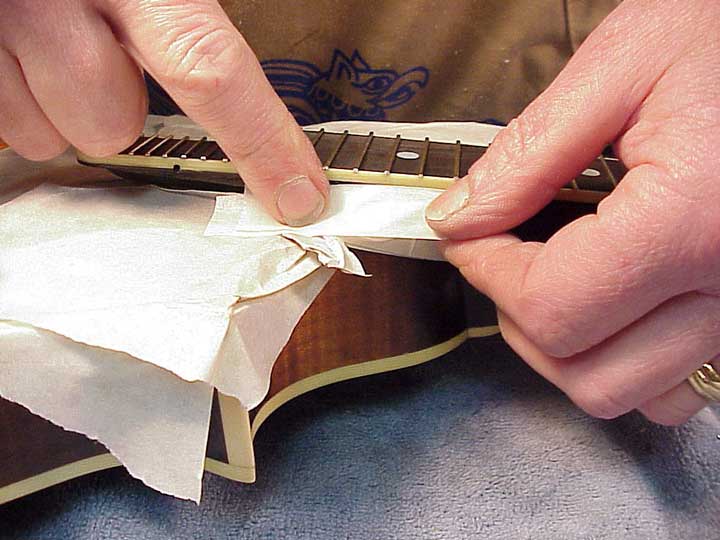
A bit of extra masking tape for protection on the high areas of the top right next to the fingerboard.
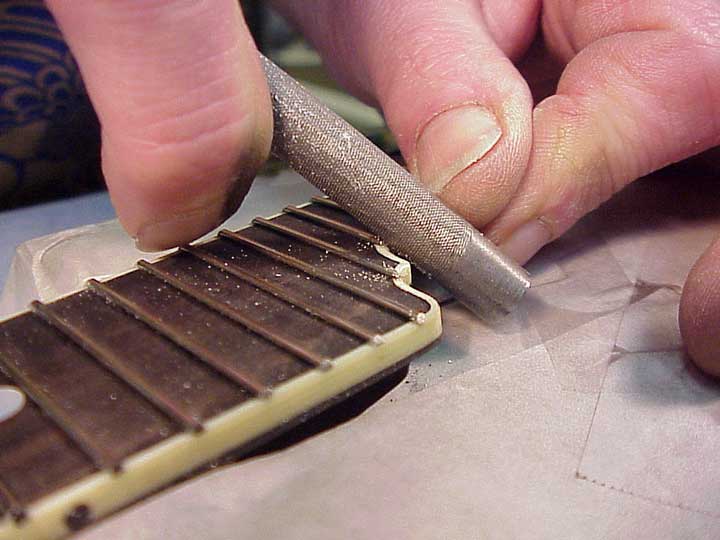
I file the edges to even out and bevel the fret ends, using my safe edge mill file.
Holding the file at approximately 45 degrees to the surface of the fingerboard, I get just the right bevel.
On the cantilever section, a 3/8" diameter chainsaw file is just right for making the inside curves
My safe cornered cantsaw file helps me round over the ends of the frets.
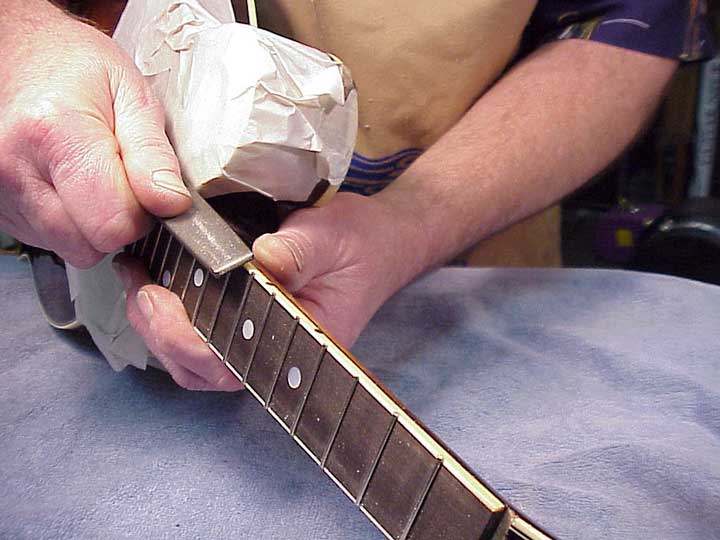
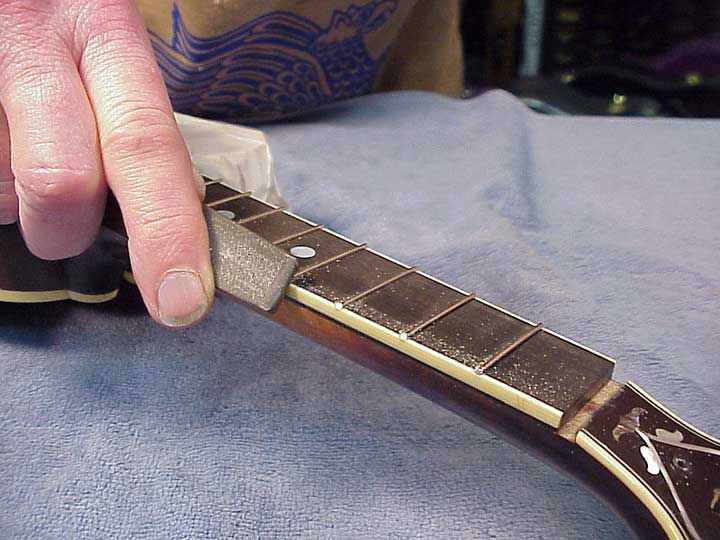
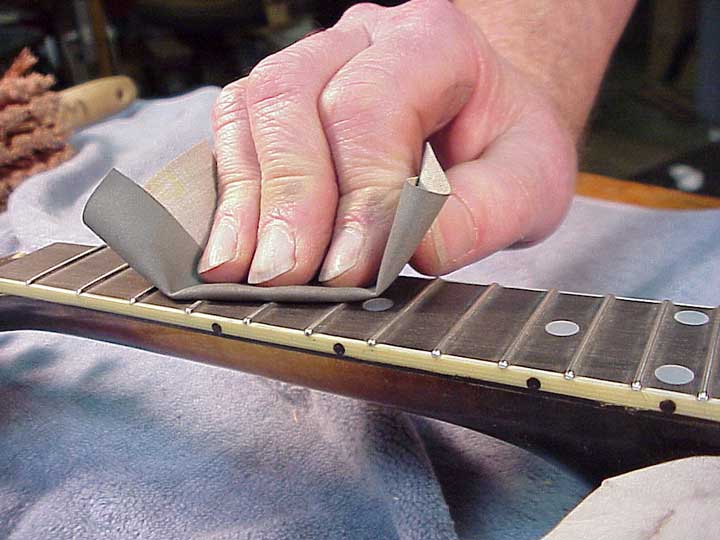
I bring back my jack plane body sanding block to level the fret tops with 600 grit waterproof silicon carbide sanding paper.
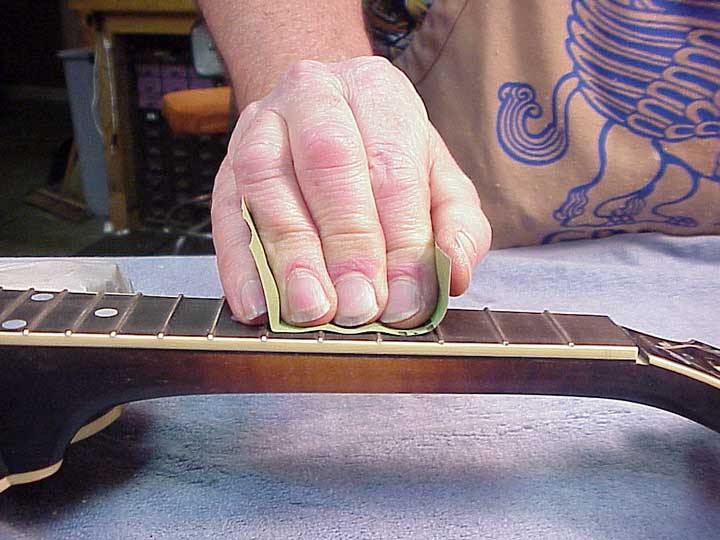
And, I use the same, slightly worn sheet of sandpaper to start the rounding over process, simply sanding up and down the fingerboard by hand.
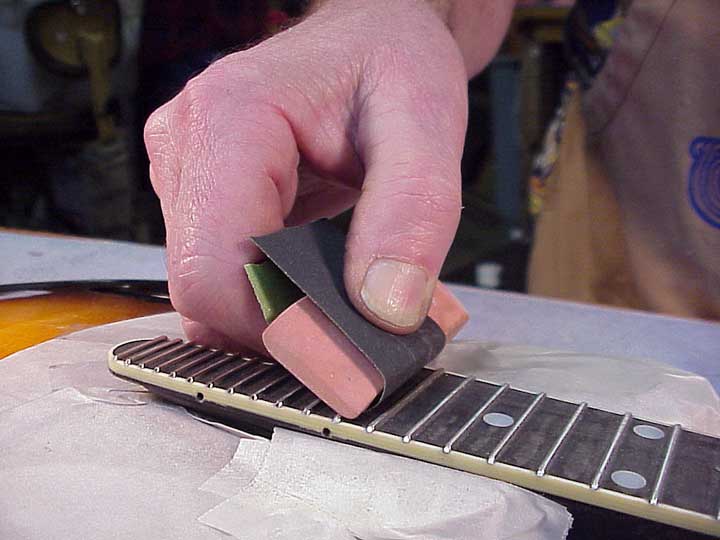
Where the frets are very close together, I switch to a Pink Pearl eraser, and bump over them, holding the corner of the eraser down toward the fingerboard.
Final fret polishing is with Micro Mesh cushioned abrasives, against backed with my fingers or with the Pink Pearl. I run through the various grits from 2,400 to 12,000.
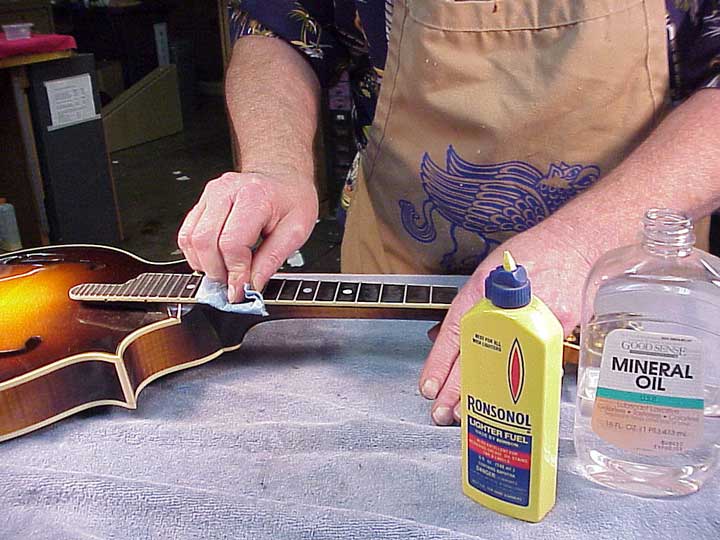
After all that abrasive work, I've managed to grind a bunch of silver gray metal particles into the surface of the fingerboard. A bit of naphtha (lighter fluid) is just the ticket for removing that stuff. A quick wipe with some mineral oil, and the fingerboard looks like a million!
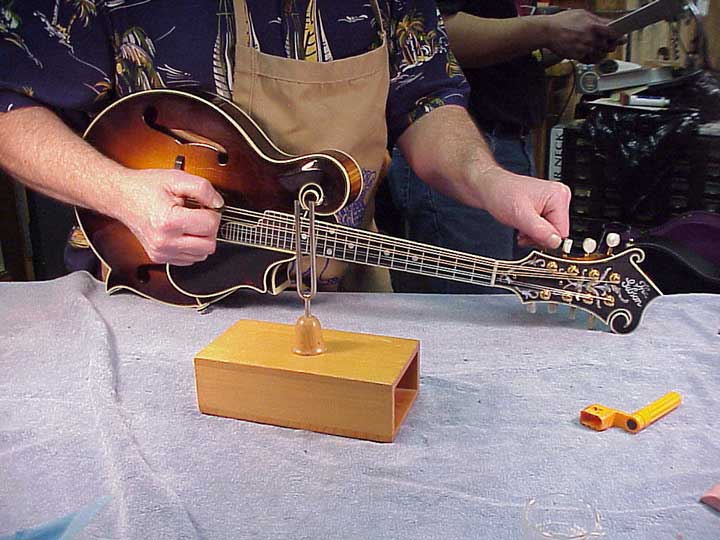
All done. Time to tune up and go for a little test drive