
Installing a Clear Pickguard
The clear pickguard material I like best is the .005" thick stuff L.M.I sells. I sometimes use the 0.003" thick plastic that's sold in stationery stores as laminating sheet protectors. It's clear plastic with adhesive and a white paper backing. Flamenco players need lots more protection, so I'll use the heavier .015"mylar material I get from a classical guitar supplier.
Here's how I go about installing the material over a sound finish. If the finish is already scratched, the pickguard material will not adhere solidly, and there will be the classic little silvery highlights showing through where there's no contact in the scratches. I'd rather see the finish repaired first before installing a clear pickguard!
For this job, I'm using .003" material from the local stationery store.

First, I'll clean the area with water and a little detergent. Just wiping with a rag is likely to cause dust to be attracted by static electricity:
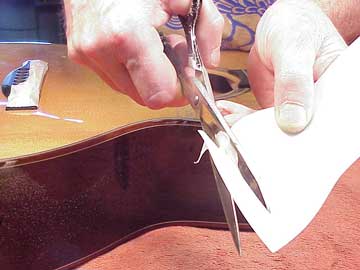
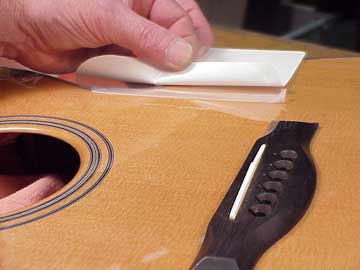
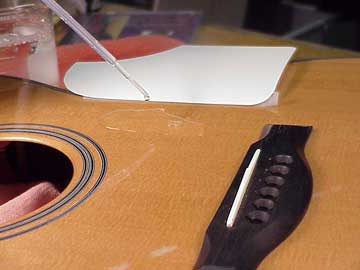
I can cut the pickguard to the exact shape I want with a pair of sharp scissors, checking the fit around the soundhole, bridge, or body contour:
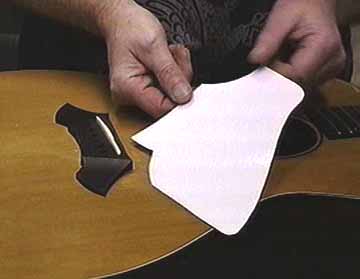
Here, my customer wanted a big guard that fits right next to the bridge and soundhole edge. I must be careful not to let the pickguard actually touch the bridge so that later the edge won't buckle up.
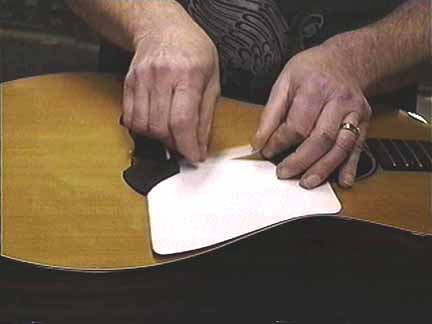
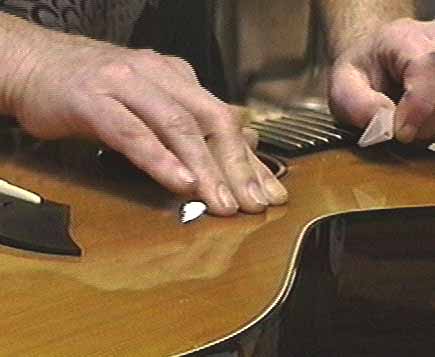
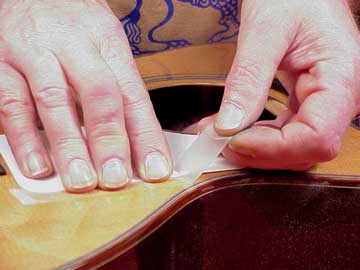
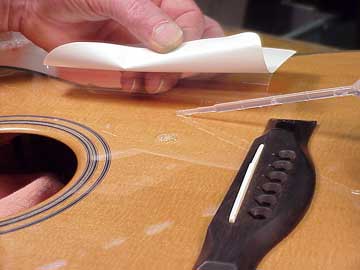
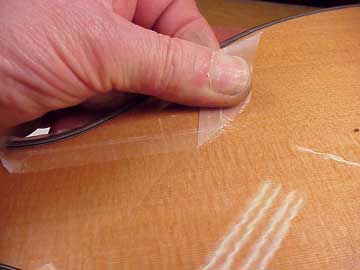
Now I'll place the guard in the exact position I want, and I'll tape down the straightest edge. That way, I can fold the guard back on the tape "hinge" and place it back precisely and quickly:
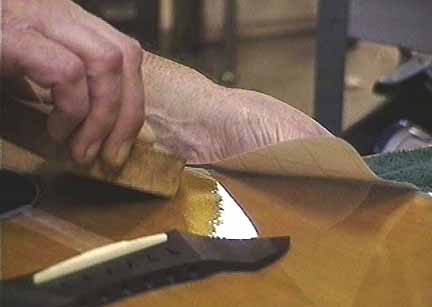
I'll open my little "pickguard door" and start peeling the backing paper away right next to the hinge:
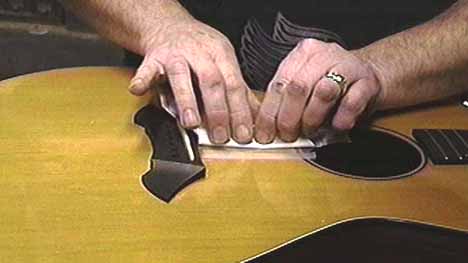
Here I have just about 1/2" peeled back.
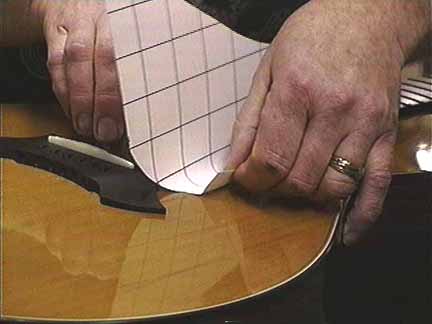
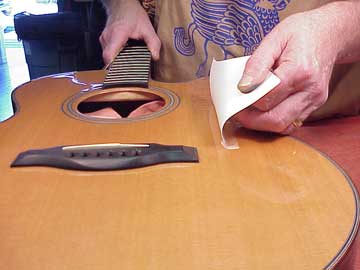
I can now fold the pickguard back into position, rolling it downward starting with the taped "hinge" edge:
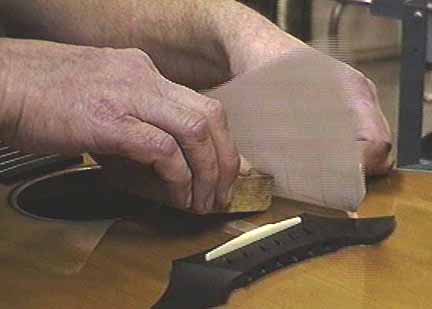
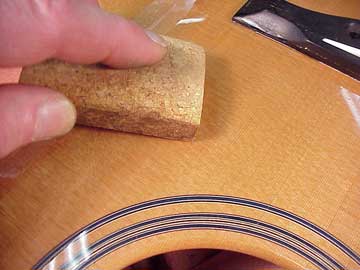
I'm using the leading corner edge of a cork block as a squeegee as I'm rolling the guard down and pulling the backing paper away.
If I work carefully I can get the pickguard down without any major air bubbles. I'll have to start over if I get trapped air bubbles!

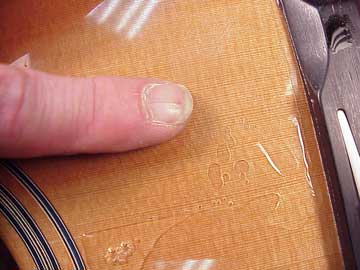
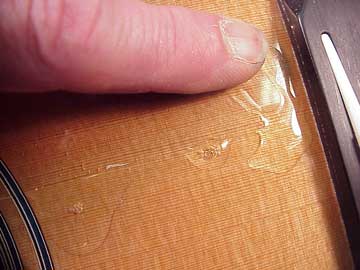
Now I'll "iron" the pickguard down to get the best contact I can. Usually there are tiny areas that appear silvery but these will disappear in a day as the adhesive flows microscopically.
The job is done now, and the pickguard is hardly visible from across the room.
Later, if I need to take the pickguard off, I'll warm the area with a hairdryer to soften the adhesive, and it'll come off cleanly. Any residual adhesive is easy to remove with a little mineral spirits.
If I'm really being super neat, I'll use water under the pickguard as I "roll" it down into position. The water displaces all the air bubbles and makes for a very clean installation. It takes more effort and it's a bit messy, but it works!
"Wet" Pickguard Installation
Here's the same job again, this time using a slightly thicker (.005") material, available from L.M.I.
Cutting out the shape:
Taping it in position:
Folding the "hinge" back:
Starting the "peel"
Ready for the water -
I'm using just a drop of detergent in about two cups of water, just to help it flow out a bit. I've leveled up the guitar so the water won't run straight off, and I'm flooding it on in as big a puddle as I can:
Notice that I've stuffed a lot of rags inside the guitar for obvious reasons.
Adding more water as I roll the pickguard down:
See how the water floods out and carries all the air bubbles with it:
Pressing and smoothing with the corner of my little cork block:
I have to be really careful pulling off the tape, because the adhesion of the pickguard won't develop fully for a few days:
I'm pulling the tape across, holding it flat to the guitar top so I don't tend to lift the new pickguard.
The water keeps static electricity from attracting room dust, so the job goes a bit cleaner that the dry method.
Pretty amazing, but the process makes sense when you think about it. Being non-compressible, the water squeezes, leaving nothing but the original adhesive between the Mylar and the guitar top. In the coming days, the tiny residue of water will be absorbed through the instrument's finish, and adhesion will be just the same as if I hadn't used water.