
Banjos
Restringing Clinic:
A with all instruments, we have to attach the fixed end of the string first. On a banjo that means dealing with the tailpiece.
Tailpieces have been made in an endless variety.
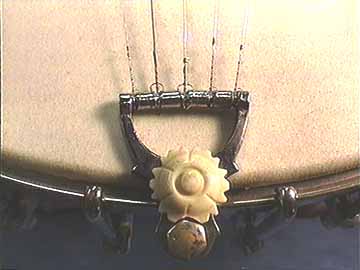
Some are very simple, like this S.S.Stewart "Common Sense" tailpiece:
Here, the strings are simply tied on. Or, in the case of steel strings with loop ends, they are cinched on by passing the string through the loop. This and many other very early tailpieces were originally designed for gut strings.
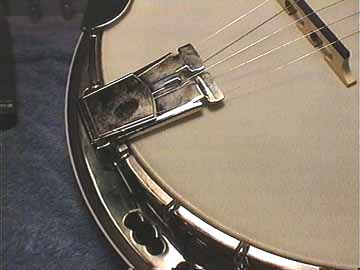
Some tailpieces have covers over the string ends:
Some don't:
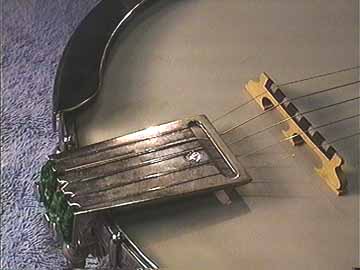
This one is very heavy and adjustable in all directions.
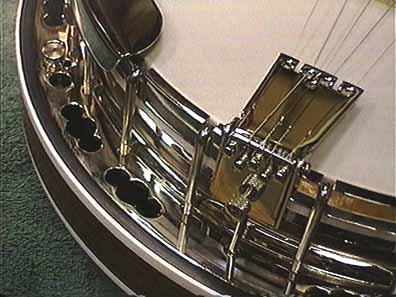
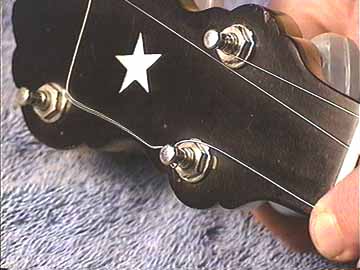
All tailpieces that have a long reach like these are designed to hold the strings down toward the head, some more than others. That means that they all should be strung in such a way that the string comes out from under the front edge. So, the string hooks around the corner passes up over the top, and down through, or around something at the end to hold the string downward:
It may seem simple presented this way, but in the heat of dealing with unruly strings, some folks get a bit confused and run the string out over the top, losing the effect of the length of the tailpiece.

The first thing to do is to make sure the loop fits over the hook on the tailpiece. Some tailpieces, such as the heavy one above, have very large hooks and the loop must be made a little wider to fit. That's easy, just stick a pencil through and make the loop more round:
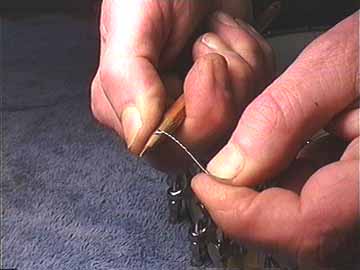
Some tailpieces have hooks that are hard to reach, or that don't hold the loops too well until the string is tuned. Bend the loop to fit the contour of the tailpiece if necessary. Hold the end down to the pointy end of a pencil and just roll the loop around:
You'll get a nice smooth bend that way. For more about bending loops, check out the mandolin restringing article.
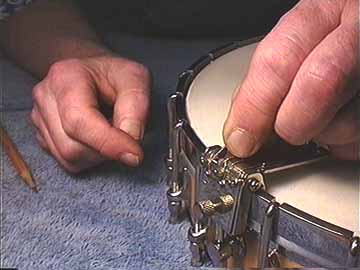
Then, just slip the loop end over the hook:
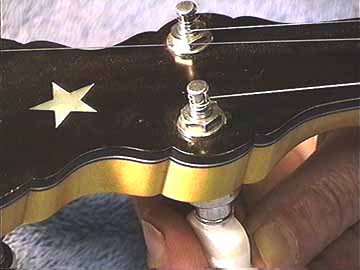
And run the string up over the tailpiece, and under the bar in front:
I'm holding the string down with my finger and slipping it under the bar.
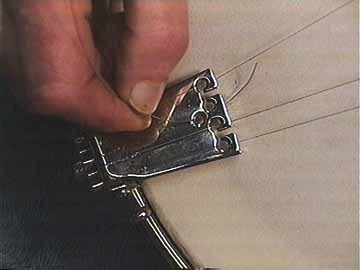
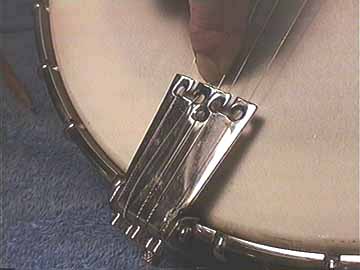
If your string has to go down through a hole in the front of the tailpiece, just bend a curl at that end of the string so when you insert it into the tailpiece it will be easy to grab and pull through. Also, that way you won't be likely to poke a hole in your head:
Here comes the nasty part. All instruments with tailpieces have movable bridges. That means when the strings come off, so does the bridge.
It's important for all banjo players to know how to position their bridges.
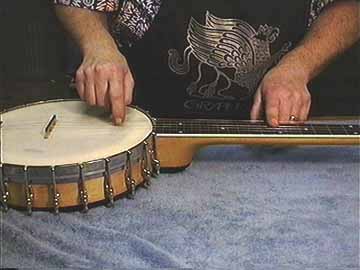
The conventional method of placing the bridge is to play the harmonic of the first string at the twelfth fret and compare to the fretted note. If you just barely touch the string directly over the twelfth fret and pluck the string with your finger, you'll force the string to vibrate at exactly the octave note:
Then by playing the note fretted at the twelfth, you can compare the two. If the fretted note is sharp by comparison, just move the bridge toward the tailpiece and try the comparison again:
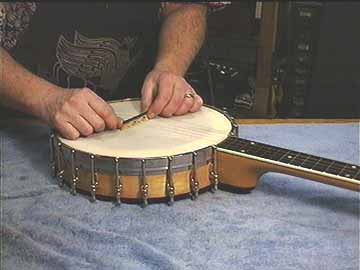
If the fretted note is flat, then just move the bridge toward the neck. In no time you'll get it exactly right for the first string. Then do the fourth the same way. Now you have the bridge in approximately the right position. Later, you may want to readjust to compensate for different strings or tunings.
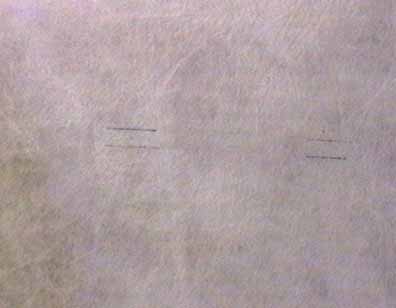
Lots of players make little marks on their banjo heads to save time in relocating the bridge after changing strings:
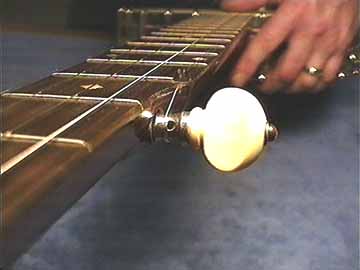
Now its time to wind things up at the other end.

Most banjos have geared tuners these days, but the old timers like this S.S.Stewart had "friction pegs" with no gearing:
There are no gears; the string tension is held by the friction of the peg tightened against the wood of the peghead. That's why we call the tuners on banjos "pegs" even today.
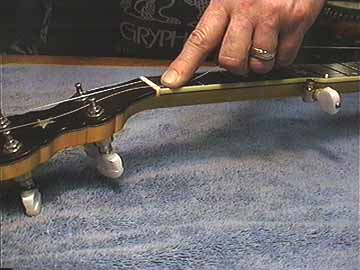
With the string firmly attached to the tailpiece just pass the string through the hole in the tuner post:
Hold up a little slack on the string with one hand as you work at the peg with the other.
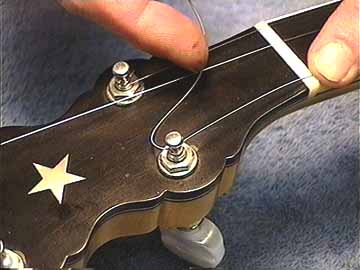
Bring the free end of the string down between the pegs:
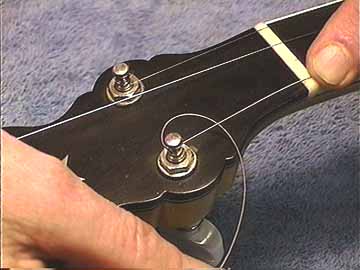
And around the post, underneath the string:
Pull the free end back over the string:
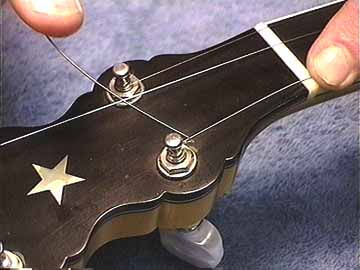
And simply wind up the string on the peg
:
Make the successive turns follow downward on the post:
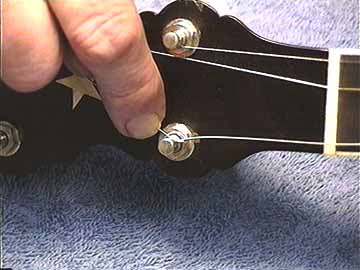
As soon as it is tuned to pitch, just snip off the string right next to the post, and you're done:
I like to have a single turn of string on the peg. More than one turn won't hurt anything, but it's just not necessary. A huge wad of string bunched up on the peg will tend to be unstable in tuning.
Five string banjos usually have a geared fifth peg, which is strung in exactly the same manner as the other four.
Many older five string banjos have friction fifth pegs. The string is locked on there in just the same manner as the other four, but the peg itself is more likely to cause trouble.
The following is a quick guide to making your friction fifth peg more cooperative.
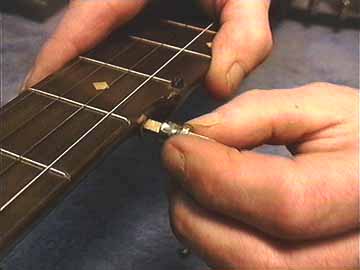
This innocent looking fellow can cause a lot of headaches. If the peg is loose in the neck, a light tap with a plastic hammer should seat it in its tapered hole. If that doesn't work, a trip to your local banjo mechanic may be in order.
Here's a maintenance tip that has saved many a peg from being replaced!
Unscrew the button:
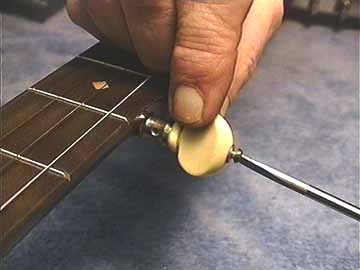
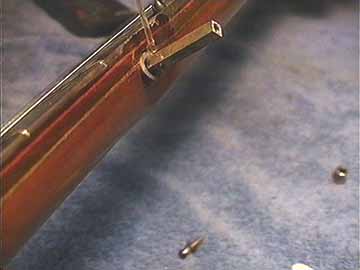
Take off all the parts:
And place a single drop of oil on the shaft as it enters the housing:
That's the dispenser tube from my bottle of Tri-Flow, a great lubricant that's sold in bike shops. It's perfect for instrument tuners, because you can dispense one drop exactly where you want it.
Spin the shaft around with your fingers until you feel that the oil has penetrated and made it turn more smoothly. Oil the threads on the screw and reassemble the peg. It will probably work better than it has in many decades!