
The Fishman Matrix Pickup
Want to see exactly what we do when we install your pickup?
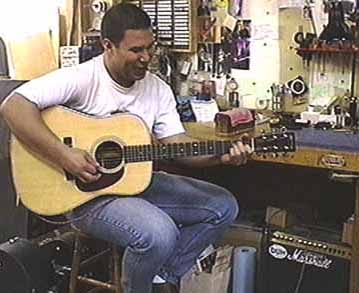
Gryphon's Mike Gold installs The Fishman Matrix Pickup
Nearly the standard of the industry, the Fishman Matrix is the most popular guitar pickup at Gryphon. It is the pickup of choice for the Taylor Guitar Company, and of C. F. Martin Guitar Company. (Martin calls it the Martin Thinline Gold Plus.)
This pickup combines good output, a natural acoustic tone, reasonable price and the lowest feedback of the best known pickup styles. It's the natural choice for the casual user and is equally popular among professionals.
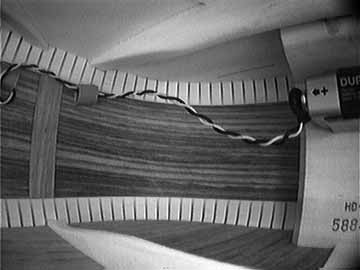
The sensing unit is a small foil covered flexible strip that sits within the bridge right beneath the saddle. A tiny wire drops down through a hole in the bridge and connects to the preamp which is affixed to the inside of the endpin jack at the end of the guitar. Another wire connects the battery clip which is attached to the neck block on the inside of the guitar. About once a year, you just reach in, pull out the battery and clip on a new one.
To keep intrusive surgery to a minimum, there are no onboard controls. You can get an outboard volume and tone control unit, or you can use the controls on your amplifier or PA board.
Here's how Mike goes about installing the pickup.
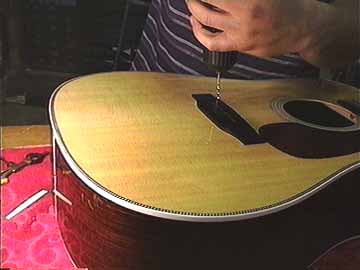
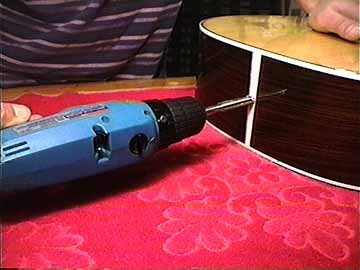
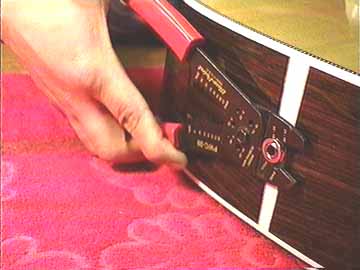
First, he's drilling a small hole in the bridge, in just the right location so that the pickup sensing strip will be centered across the span of the strings:
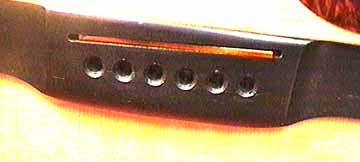
Here's the pickup sensing unit in position in its new home:
Vintage style Martin and other guitars may have a "through-cut" saddle that presents a particular difficulty for pickup installation. Here's how we deal with that problem.
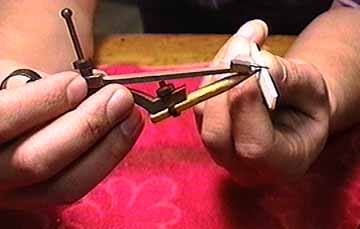
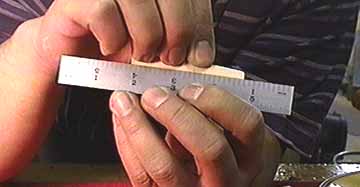
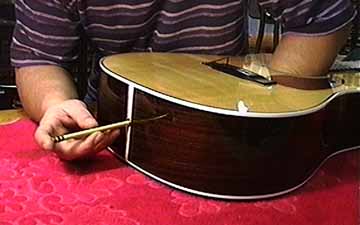
Because the pickup will effectively raise the saddle, Mike needs to remove exactly the same thickness of material off the bottom of the saddle. He sets his dividers using the pickup itself as a gauge, then marks the bottom of the saddle:
See, he's got a very nice mark to guide his work:
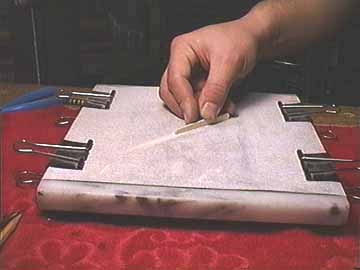
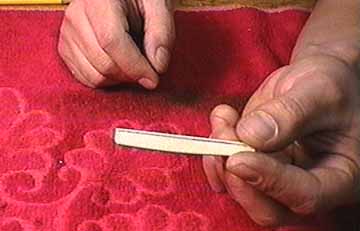
He'll carefully file the saddle right to the line, and then make sure that the bottom is absolutely flat by sanding it on a flat marble plate:
It's necessary that the saddle and the slot in the bridge be perfectly flat because the pickup sensing unit responds to the up and down vibration of the saddle, and we want exactly the same pressure under each of the strings.
Mike's checking the saddle for flatness, just to be sure:
He can see the tiniest variation by holding it up in front of a strong light. Any deviation will show light between the pickup and straightedge.
Now to the end of the guitar.
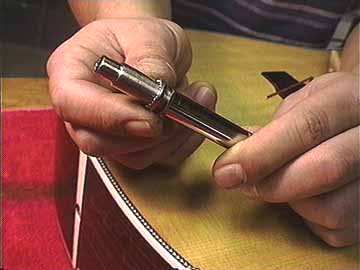
First, he removes the end pin, which is tightly fitted in a tapered hole. He can pry it out with a pair of diagonal cutters bearing on a cork pad to protect the finish:
The hole in the end block must be enlarged to 1/2" diameter, and drilling would be very risky. We've seen any number of instruments with big chips ripped out from well intentioned but unskillful drilling!
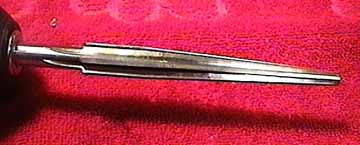
Mike's going to use the specially designed reamer from Stewart-MacDonald because there's absolutely no possibility of tearout from this fine tool:
It's a reamer that tapers for most of its length, but ends in a straight section exactly 1/2" in diameter. That way, the hole is gently enlarged to a very clean cylindrical hole.
In fact, the pickup fits more precisely in a 15/32" hole, and Stewart MacDonald has just introduced a reamer with 15/32" final diameter. But, the 1/2" size works just about as well, and with the slight extra room in the hole the strap jack assembly is "self-aligning" as the nuts are tightened. That's handy in case the hole is not exactly perpendicular to the neck block.
Here he goes:
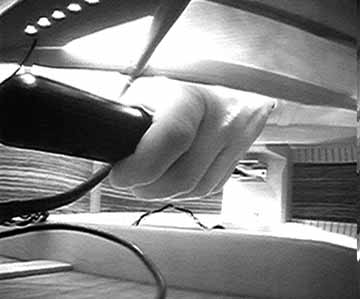
Once the hole is drilled, Mike sticks a pencil in from outside to "fish" out the pickup he's holding inside the guitar. It's easy to find the hole this way, because he's working "blind" with his arm filling up the soundhole:
He sticks the jack through from the inside, pulls it back out, and sets the internal nut to the right spot to get the jack to stick through the exact amount necessary:
This may take a couple of trial fittings, but it's quick work, and vital to the mounting of the strap jack.
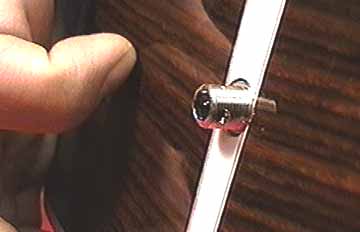
As you can see the jack has a smaller diameter thread sticking outside the guitar body, and a little shoulder that needs to land just below the exterior surface:
Once he gets the depth set, Mike returns to the outside to solder up the wiring.
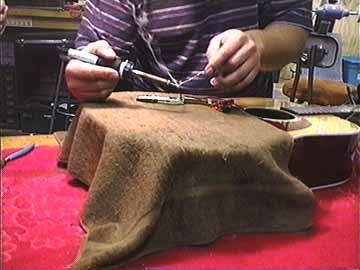
One drop of hot solder would burn clear through even the strongest finish, so all the hot work gets done with plenty of protection for the guitar!
Two layers of bath towel may be overkill, but it never hurts to be safe!
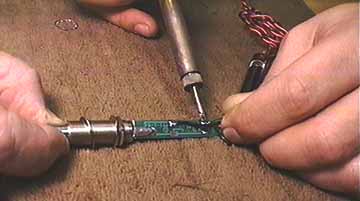
Mike's soldering the connections from the pickup sensing unit wire, which is just long enough to allow working outside the guitar once the sensing unit is installed:
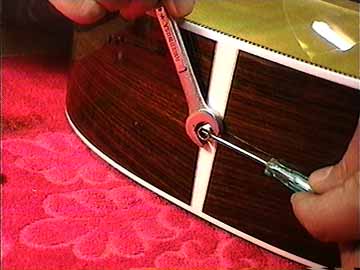
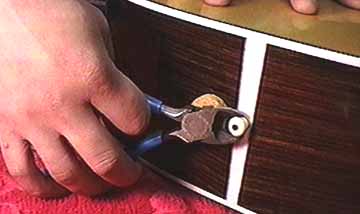
After soldering up, he can tighten the jack in place:
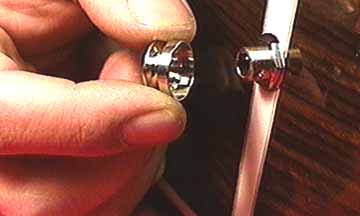
There's a little nickel plated cap that screws over the jack to become the strap holding end pin:
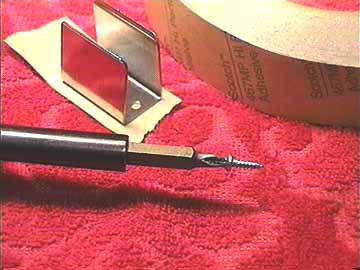
It's important to tighten the cap so the strap can't work it loose. Mike uses a little trick that he learned from Bill, our electric guitar specialist:
These wire crimping pliers grip the cap right in the strap groove so they don't scratch the plating.
The last job is to screw the battery clip to the neck block inside the guitar. It's a three hand job. One to hold the screwdriver, one to hold the screw, and one to hold the clip in the right place. Only problem is that you can only get one hand inside the guitar.
So Mike uses double-stick tape to hold the clip where he wants it, and glues the screw to the blade of an electric screwdriver:
Then he can reach one hand into the guitar and get the job done right:
A couple of plastic clips to secure the wires, and the installation is done.
Now the fun part - road testing the gear: