
Handle Post Loops
Case Repair
The best thing about case repair is that it's really easy.
This one's my favorite handle replacement - the post loop. Oh, and before you ask, I get all my case repair supplies from Ohio Travel Bag.
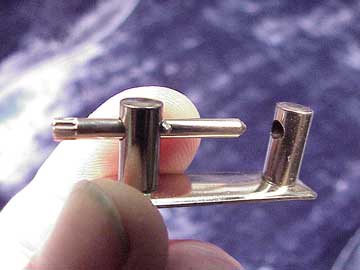
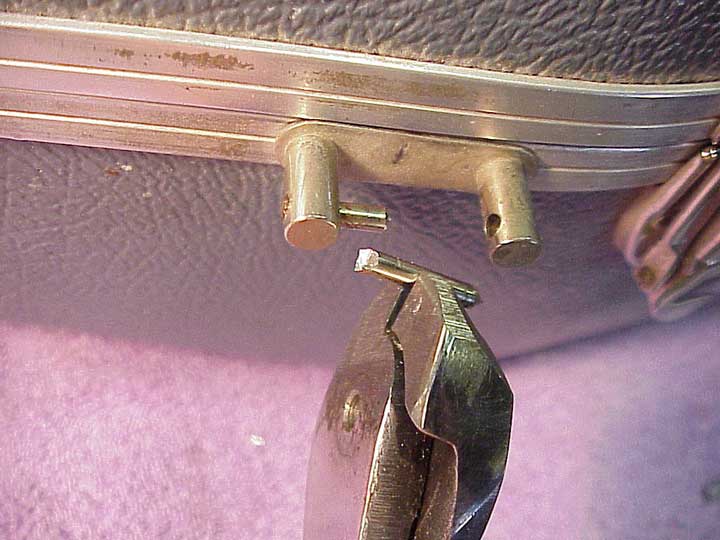
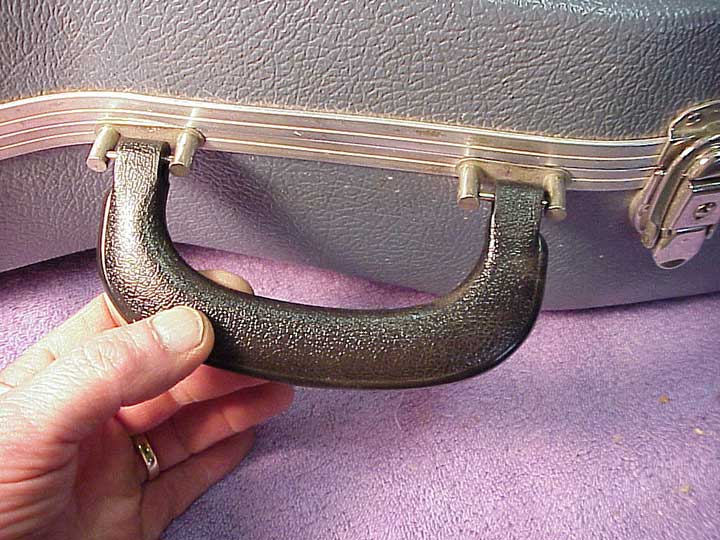
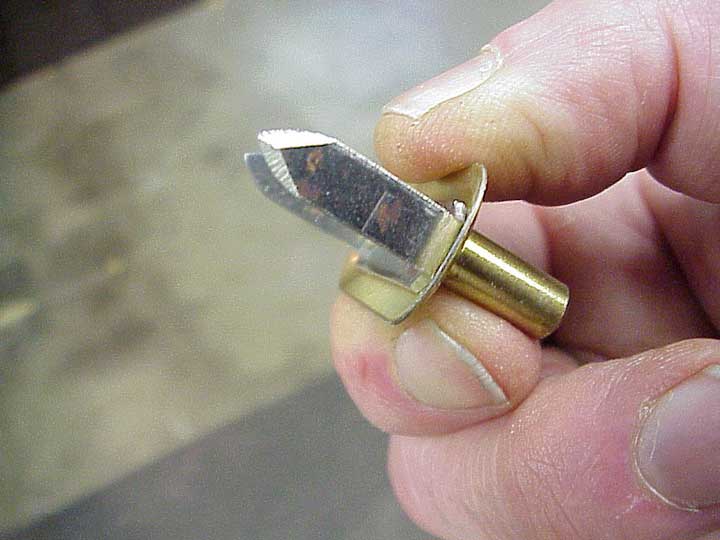
Here's a post loop:
It's the little bracket that holds the end of a handle onto the case. The bracket itself screws or is riveted to the side wall of the case. Notice the little pin that slips through the holes in the posts. It has a knurled portion at the end, so it jams in the post once it's in place.
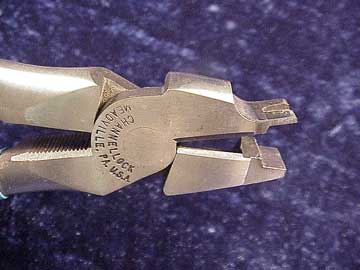
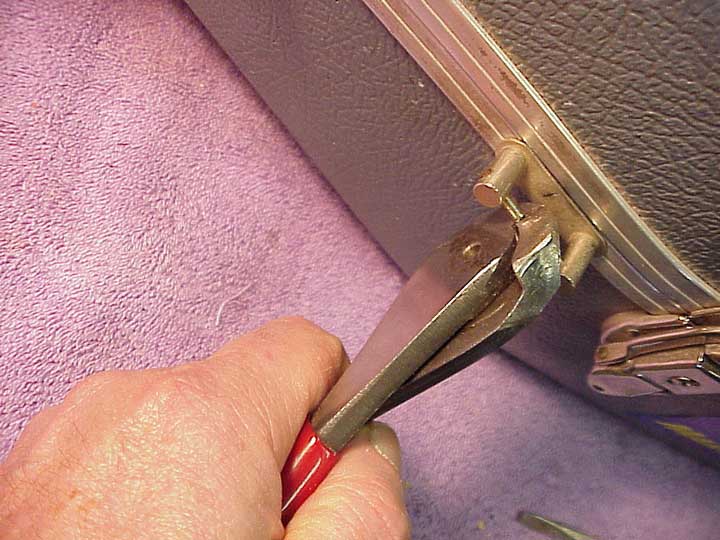
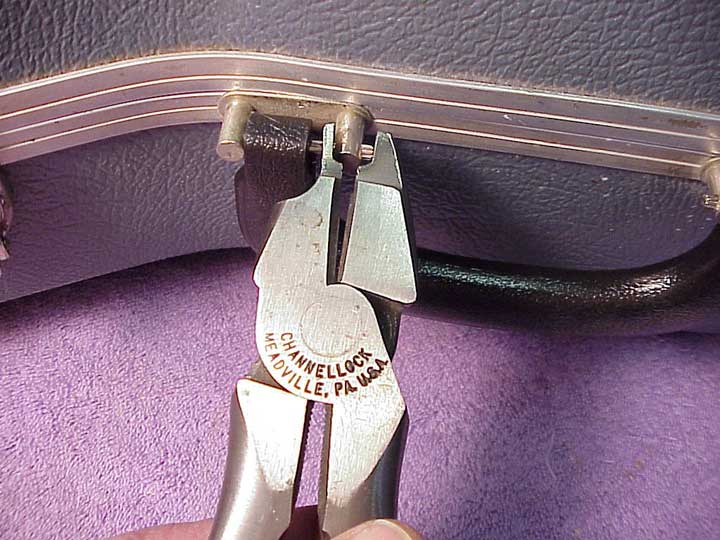
And here's the tool that makes the thing work so well:
A pair of heavy "lineman's pliers" with specially ground ends. You can get these pliers from the same place that supplies literally all the parts you need for case repair, namely the Ohio Travel Bag Supply Co. Check my "Sources" page for how to get their catalog.
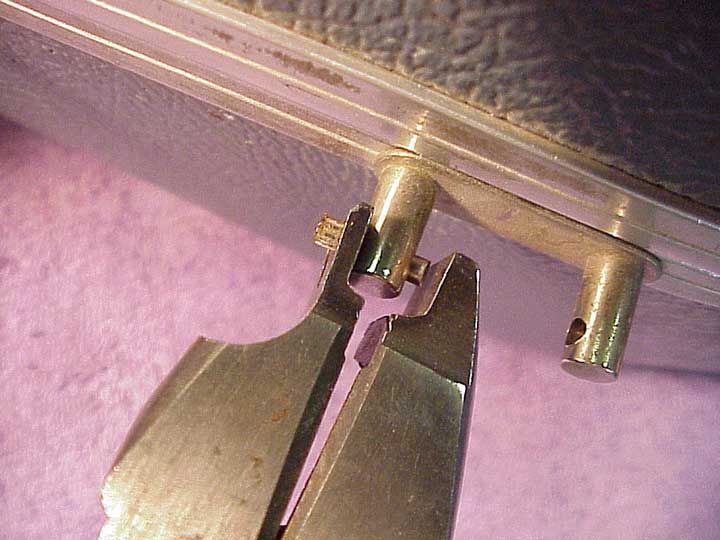
It couldn't be easier - just a quick squeeze and the new pin is in place:
No need to remove the posts from the case. All you have to do is cut the old pin out, chuck the old handle, and install new pins with the new handle.
Couldn't be easier.

Now, with that little introduction, some more technique of post loop replacement and repair.
Post Loop Repair
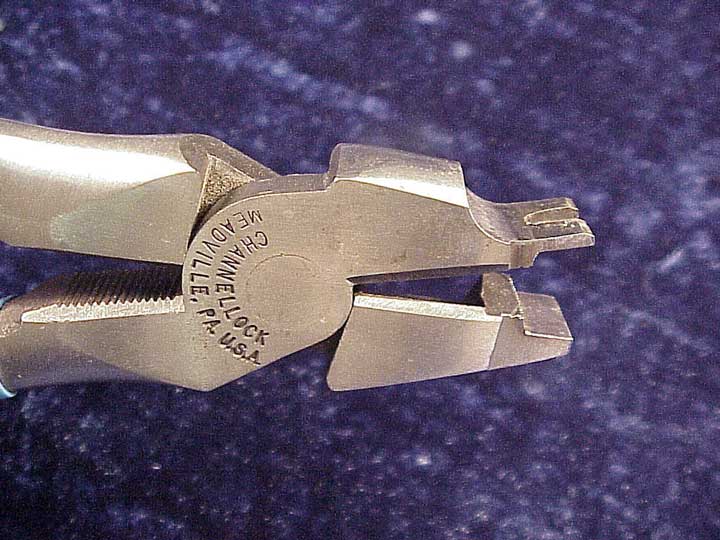
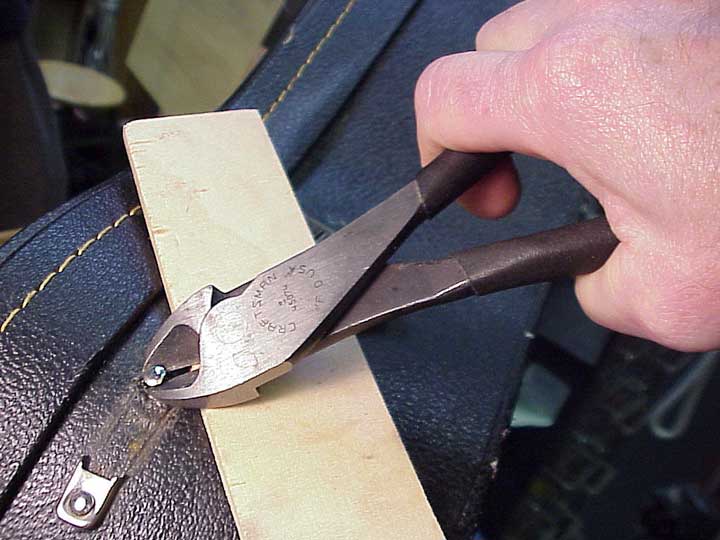
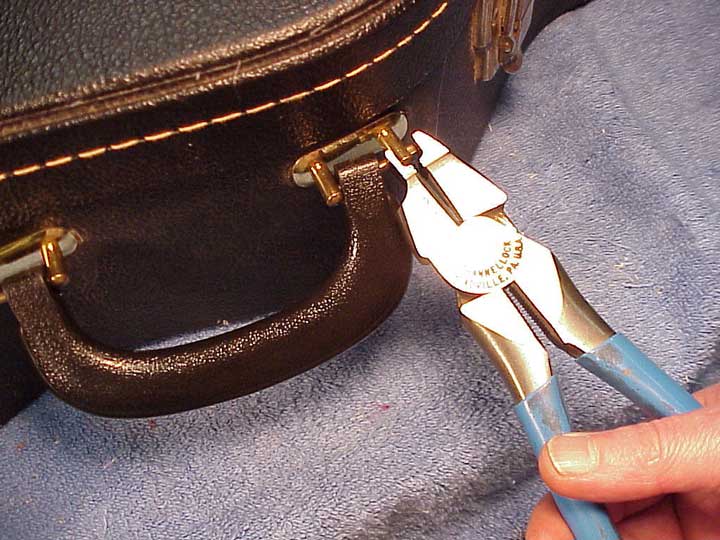
I have two special tools for working with post loops. One of them is the diagonal cutter at the left. The lower one started out the same as the one above, but I ground the jaws to be almost flush cutting, and very short.
You've already met the special post loop pliers.
OK, here's the classic broken handle. It's just a vinyl handle that's failed right where you'd expect it to.
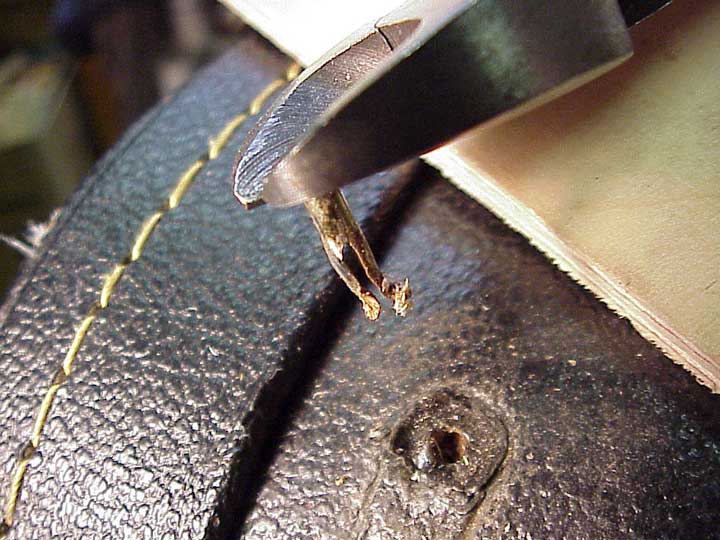
After breaking off the remnants of the old handle, I use my short diagonal cutter to bite the post loop pin right in the middle. I'm simply not strong enough to snip this pin with the regular wire cutter, but with this short one, I get plenty of leverage.
And I remove the loose half of the pin.
Using the post loop tool, I press out the half that's held in place by the splines
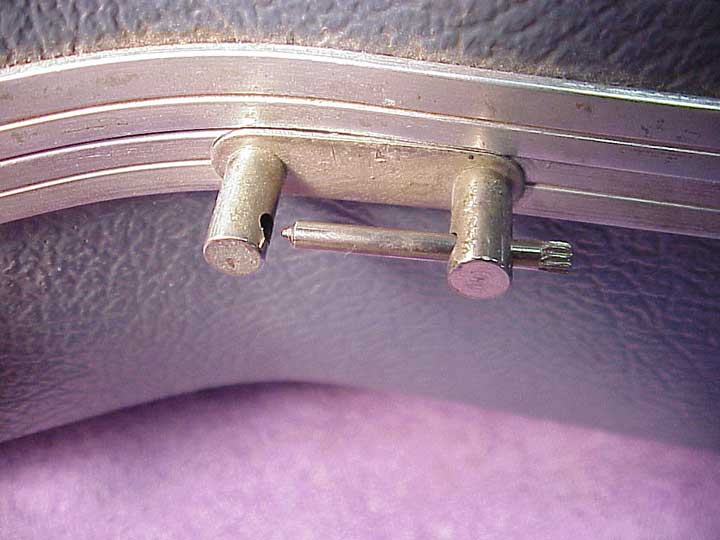
Now the new pin will fit right in place.
A quick squeeze, and it's in place
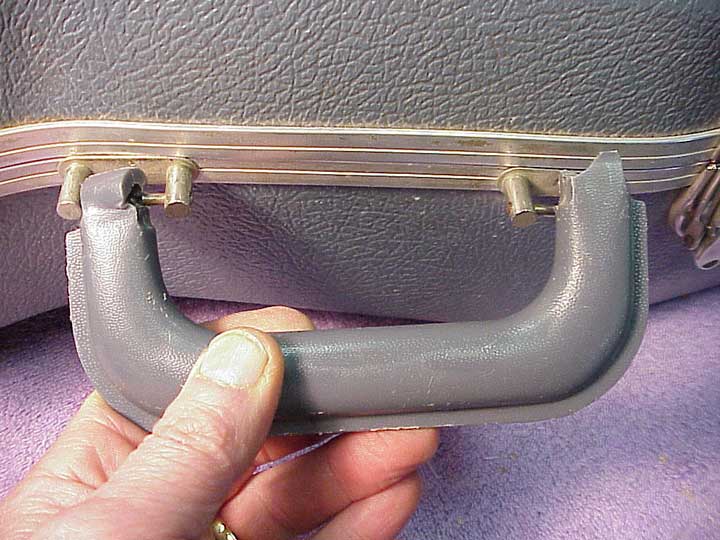
The new handle is in place, and you'd never know it was a replacement. Well, if I had used a gray one, you never know!
Post Loop Replacement
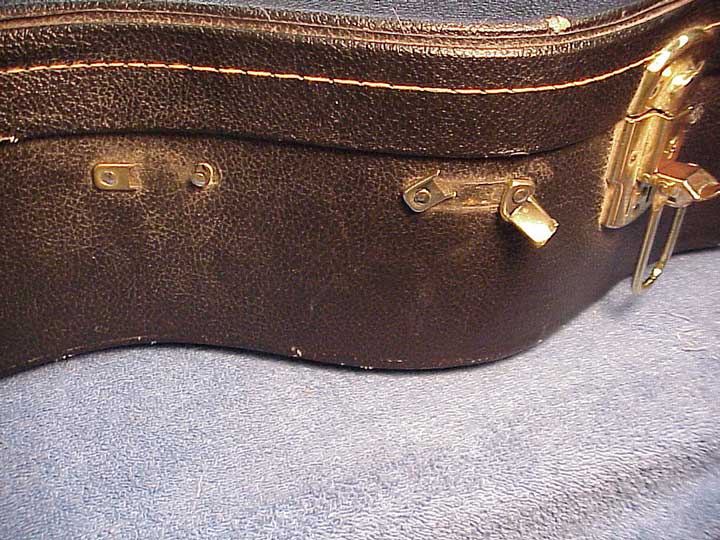
Not all post loops are screwed in place like the ones on the ABS molded case above and on the previous page. Most, in fact, are installed as I've shown below. While molded cases are quite popular, the majority of instrument cases are still made of plywood, covered by imitation faux synthetic.
This case had lightweight handle hardware that broke. It was riveted in place, so I'll just break off the remaining sheet metal parts. I have a piece of leather on the case to avoid scarring it.
Now, I'll yank out the split rivet. I've never seen a split rivet that can resist this kind of leverage, and I've never done any damage to the wood shell of the case by simply pulling out the rivets like this.
Looks like a bad tooth!
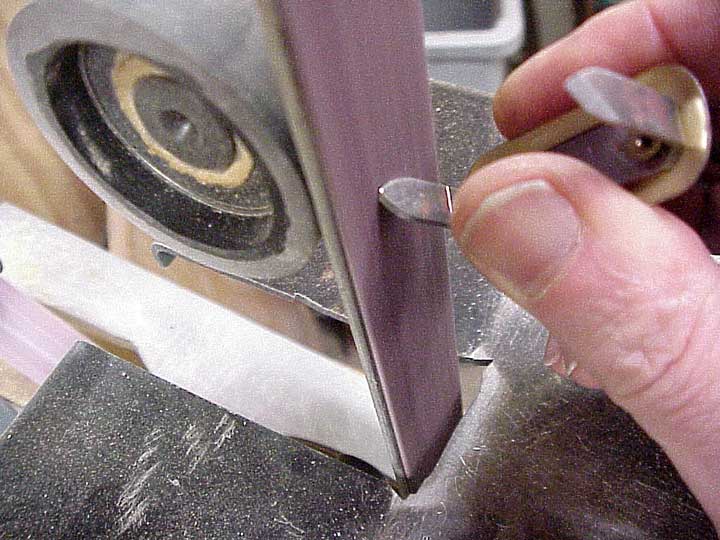
I'll replace the handle hardware with a sturdy new post loop, which comes with steel tabs instead of screws. Here, I'm using my little belt sander to sharpen the tabs to chisel points.
These points are quite sharp.
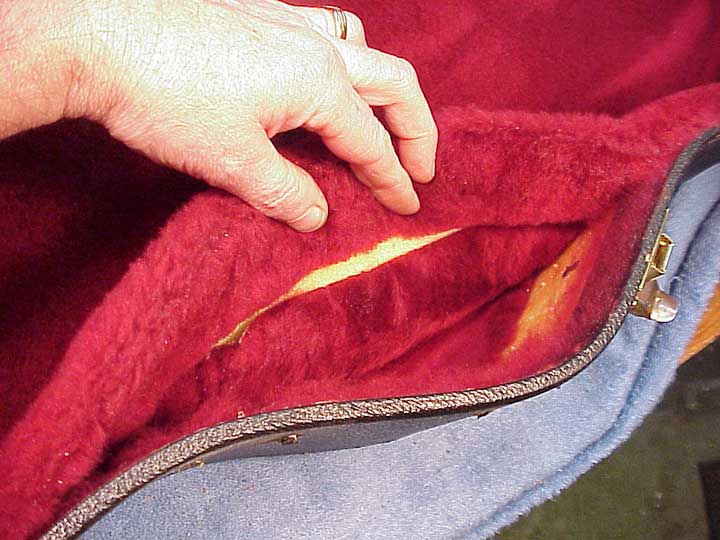
I peel back the lining of the case behind the handle. It's another brute force thing. Sometimes, the padding underneath gets a little shredded, but that never hurts anything.
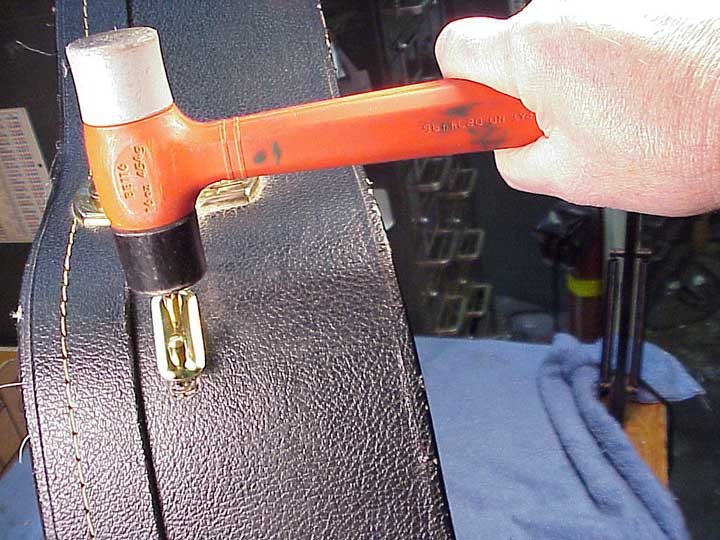
With my heavy plastic mallet, I simply drive the post loop tabs right through the side of the case. I use the old rivet holes as pilot holes. If I'm relocating the handle, I'll drill 1/8" pilot holes and I'll still drive the post loop in place.
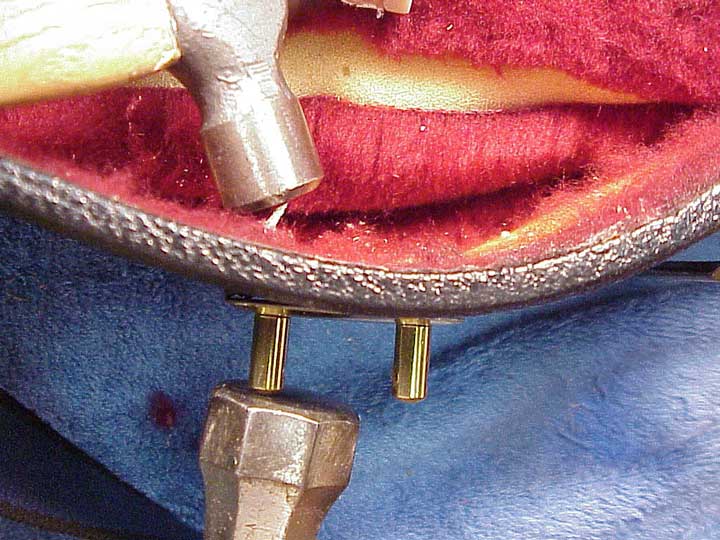
With one hammer on the outside as ballast, I can simply fold the tabs over and crimp them down tight.
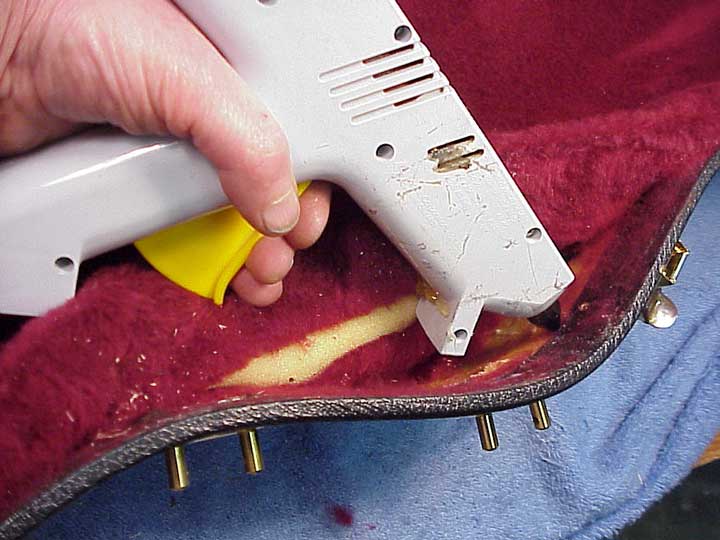
A hot glue gun is the ideal case lining repair tool. Takes only a few seconds to reglue the lining neatly.
With the new post loops in place, a future handle replacement will be even easier. These post loops are far stronger than the original thin hardware. In fact, I've never seen a post loop actually break.