
Collings Guitars
Deep in the Heart of Texas
Photos by FF, 2001, and by Bruce Van Wart for Collings Guitars, 2001
In May of this year, Richard Johnston and I took a trip to Austin to visit the Collings guitar factory. Richard has been there several times, but this was my first trip, so I brought along my digital camera and made a real nuisance of myself, snapping more than 450 pictures in the few hours we had to visit.
Richard likes to stop in every year to schmooze with the builders and to pick out some special sets of Brazilian rosewood and other exotic materials for upcoming Gryphon guitar orders. (Gryphon has the distinction of being the first regular Collings retailer, and as of the calendar year 2000, the largest, too.)
Earlier in the year, Bruce Van Wart took a large number of photographs to present to the A.S.I.A. Symposium in Nashville. He was kind enough to share these with me for this article. I've identified his pictures as "Collings Photos."
This is my most ambitious photo article, comprising 320 JPEG pictures, selected from more than 800 images altogether. I won't have a lot to say about each as I run out of words. . .
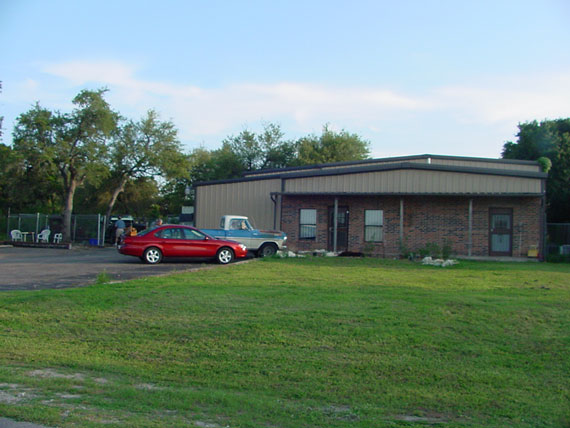
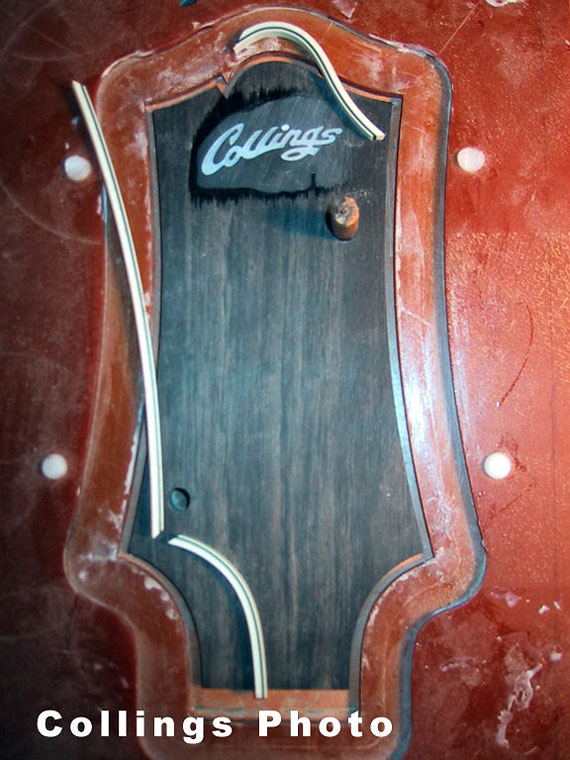
Lots of towns have a Beacon Hill, but only Austin, Texas has the Collings guitar factory on its Beacon Hill Road.
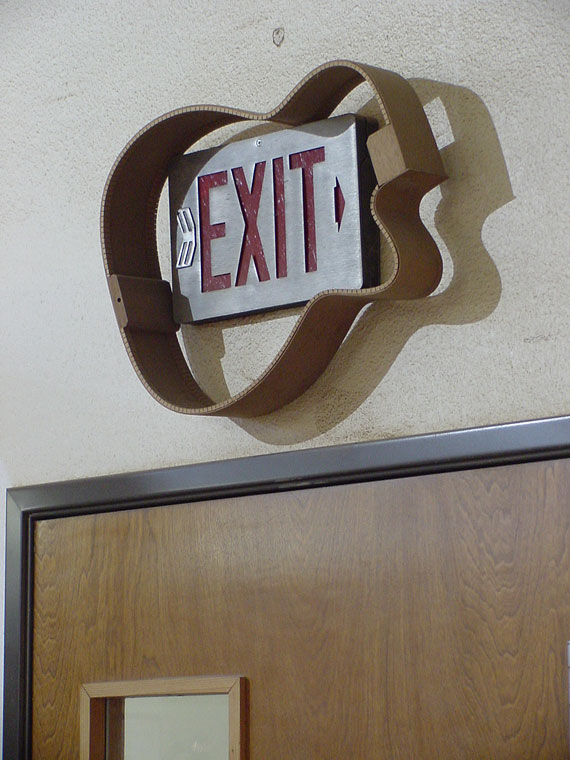
As with most small factories, the sign is very modest. After all, they're not trying to attract the public. That's the job of guitar shops like Gryphon.
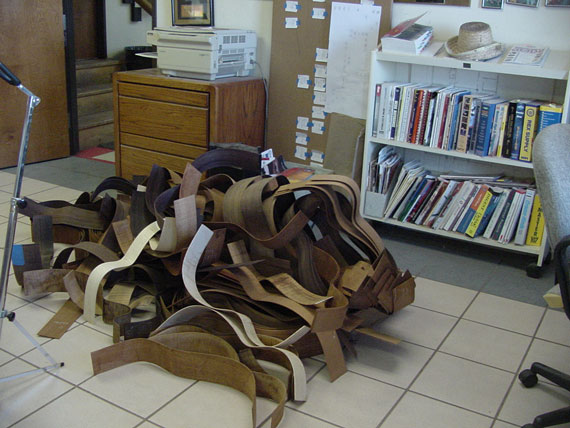
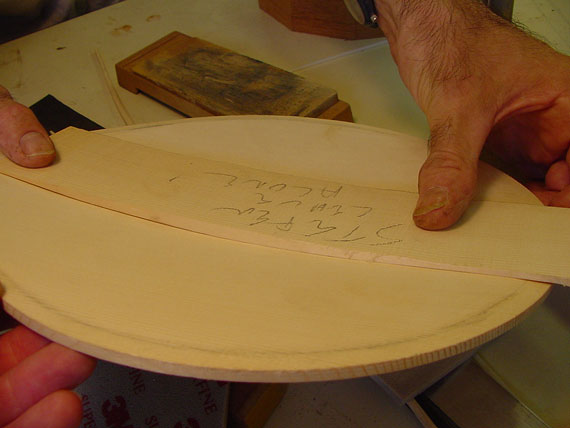
Inside the front office there was a neat display of guitars. OK, there was really a pile of reject bent guitar sides. The result of a cleanup effort, and an interesting photo op. Actually, they don't have completed guitars lying around. Fact is that Collings guitars are in high demand, so as soon as they are finished they get sent out.
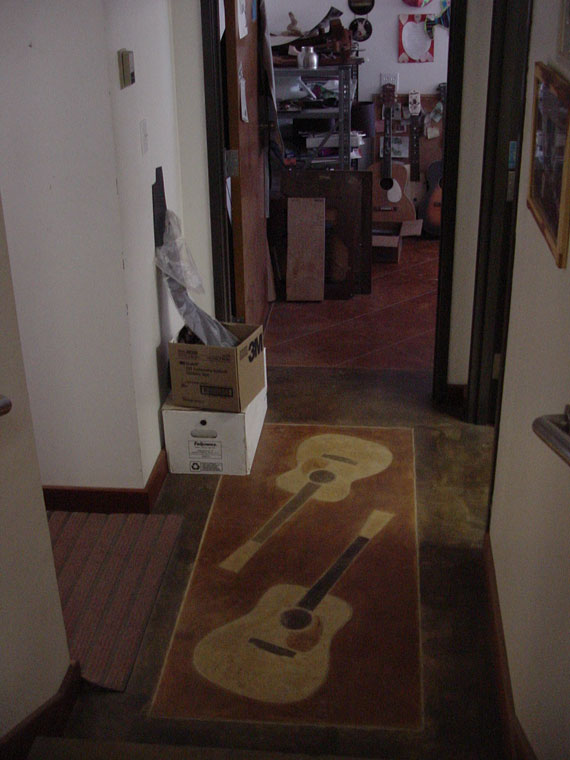
Looking down the hall to the office of the President.
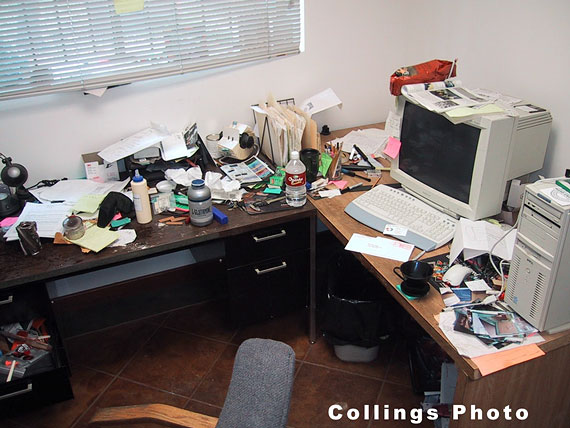
And, it's just about as neat as my office. . .
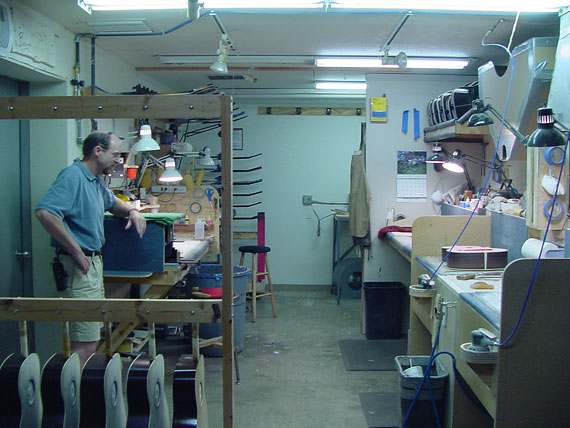
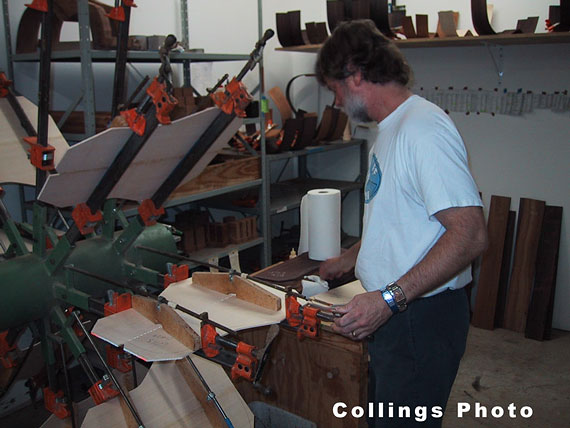
Back toward the front door, we can see Steve McCreary by the front window in an uncharacteristic position, sitting down. At the left it's Brian Smith. I don't have photos of all 33 Collings employees, so we'll meet a random sampling.
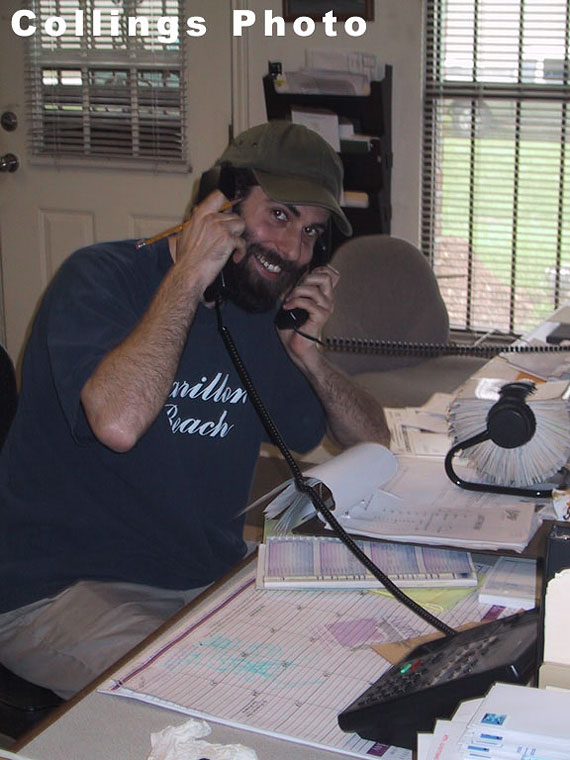
Brian's an affable fellow, ready to help on the phone, or wherever.
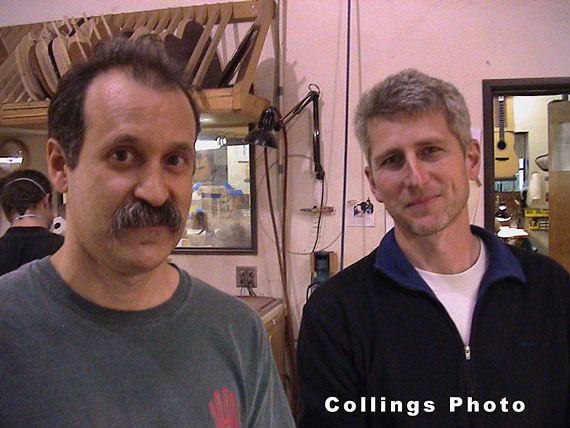
My guide for the day was Bruce Van Wart, on the left. That's Stefan Passernig standing there with him.
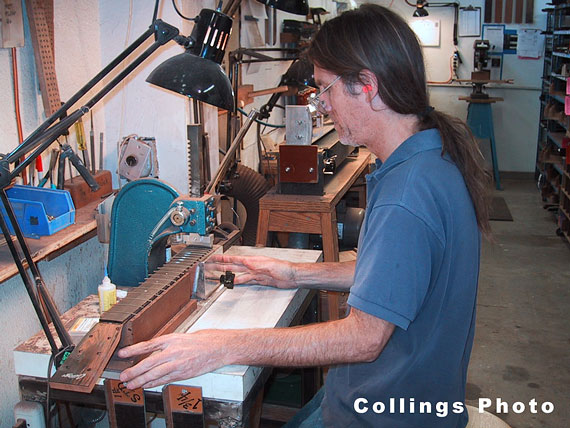
Marty Christian gluing linings.
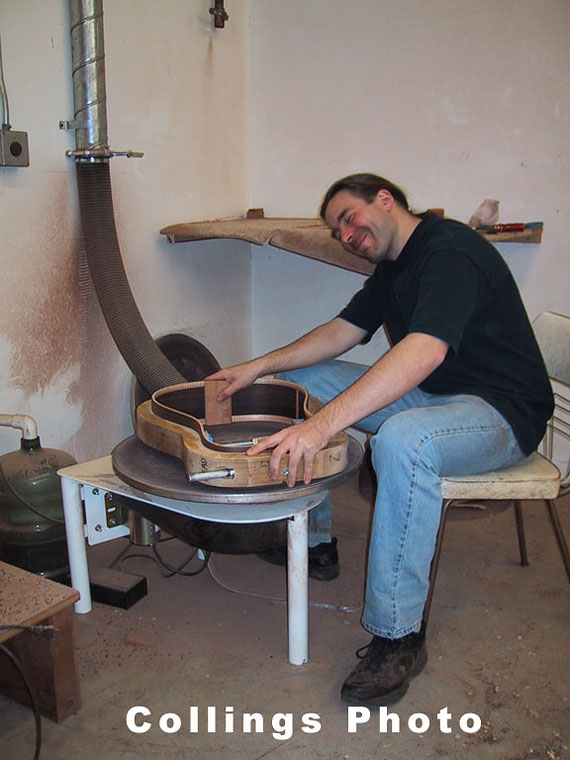
Here's Marty again, at the potter's wheel. (More about that tool later.)
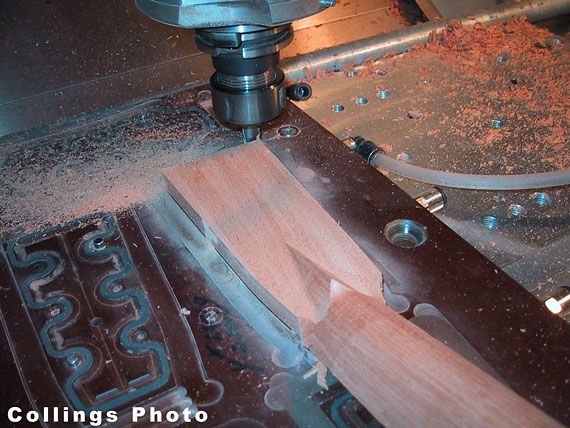
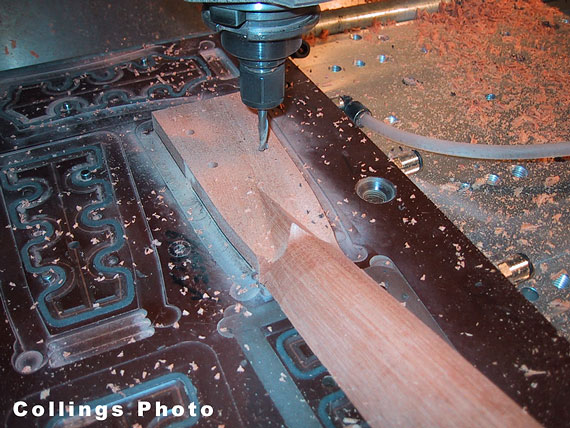
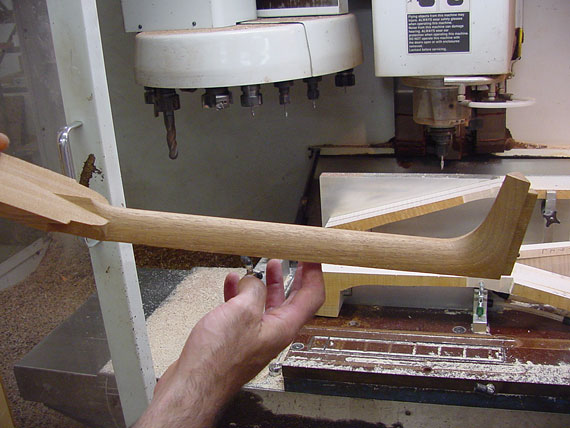
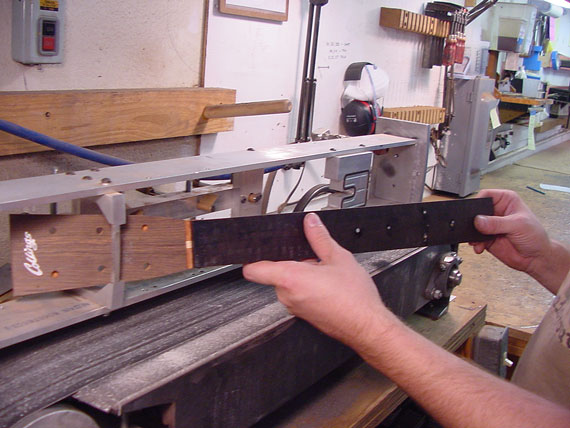
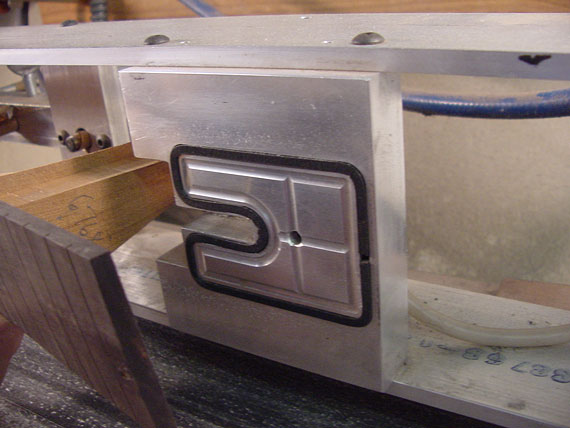
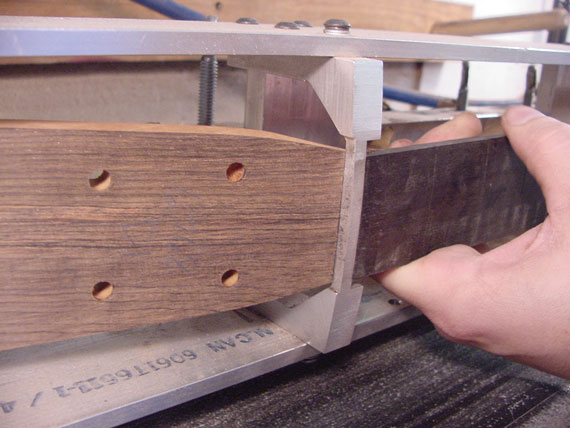
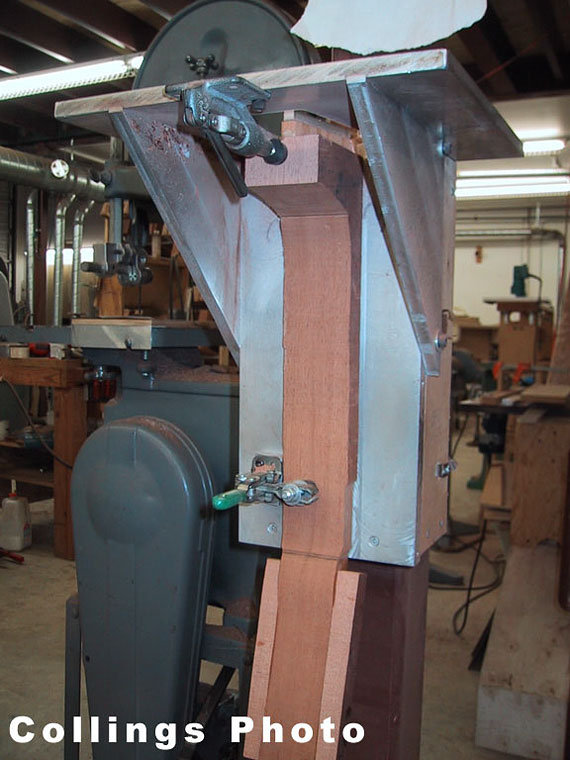
Mark Franks with a neck blank on a big shaper fixture.
John Allison hams it up over a Dan Erlewine inspired neck jig.
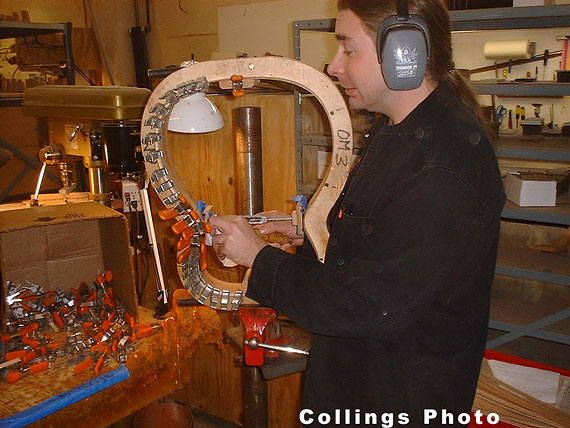
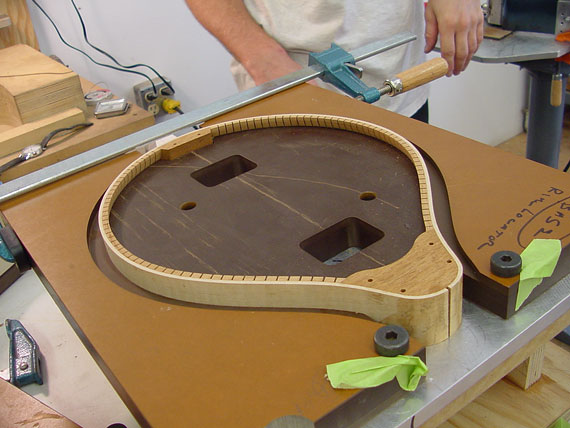
Andrew Wineberg in a bind. OK, that's a stretch, but he is binding a guitar body.
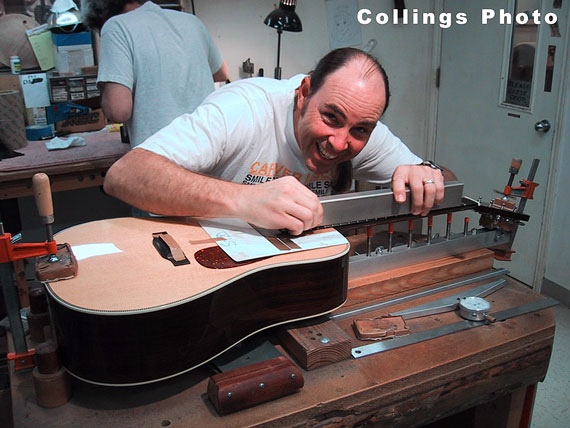
If the "Devil is in the details," then meet ol' Mr. Scratch himself. It's Bill Collings, the most detail oriented man in the guitar making business! (Is that red sweatshirt just a casual "accident?" I think not.)
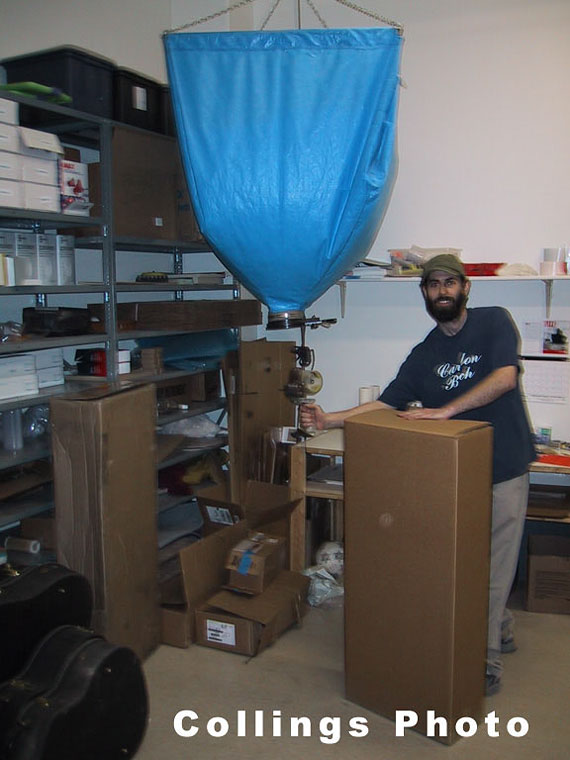
Brian again, this time performing the most desirable operation, boxing up a completed instrument!
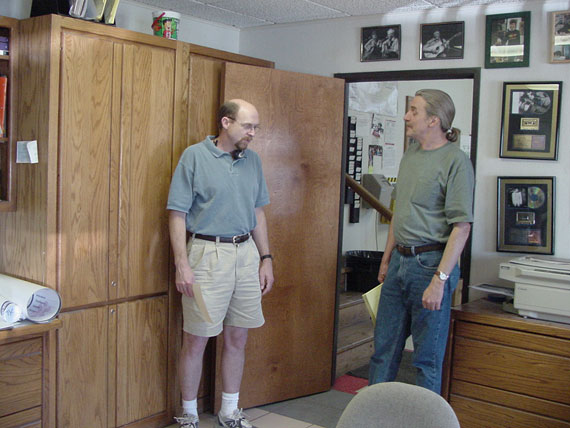
Steve McCreary and Richard Johnston, unsuccessfully avoiding me, a.k.a. "camera guy."
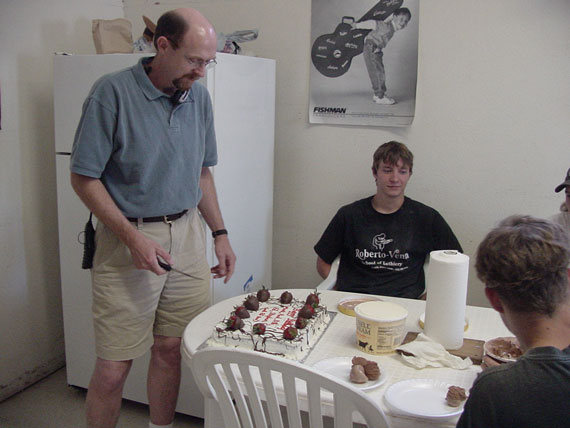
We landed on the once-a-month birthday Friday. One of Steve's many functions is to preside over the monthly birthday party. With 33 workers, there's always somebody celebrating a birthday, so a party once a month makes good sense.
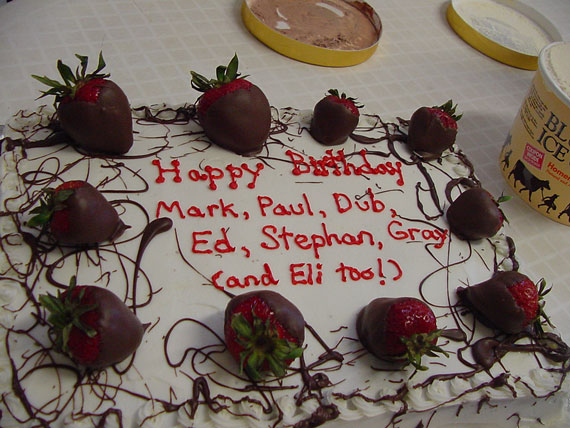
And good cake, too, properly annotated.
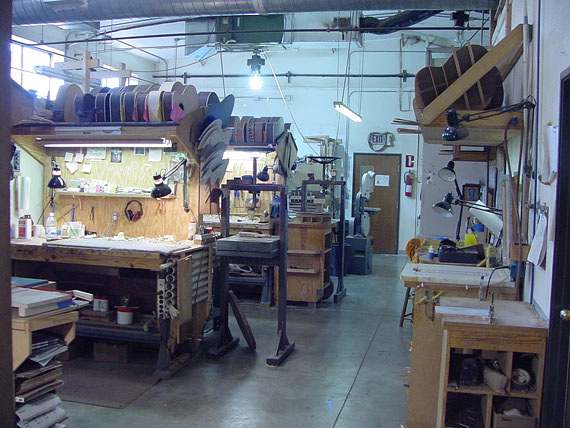
Let's take a quick look around the shop before digging into specifics.
High art. No surprise among such creative types.
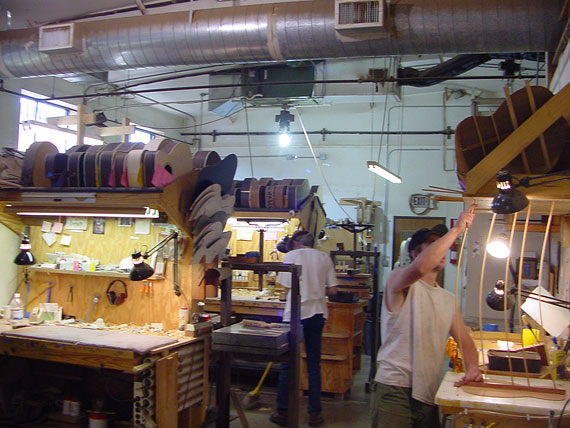
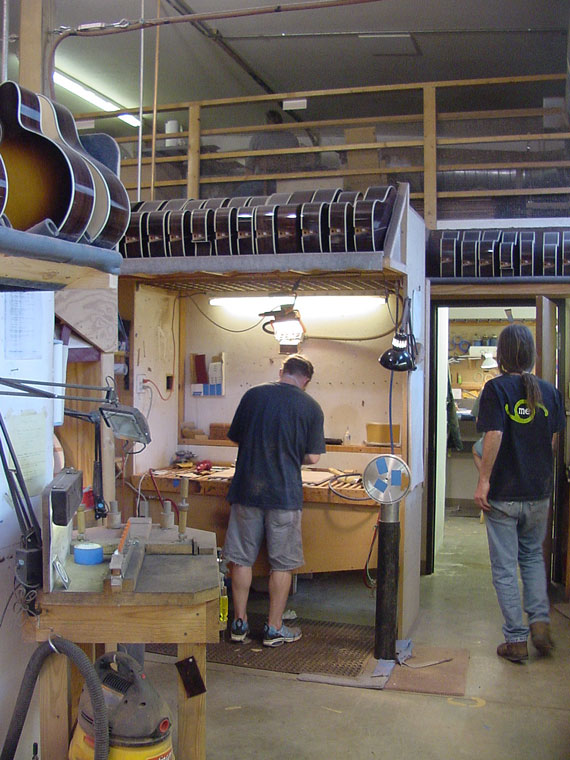
An assembly area.
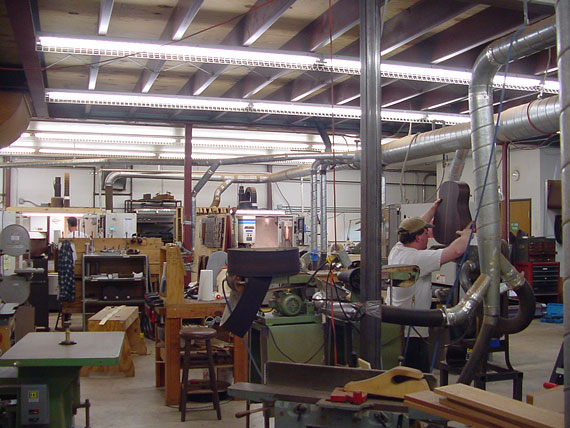
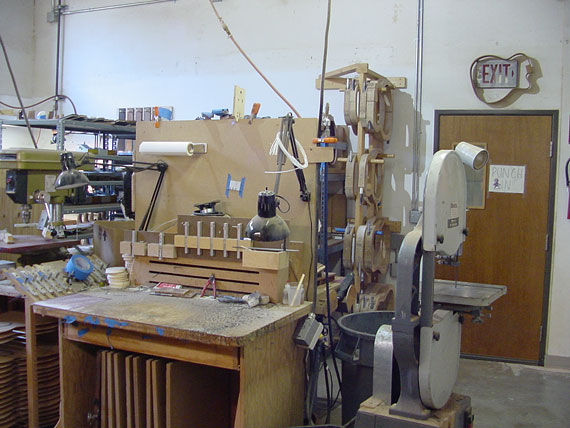
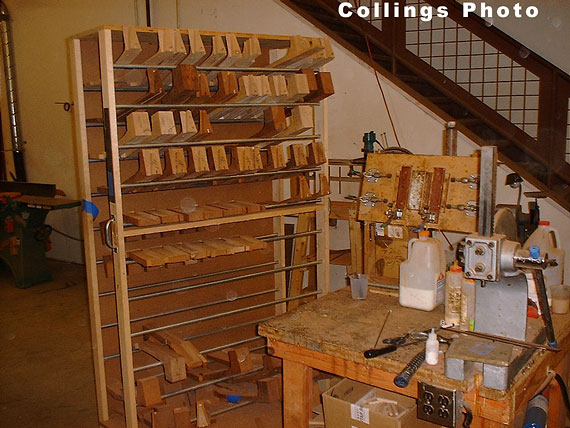
The main machine tool room.
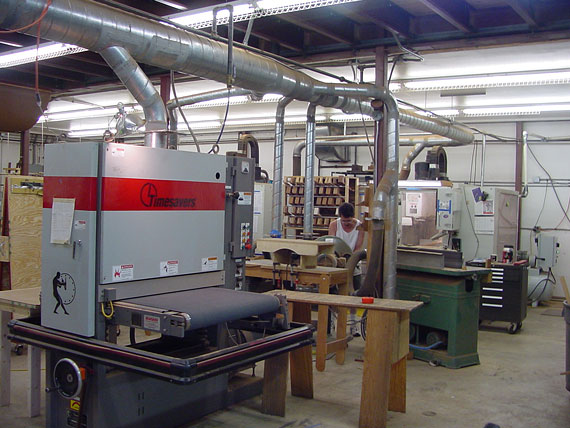
The wide belt sander used by most guitar factories to thickness tops, backs and sides. Tops are sanded to different thickness based on their "tap tone," in order to maximize response and performance.
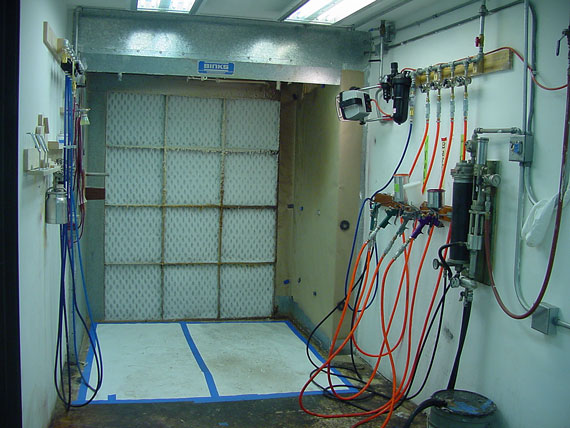
The spray booth.
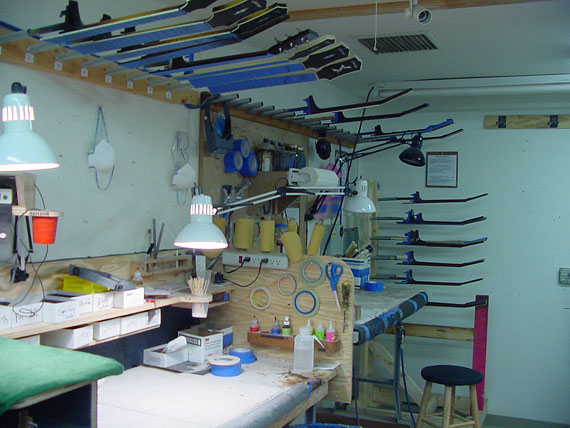
Neck finishing area.
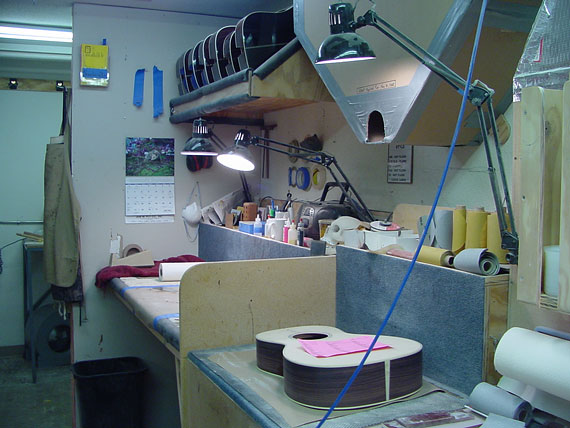
Body finish sanding benches.
Steve McCreary, wondering if it's really necessary to give these guys a lunch hour.
Another view of the body assembly area.
The setup room.
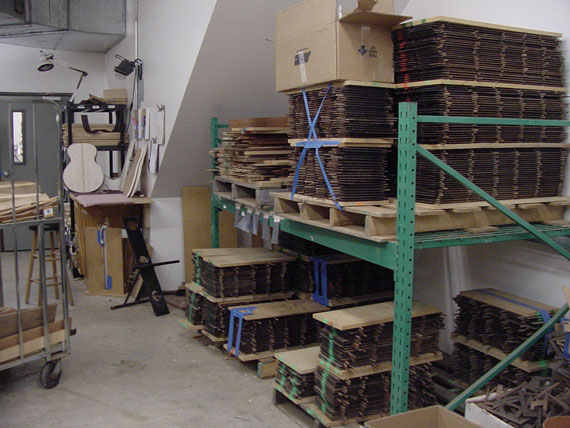
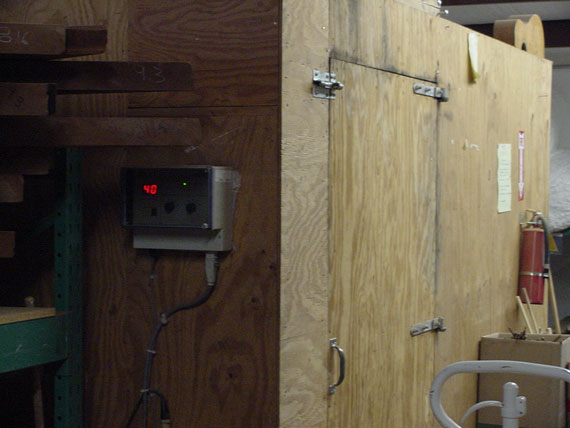
Humidity controlled wood storage room.
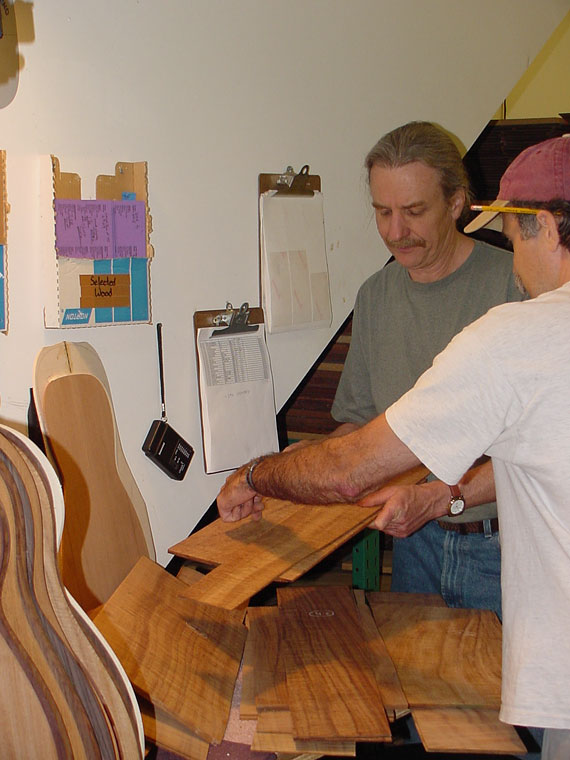
Bruce talking to Gryphon's Richard Johnston about a particularly fine set of Hawaiian koa.
Sold! It will soon be part of a new custom Collings guitar for Gryphon.
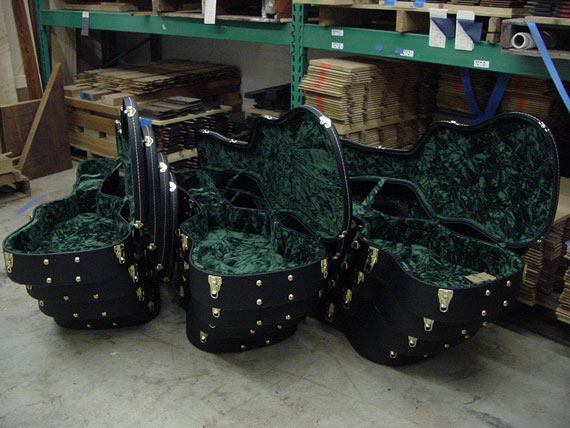
Even the cases spend time in the humidity acclimation room. They are made with water based glue, wrapped in plastic and shipped right out. If a new guitar goes into a new case, it may suffer excess water absorption unless the case is also stabilized to ambient humidity.
Mahogany neck blanks in storage upstairs.
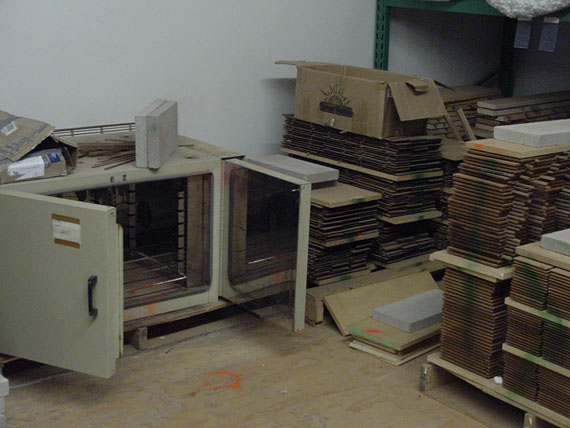
The infamous convection oven. Guitar tops are "prestressed" by baking in this oven for an hour at 200 degrees Fahrenheit. Then they go into storage and acclimation along with other guitar component materials. The Collings motto is, "Our tops are baked, not fried!"
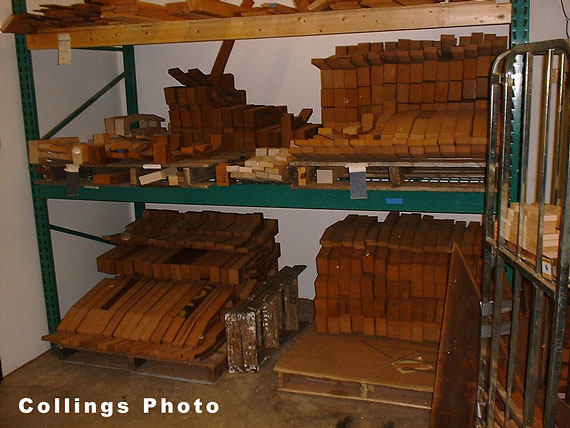
All guitar woods pass through this chamber.
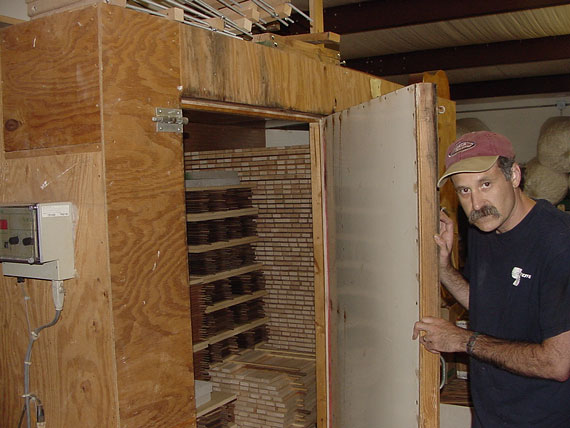
It's a kiln for drying exotic guitar tone woods.
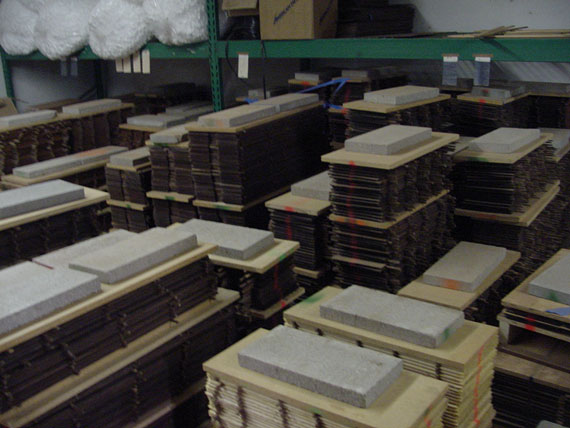
Later, the tops, backs and sides are "stickered," that is, stacked with spacers to allow air circulation, until they are ready to go downstairs to the humidity controlled room.
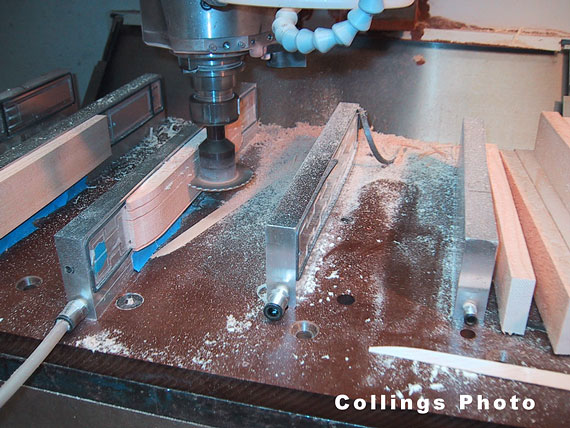
Out in the machine tool area, there is a host of standard woodworking power tools that handle the rough lumber for necks, forms, fixtures, etc.
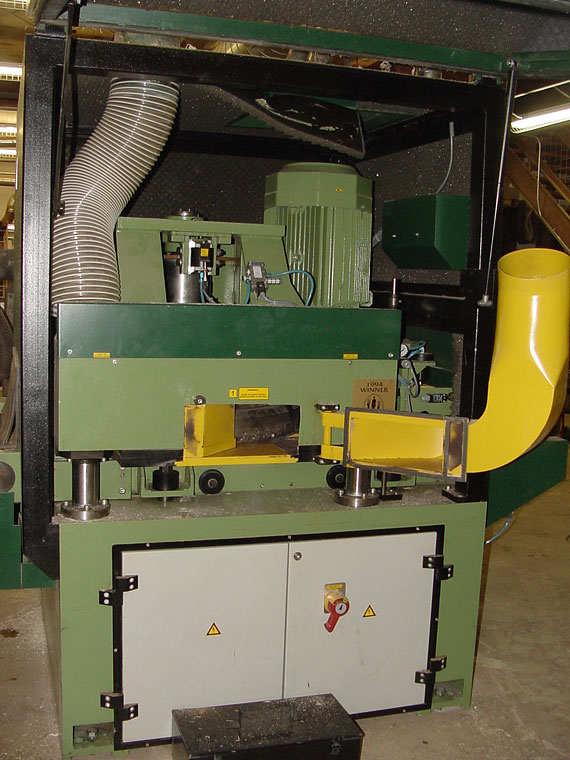
Here's the newest "wood hog" in the shop.
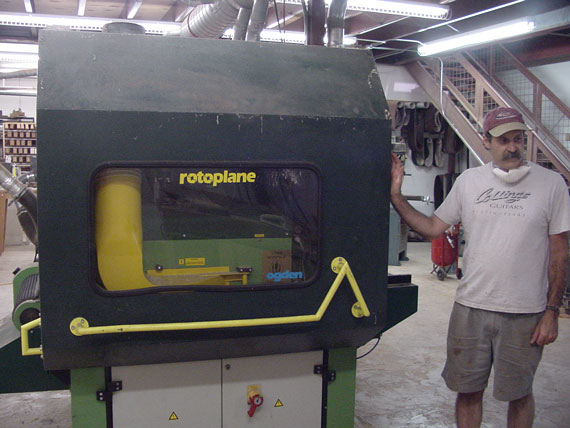
Here's Bruce, standing by to give us a sense of scale.
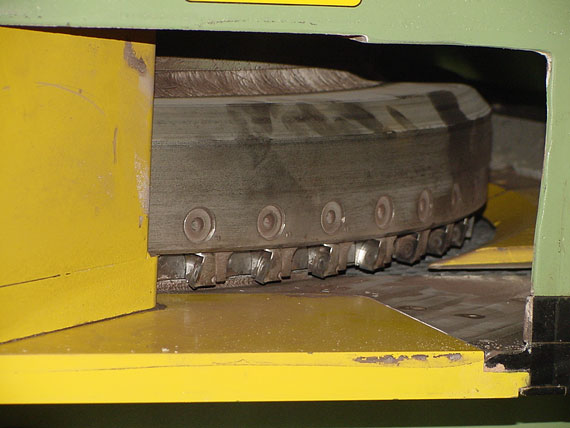
Inside, there's a GIANT version of the Wagner Safe-T-Planer I use on my drill press. This one has a 30 horsepower motor, and can really chew through heavy lumber.
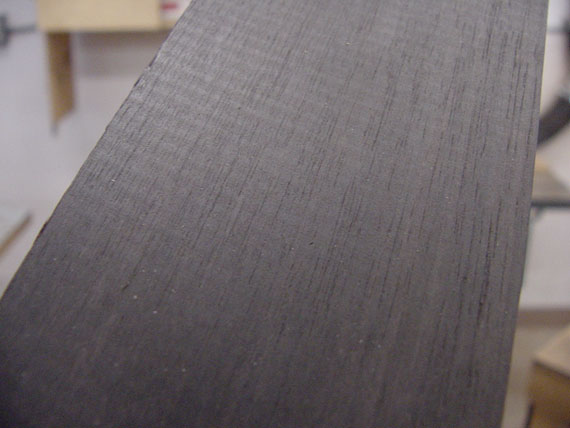
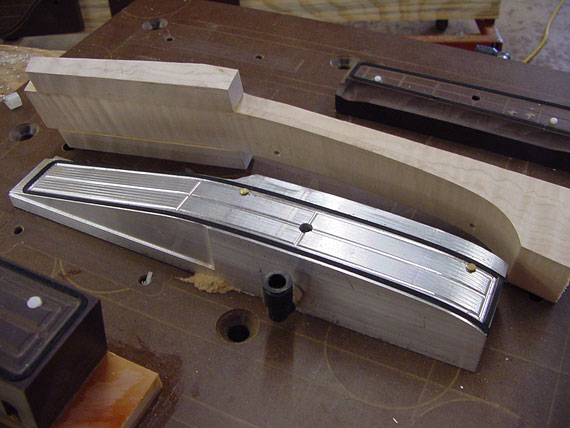
It can also surface a fingerboard like this one, leaving hardly a tool mark!
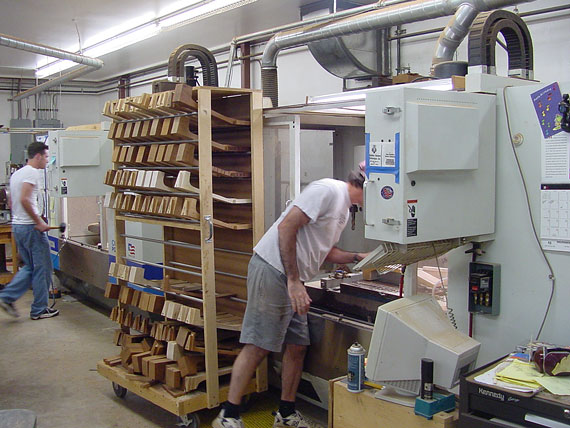
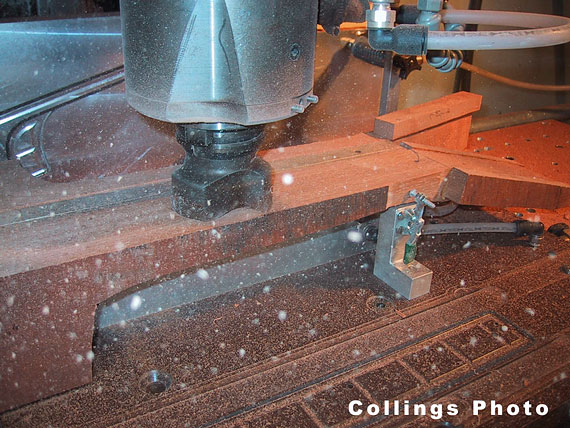
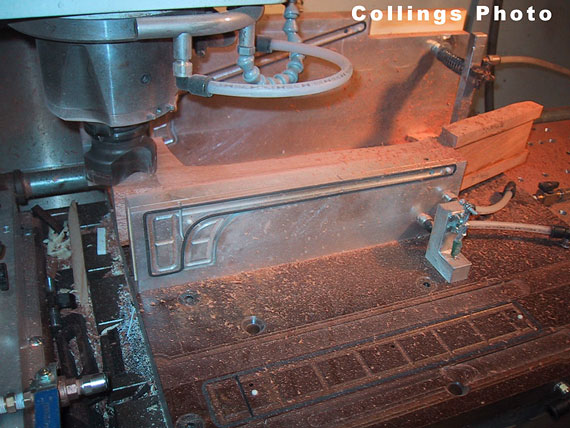
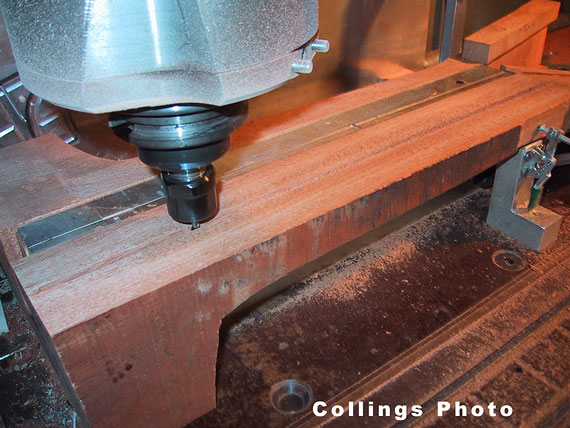
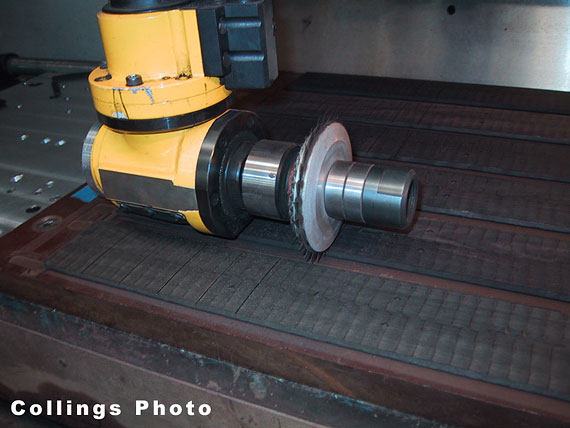
Here are the two big FADAL CNC milling machines. These monsters are capable of the highest level of precision, and we'll be seeing them in action all through the manufacturing process.
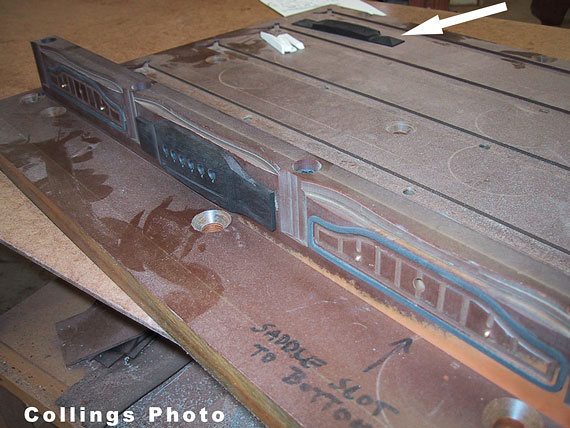
Here's a bridge blank on its vacuum chuck in the CNC machine. At the very back, you can see the replica 1920s Martin "pyramid" bridge, also made on the CNC>
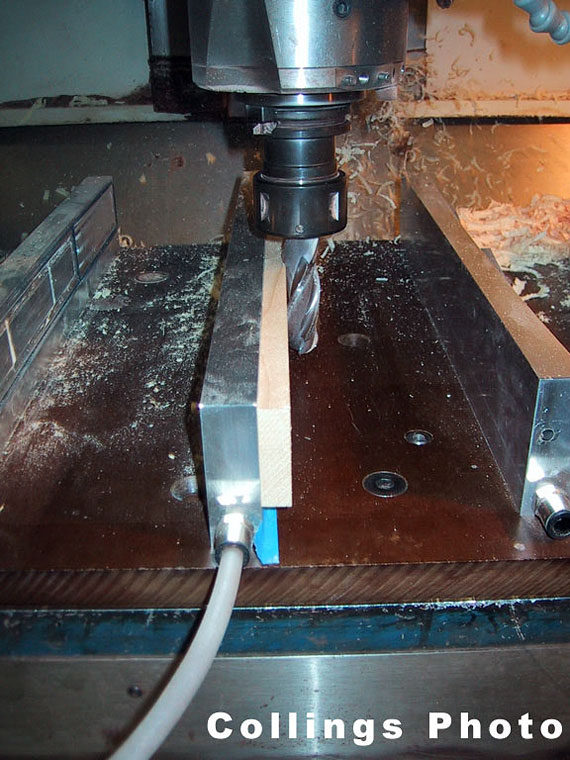
Here the CNC uses a milling cutter to surface a piece of spruce.

Then, it changes its own cutter head and profiles the upper "tongue depressor" brace for a guitar top.
Another quick tool change, and it slices the braces apart, cutting almost all the way through.
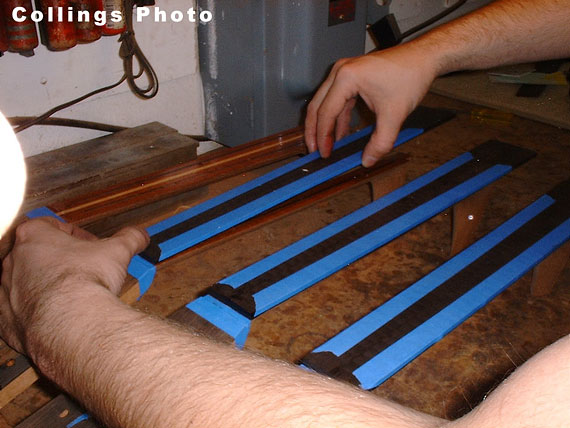
Done. Simple parts made with high precision for use by the craftsmen in the assembly area. All they have to do is break the braces apart, cut them to length and use them.
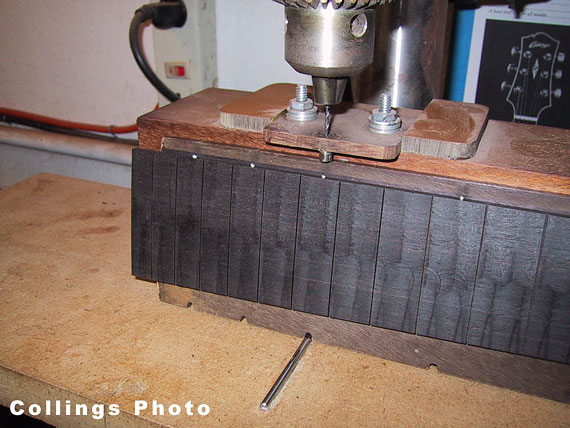
A bunch of scalloped top braces is made from a billet of quartersawn spruce/
Same deal, neatly made braces are easy to break apart for use.
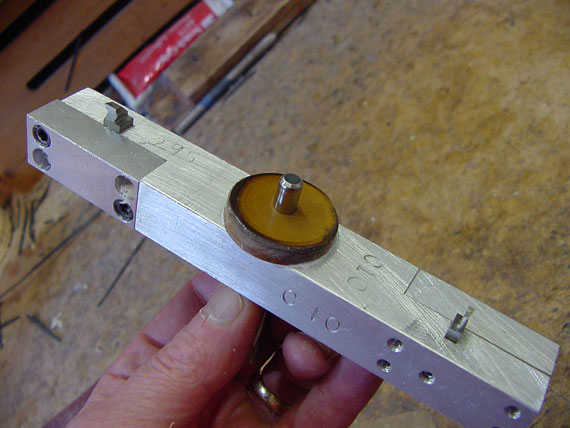
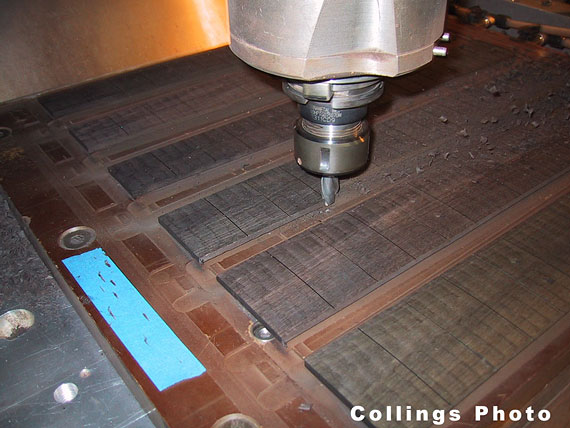
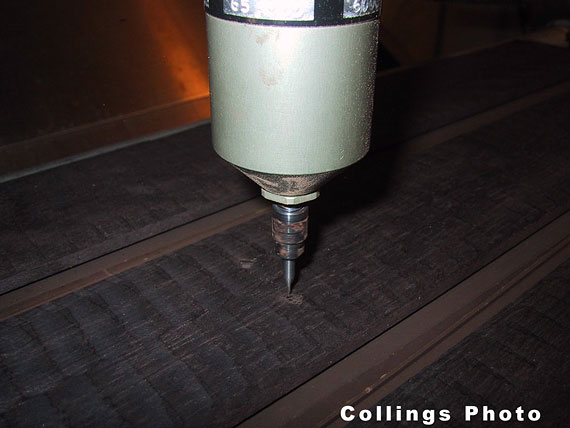
Even the tiny little soundhole reinforcement braces are made on the CNC machine. A flat piece of spruce is stuck down with that blue double sticky tape so it can be precision cut to the exact shape. Lots of those little braces are made at one time.
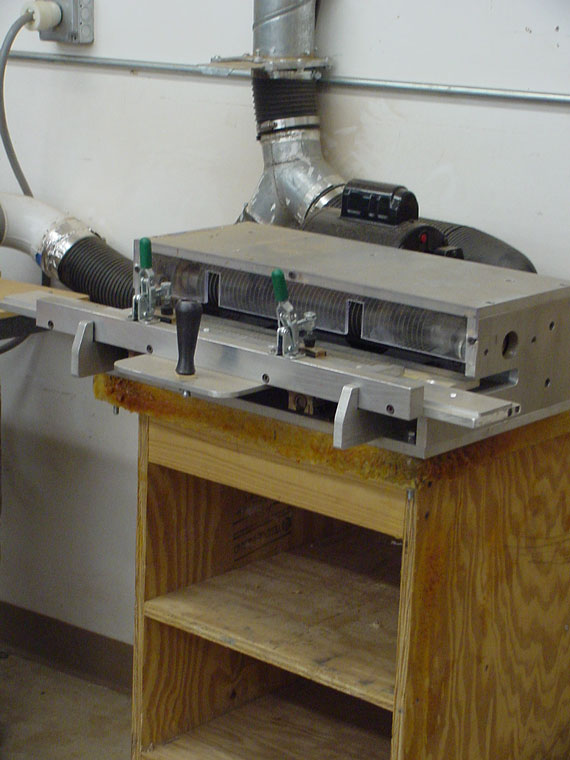
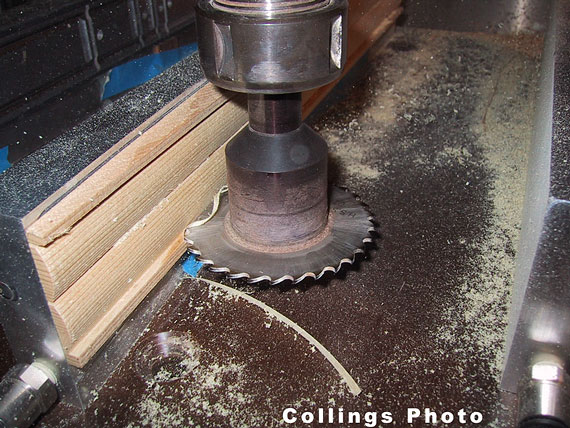
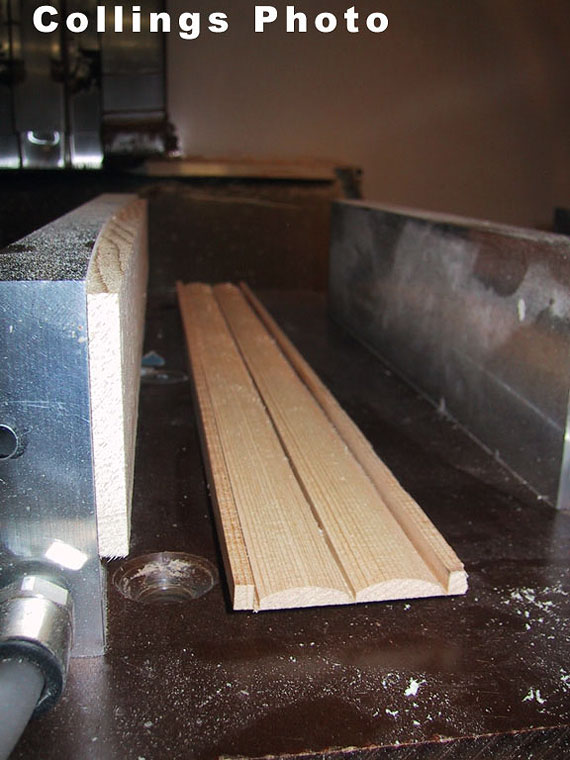
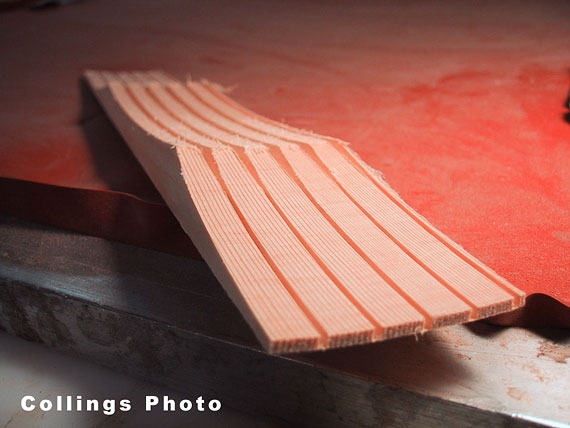
This is an earlier bit of machinery. A gang saw with about 50 blades.

A profiled section of mahogany gets held down by the clamp fingers.
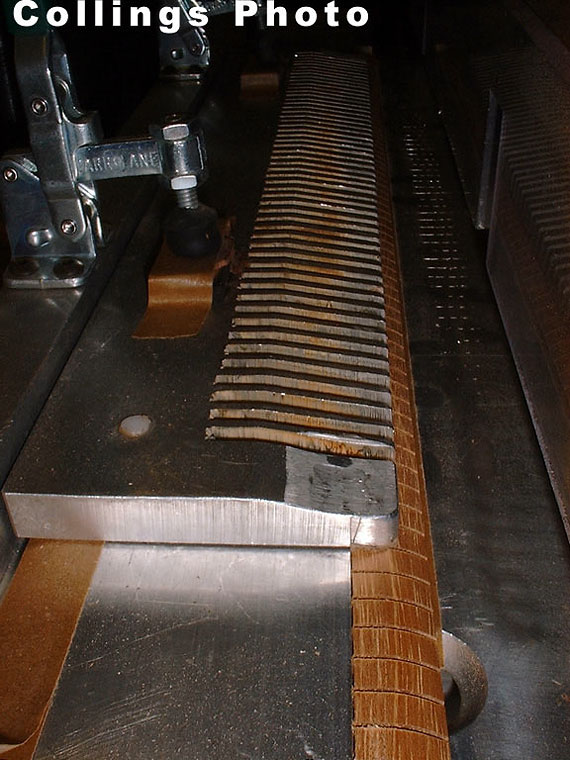
And, a nice long piece of kerfed lining is cut in one pass.
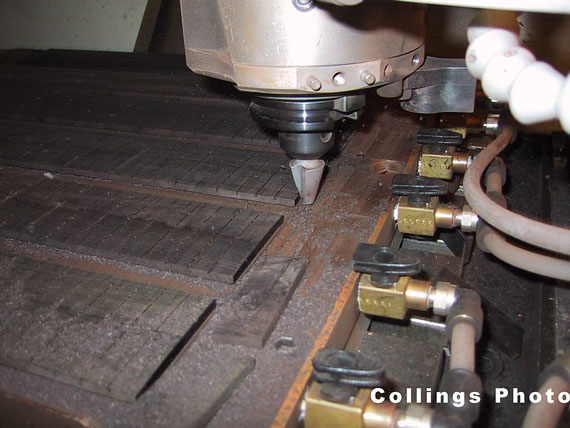
Back to the CNC. Here, a nut blank is held in the fixture, cut to thickness, and the bottom angle is established.
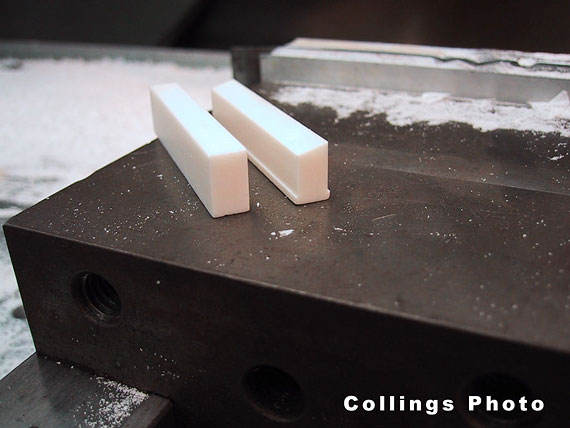
Real precision is available using this kind of milling apparatus. Each nut blank fits so precisely that it is easily held in place without glue.
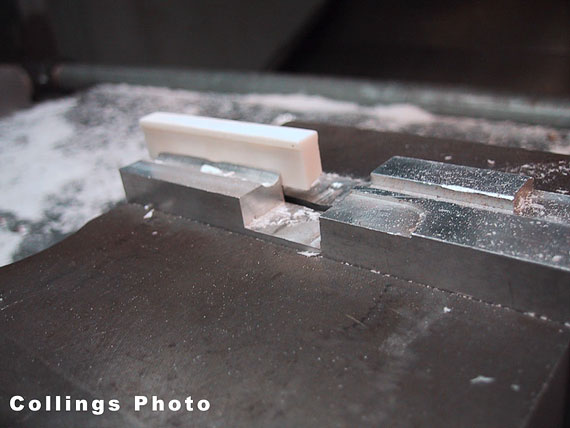
Then the blank goes back on the machine.
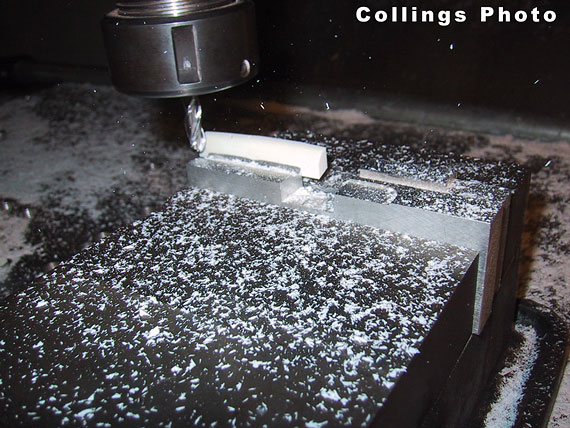
And, the profile is created, the ends are trimmed and the height is established

See? It looks great, and needs only the slightest amount of hand work to make it perfect.
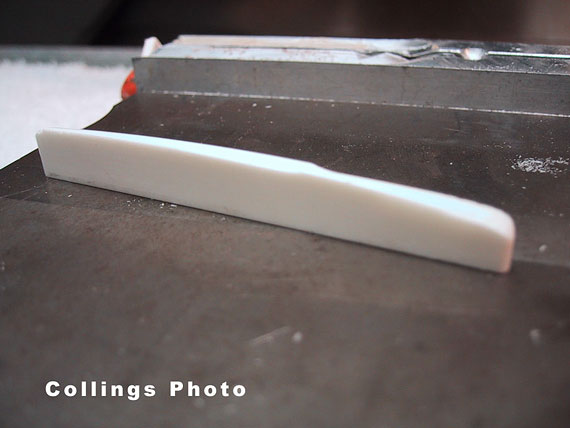
Even the saddles are made and compensated on the CNC.
OK, let's build some guitars!
Bookmatched tops are glued up on this "windmill" fixture, which allows for a nearly continuous production.
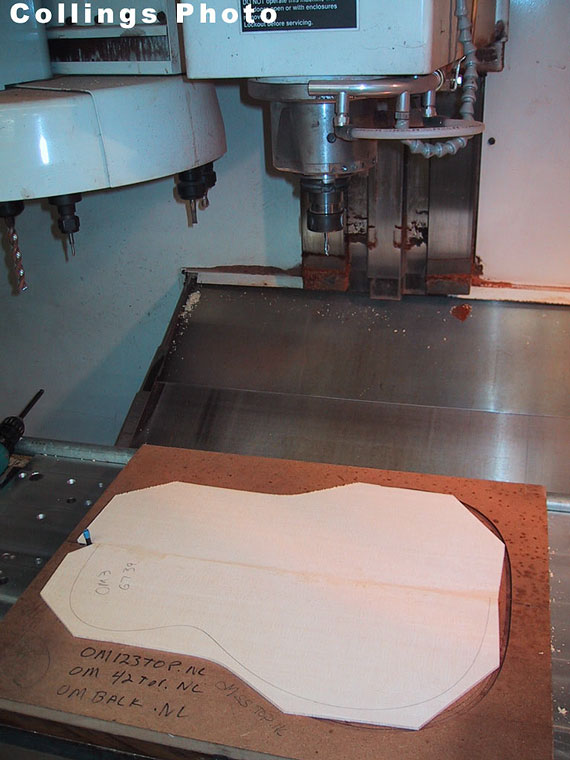
Then, the top takes a quick visit to the CNC.
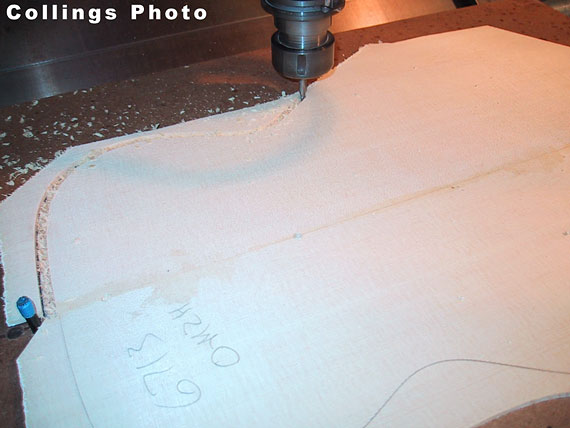
The milling cutter drops down.
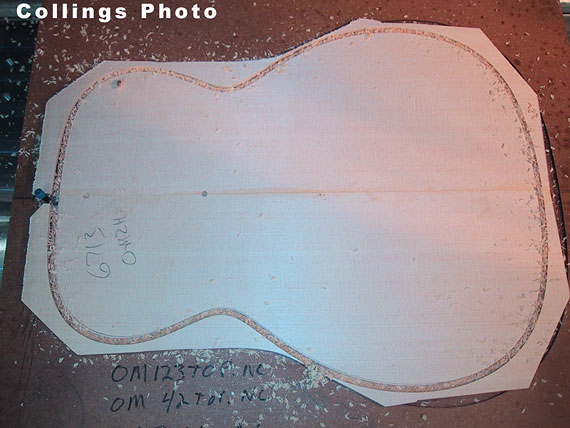
And the exterior profile is cut precisely.
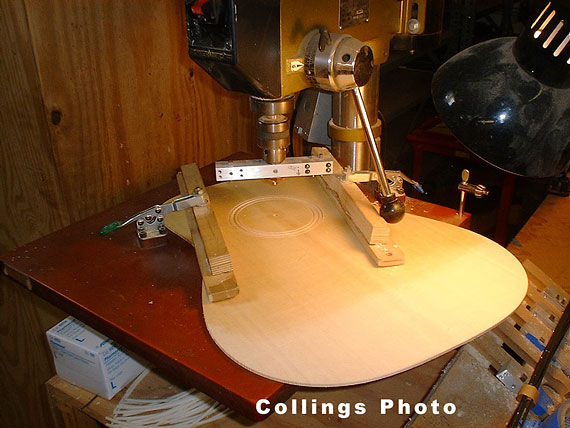
Then the top gets its soundhole decoration.
This custom made cutter makes all the soundhole rings in one pass.
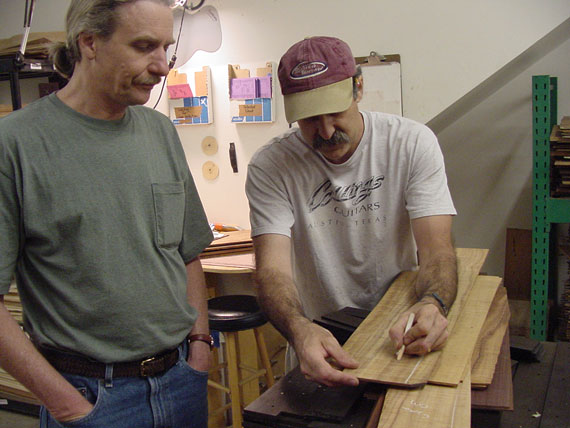
Each guitar model has its unique soundhole ring pattern and has a unique cutter. After the soundhole rings are inlaid, the top goes through a wide belt sander to smooth it to the proper thickness. Here's where Bruce Van Wart steps in.
He judges the stiffness and taps to hear the resonance of each top. Then he adjusts the thickness, taking into account the particular size and model guitar. For optimum performance, Bruce also sands the perimeter of the top to thin it differentially. (I don't have a shot of him "tuning" a top because he was my guide, and couldn't be doing this job when I visited. And, he took all the other pictures, so he wasn't doing it then, either!)
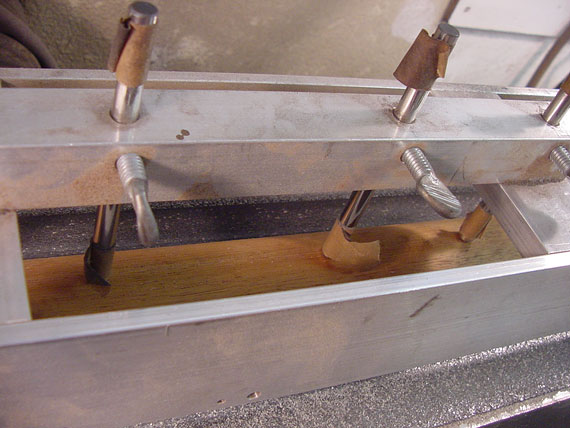
Beneath the top brace gluing bench there are bins of those precisely machined top braces.
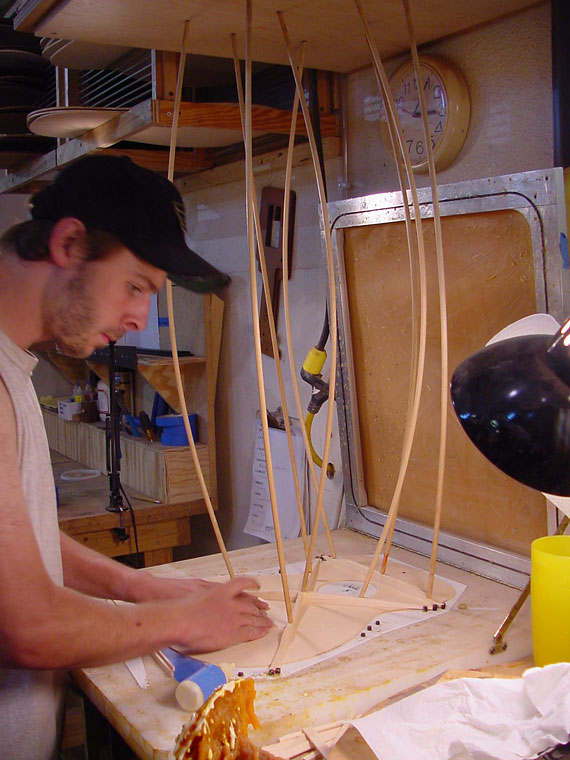
The braces get coated with glue, positioned and pinned in place with "go bars." As soon as all the go bars are in place, and the glue begins to "grab" a bit, the bars are removed.
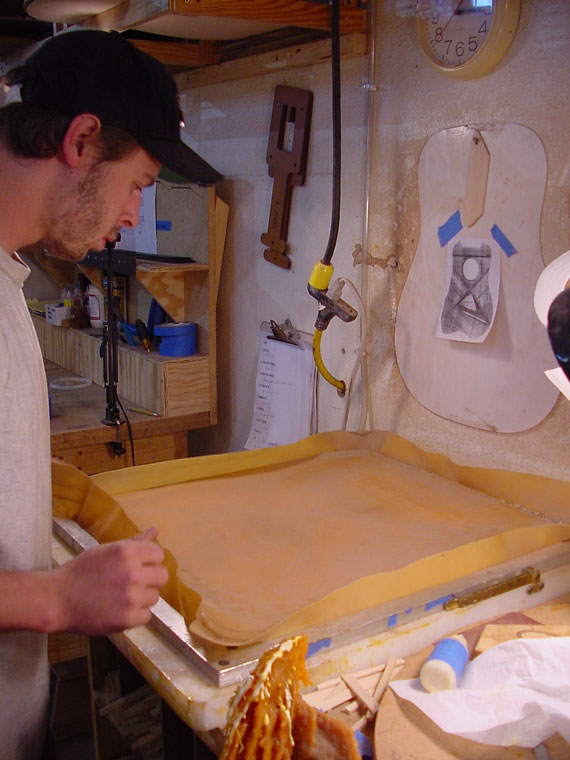
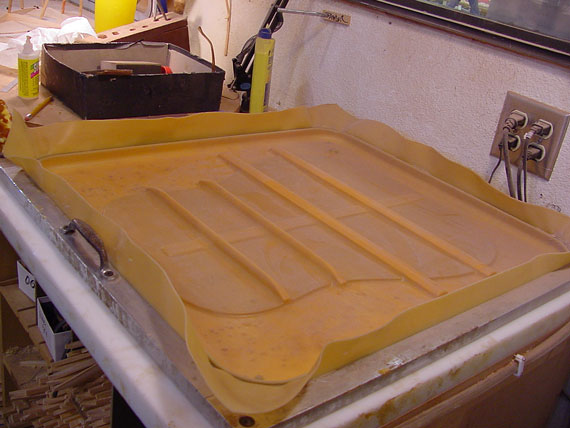
And, the lid is dropped down, revealing that this go bar deck is also a vacuum gluing fixture. The go bars are only used to make sure the braces have no chance to slip before the vacuum is applied.
Thanks to atmospheric pressure the whole business gets uniform clamping pressure.
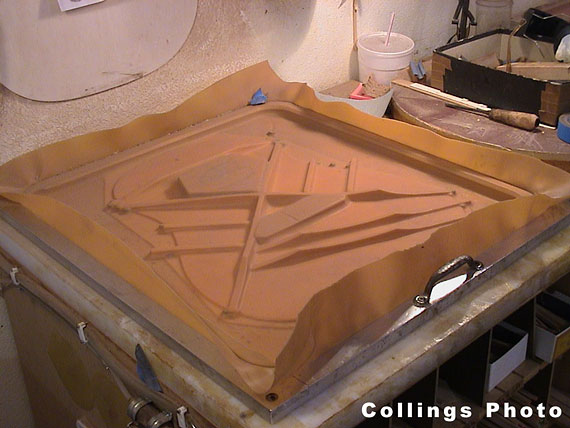
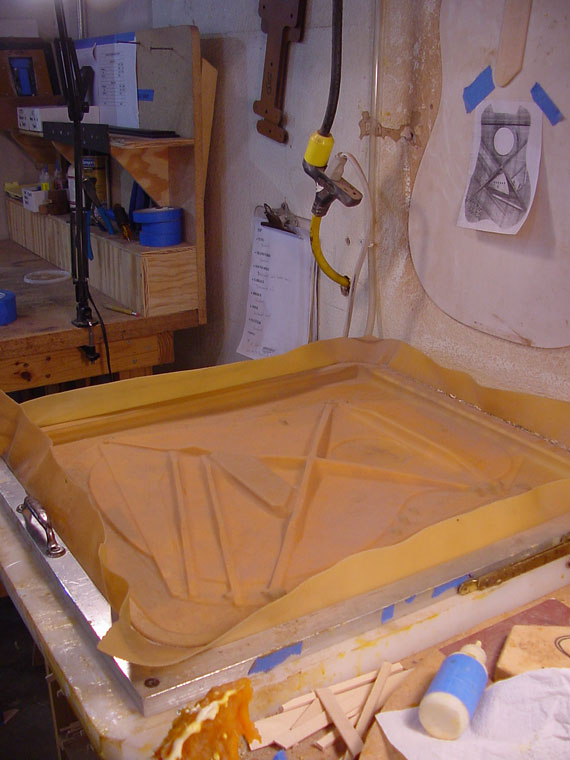
You can really see the braces through that rubber gasket.
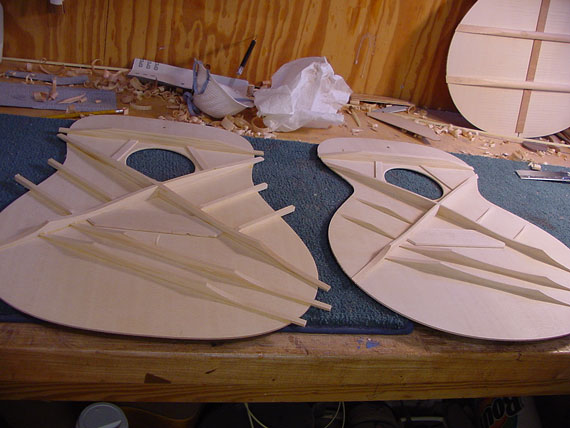
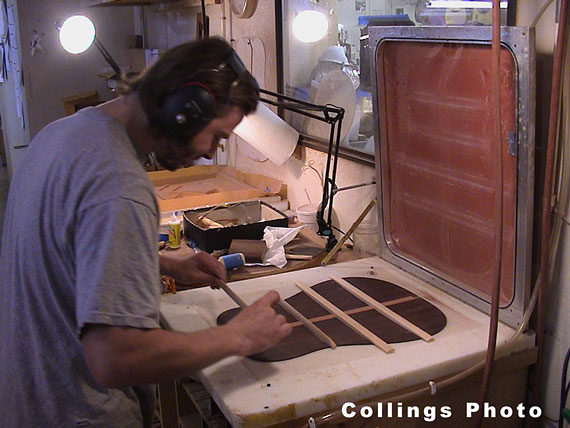
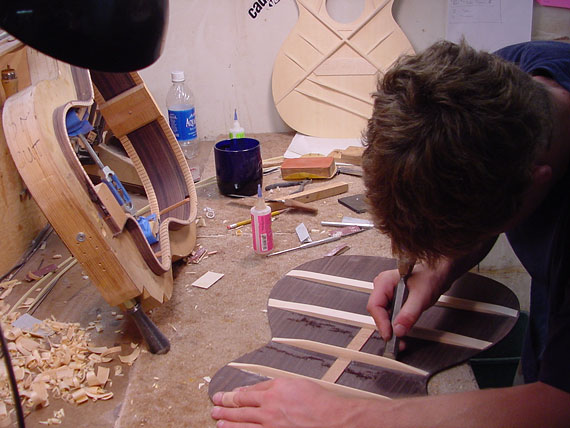
A couple of braced tops. Notice that some of the braces hang over the edge of the top. Those will actually be trimmed after the top is glued to the sides.
Bruce Turner, again at the windmill, this time gluing some backs together. (Dr. Bruce Turner, M.D., is possibly a bit overqualified for his position at Collings Guitars.)
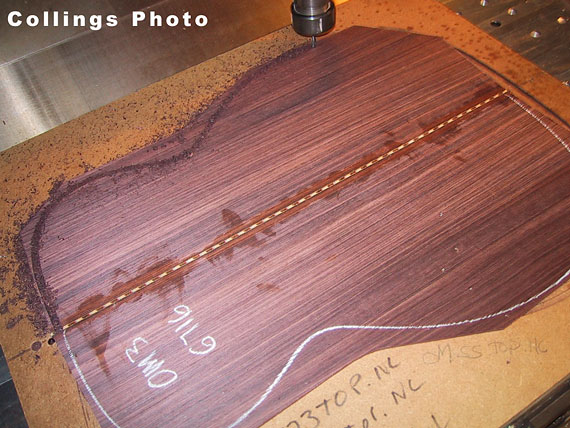
Outline is cut on CNC.
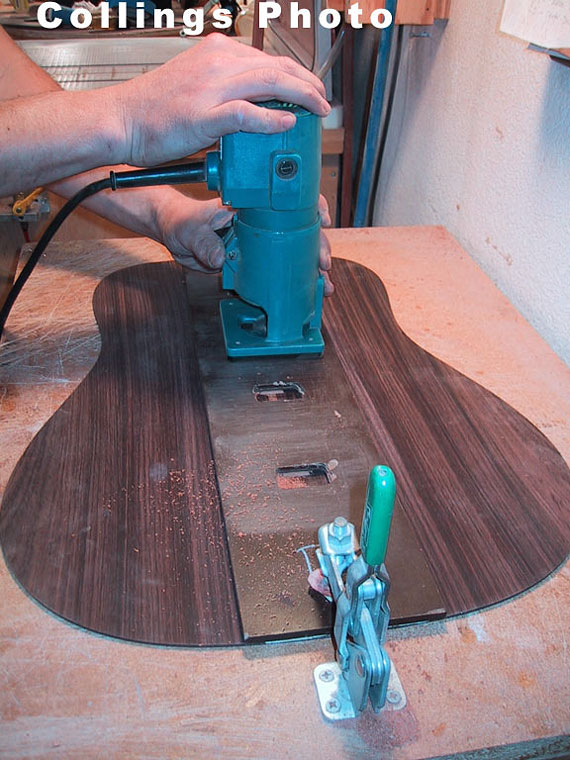
After the back strip reinforcement is glued in place, this simple router fixture goes on top.

And the strip is cut out to receive the back braces.
No need for go bars here. The notched center strip makes it impossible for the braces to shift around as Eli North closes the lid on the vacuum press.
In only a few minutes, the reduced air pressure causes the glue to set extra fast as the pressure outside the rubber gasket clamps the braces.
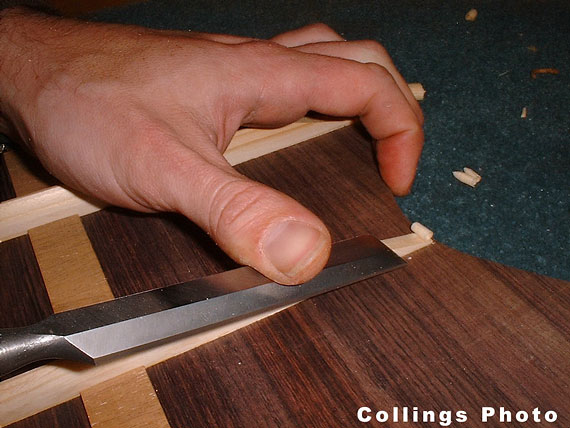
A bit of trimming at the end of the braces.
Lots of hand work at every stage keeps the woodworking neat and clean. He's cleaning some glue squeeze-out after removing the back from the vacuum press.
The back goes into a special fixture and a tiny hole is drilled for a locating pin.
This pin will key into the neck block to make sure the back is glued perfectly in place. Don't worry, the pin is set only halfway through the back so it won't show from the outside!
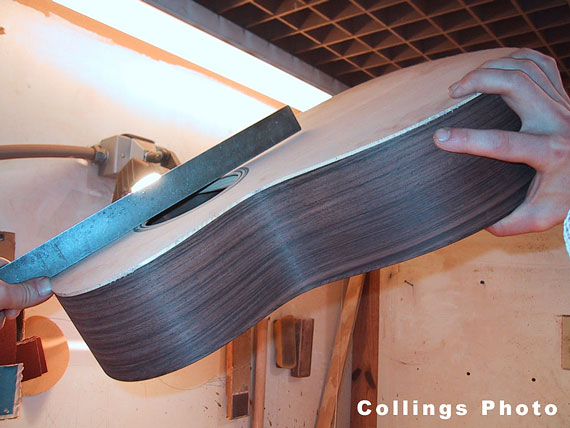
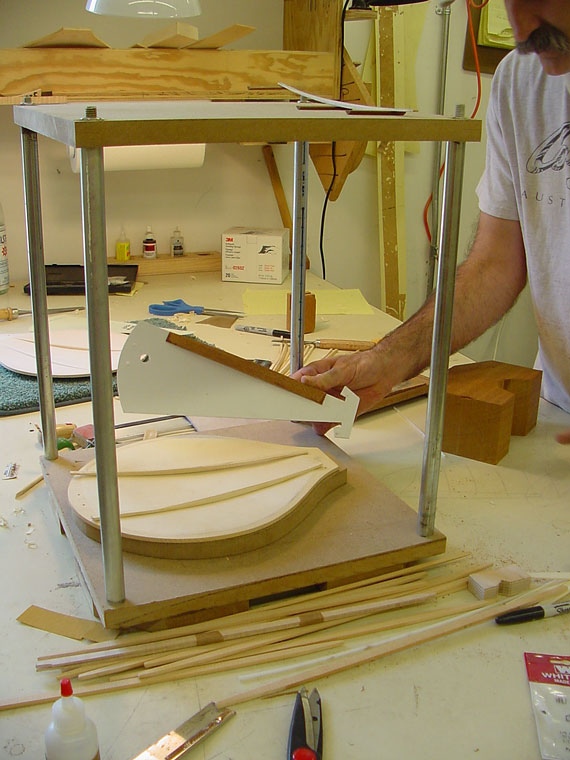
Sides get trimmed to dimension on a conventional shaper.
And squirted with water.
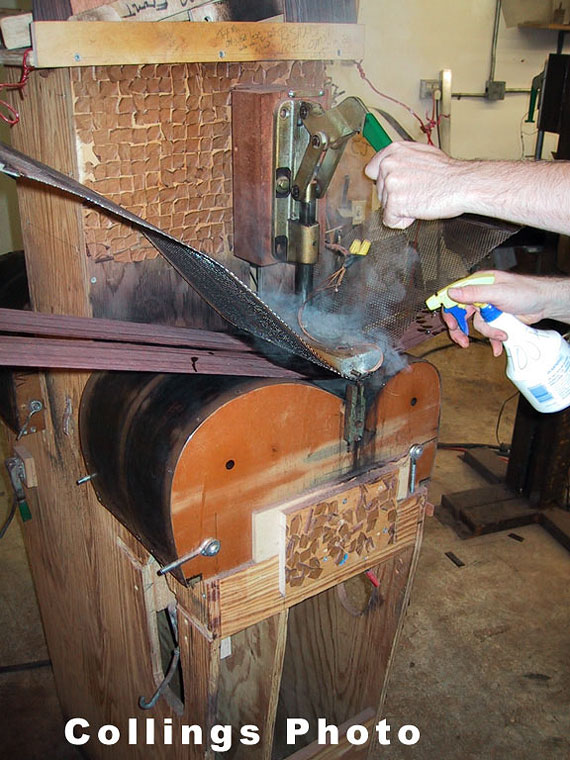
Strapped to the form along with an electrically heated "blanket" the sides bend easily to shape.
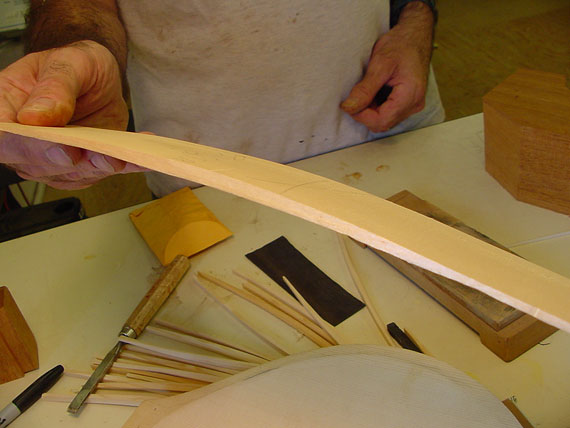
This is one of the oldest fixtures in the shop.
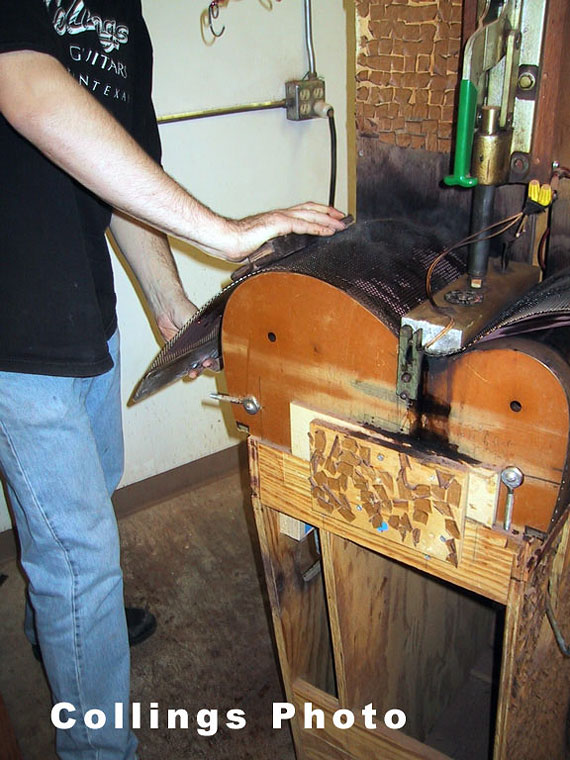
The sides are clamped and "over bent" just a bit so that when they are released from the bending form they will spring back to the right shape.
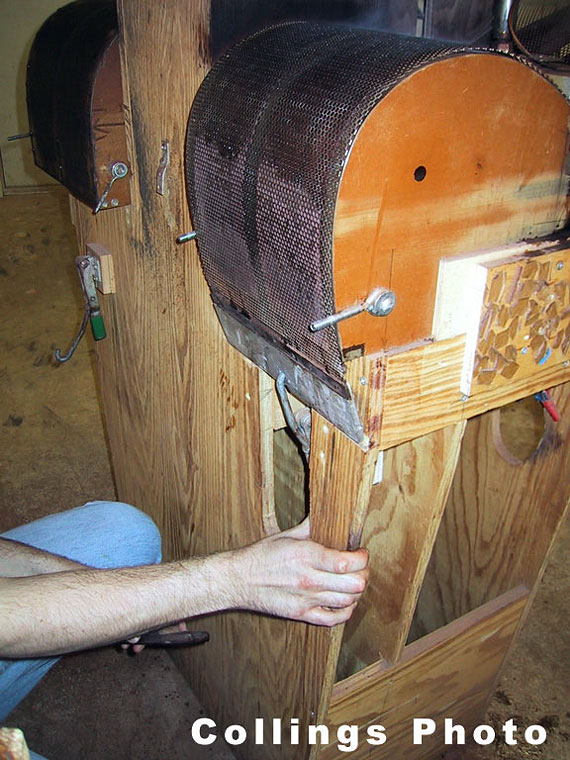
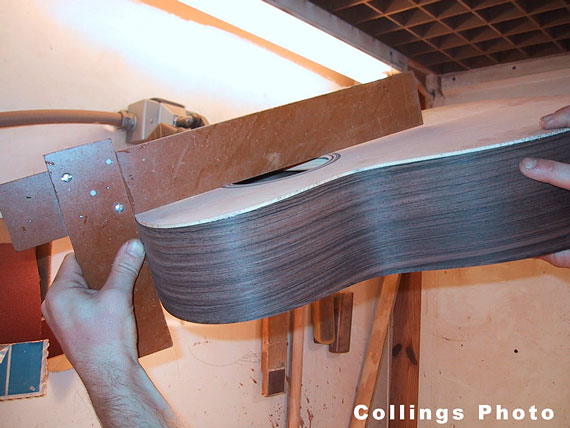
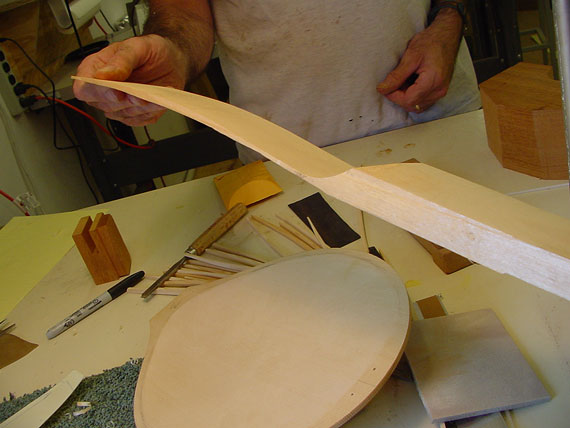
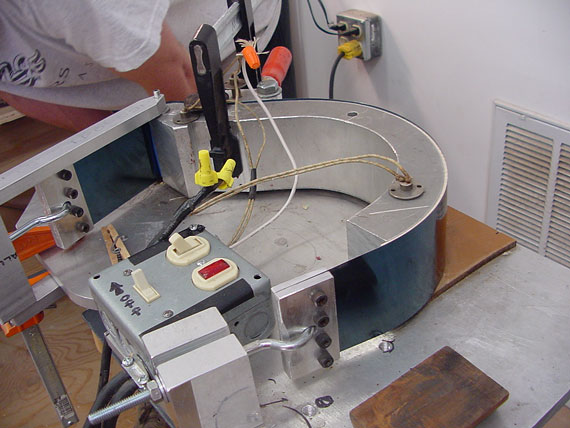
Here's a preview of the kind of bending form to come. . .
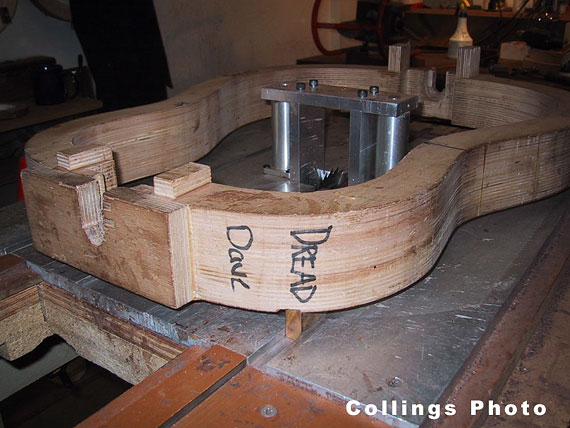
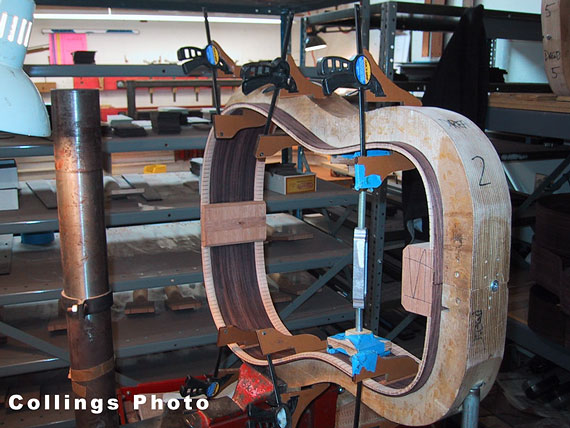
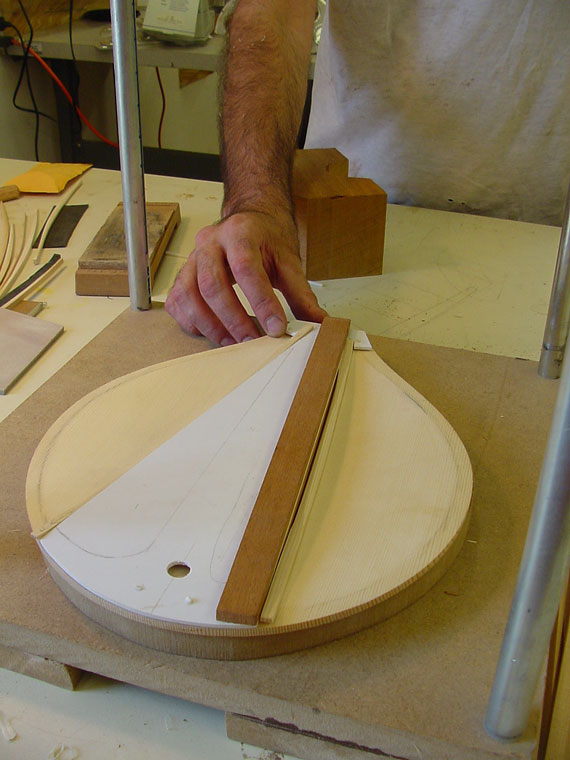
Now, comes the weirdest setup in the shop. Sides are put into an "inside mold" and clamped firmly in place.
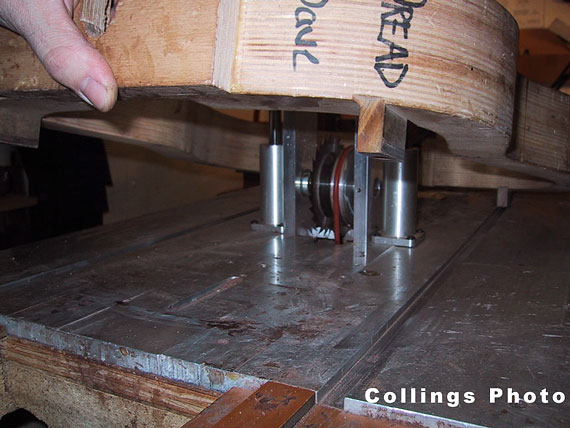
The mold fits onto this table.
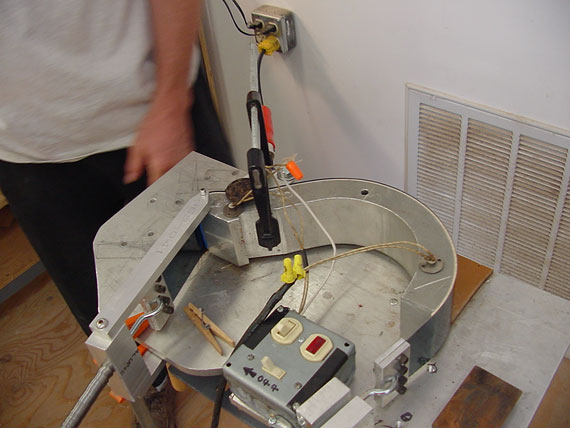
Laying flat, the mold slides fore and aft on two tracks in the table.
Sliding forward, the mold encounters this incredible circular saw blade that rises out of the table.
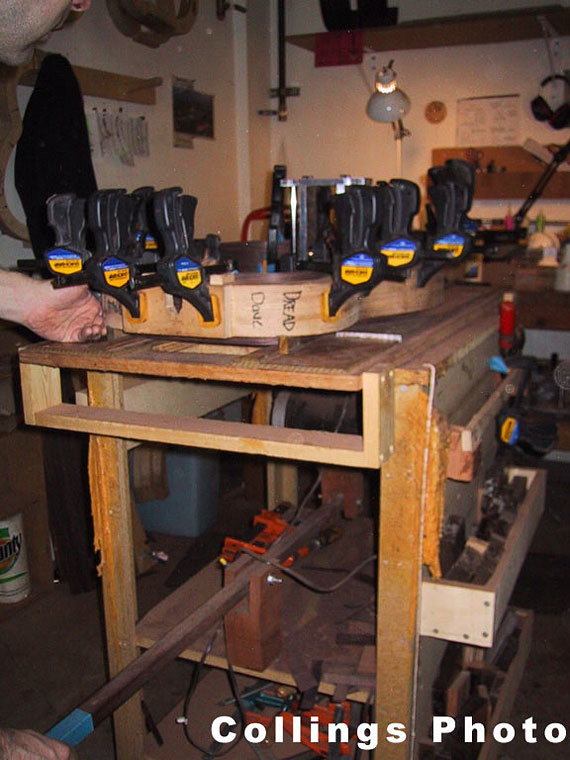
The long lever below controls the rise and fall of the narrow kerf high speed saw blade.
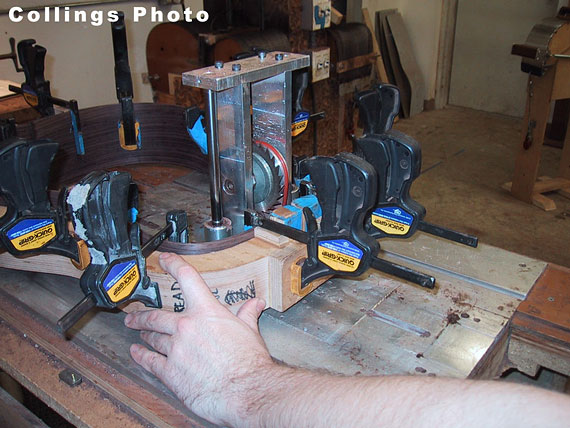
Held tightly in the mold, both sides are trimmed precisely to length at the same time.

There's no particular need for this kind of precision because the joint will be completely covered by the neck or the end wedge inlay. No need, but then, no reason NOT to be precise either. Just typical Collings workmanship.
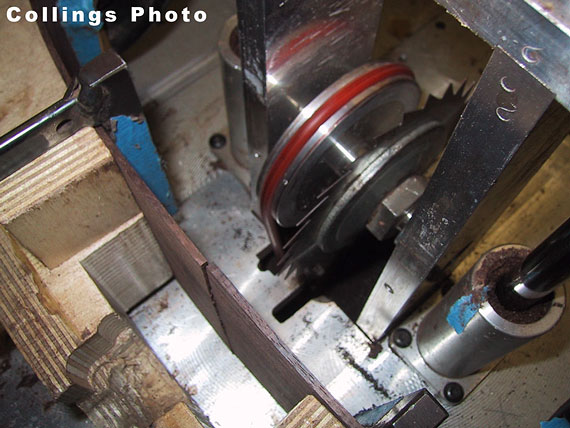
One more look at this nasty saw blade!
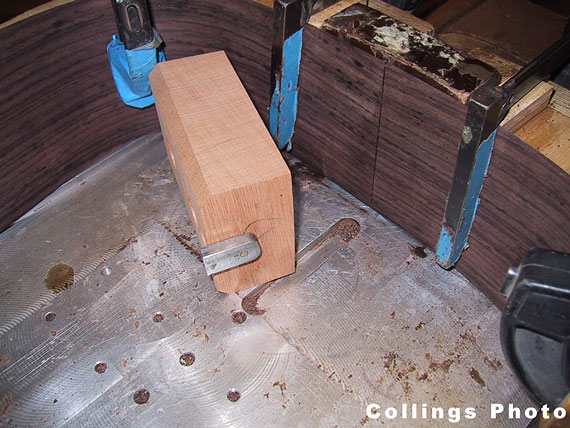
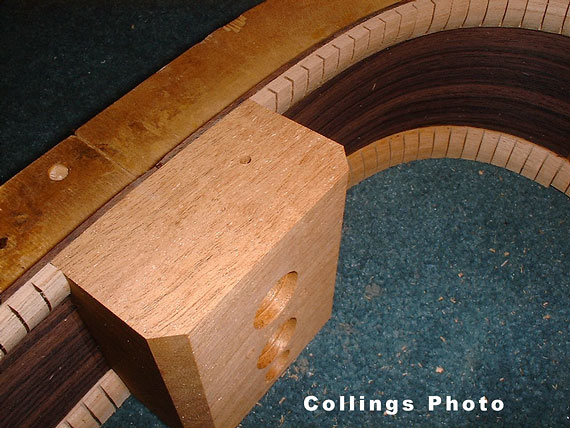
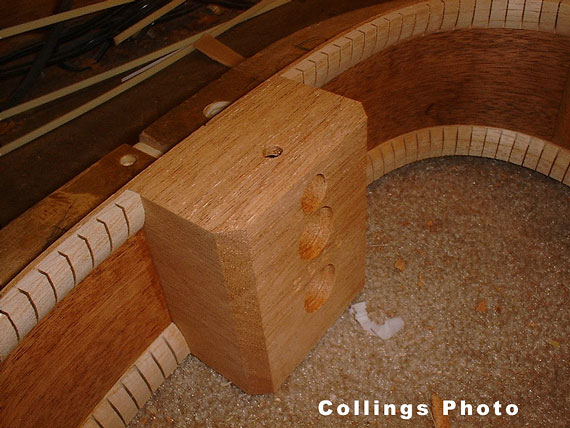
Now, the neck block gets a little key screwed to its base.
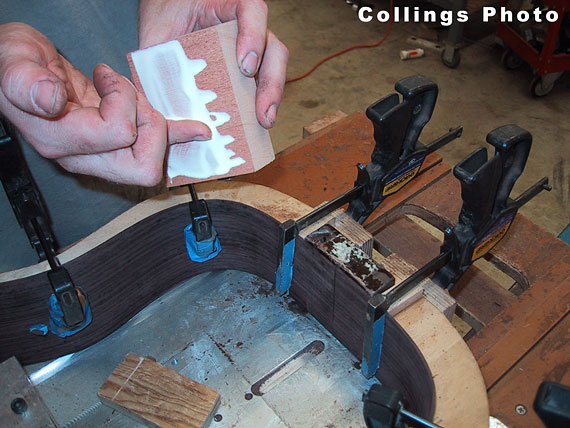
A bit of glue.
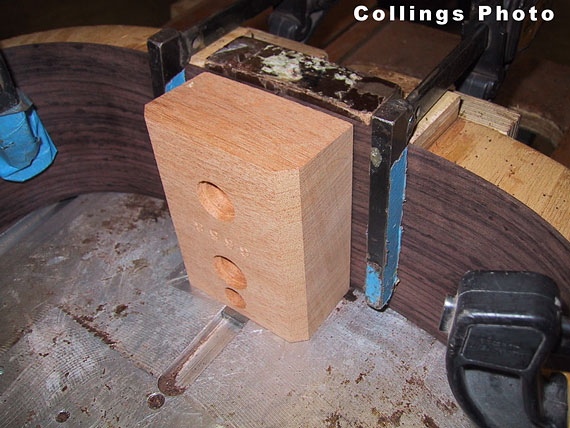
And the block slides perfectly into place.
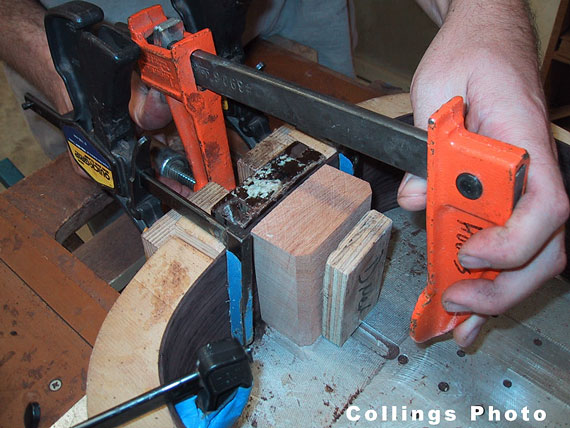
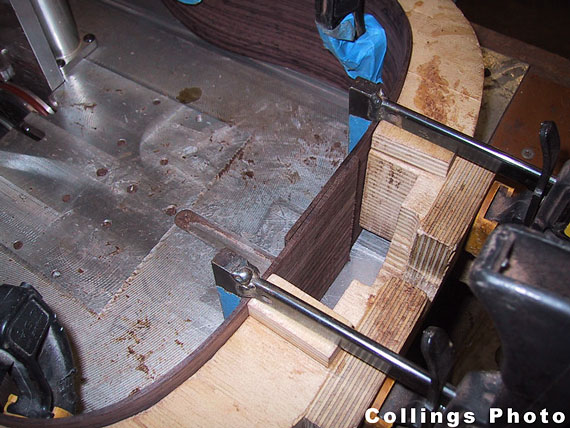
A quick clamping of the neck and end blocks.

And the entire "hoop" can be removed from the mold, allowing for a continuous flow of work.
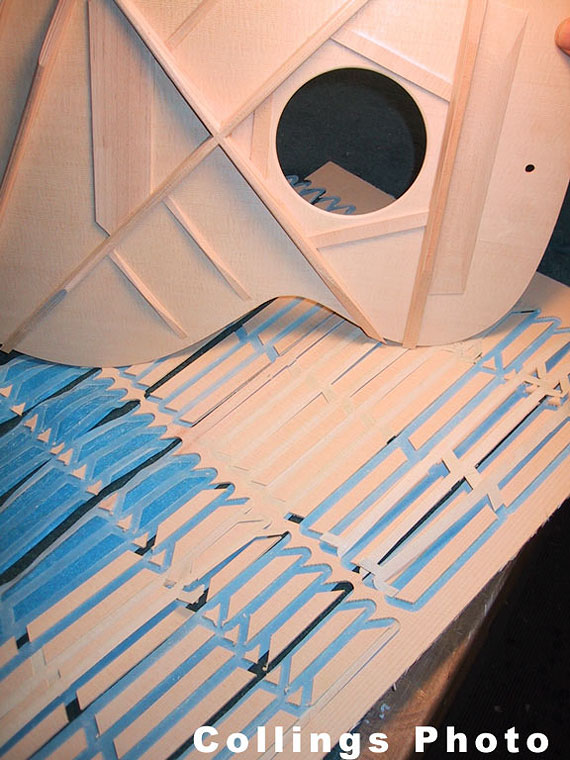
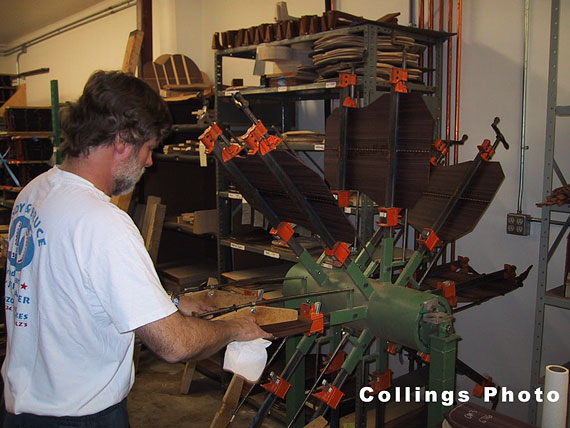
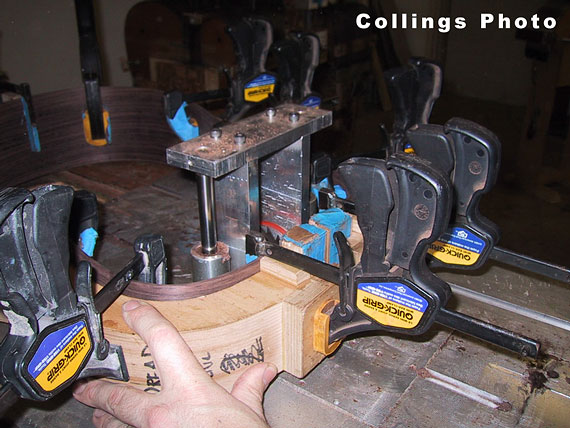
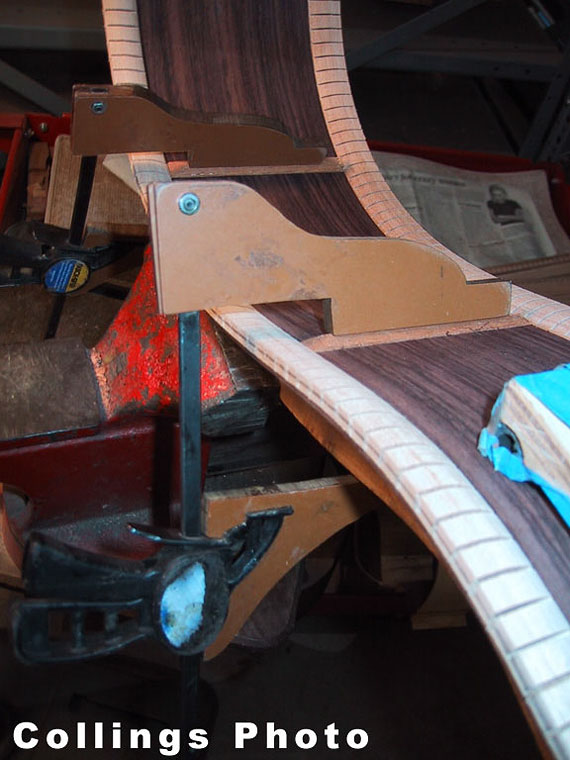
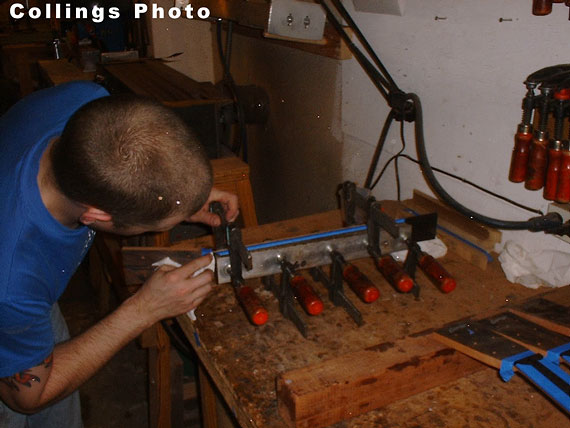
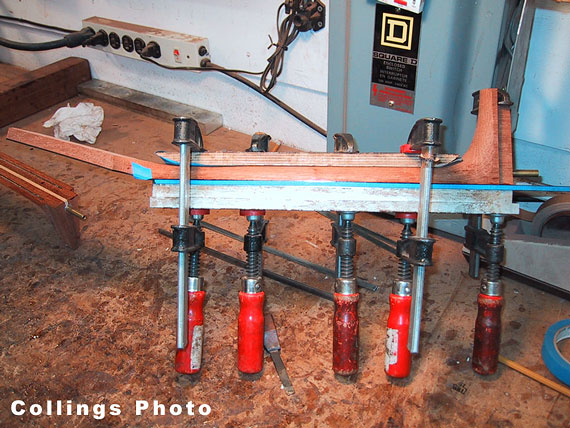
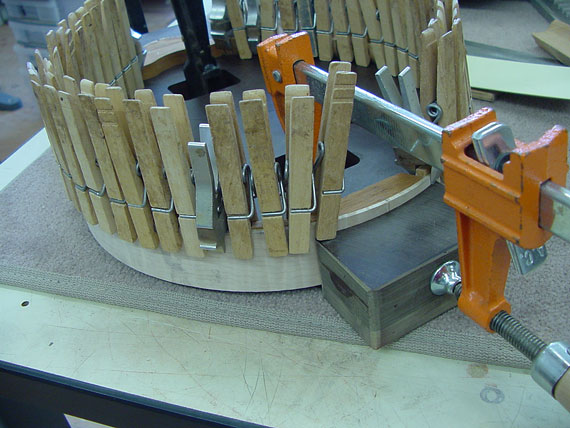
Back in a different mold, the sides are held as Theron Ball glues kerfed lining strips.
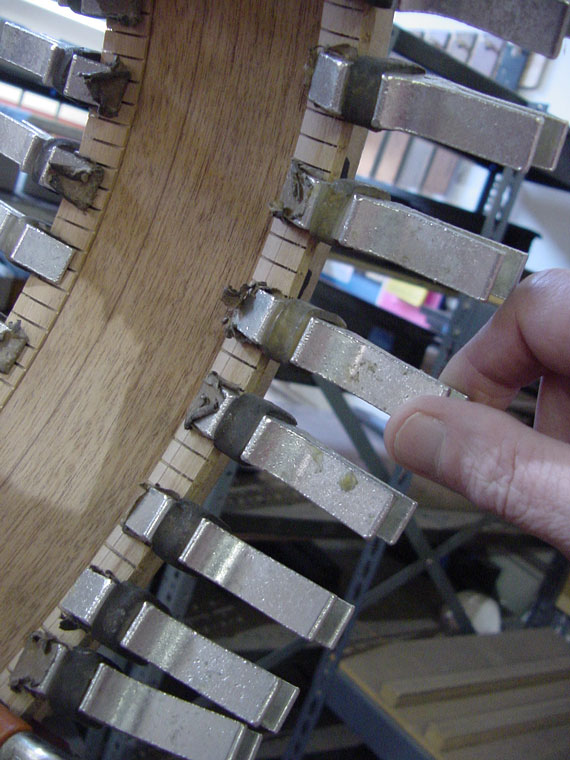
These are special clamps designed by Bob Taylor, a longtime friend of Bill Collings.
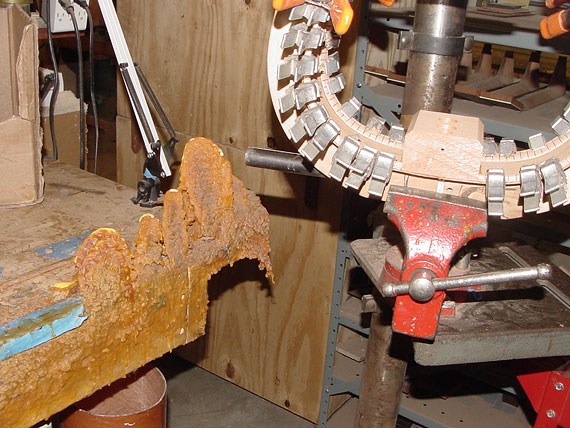
Check out that stalagmite of glue on the edge of the bench.
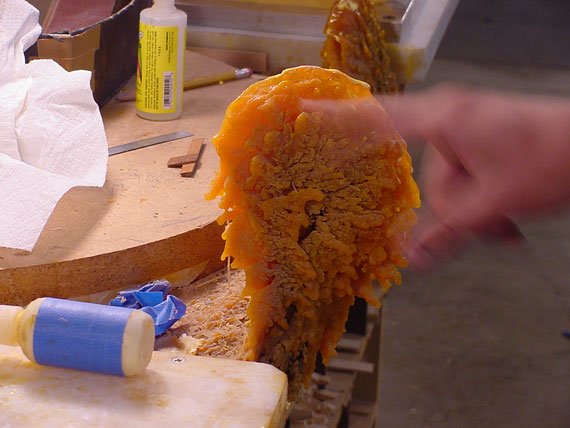
After years of gluing, the buildup is impressive. I wouldn't want to be the one to break this off by accident!
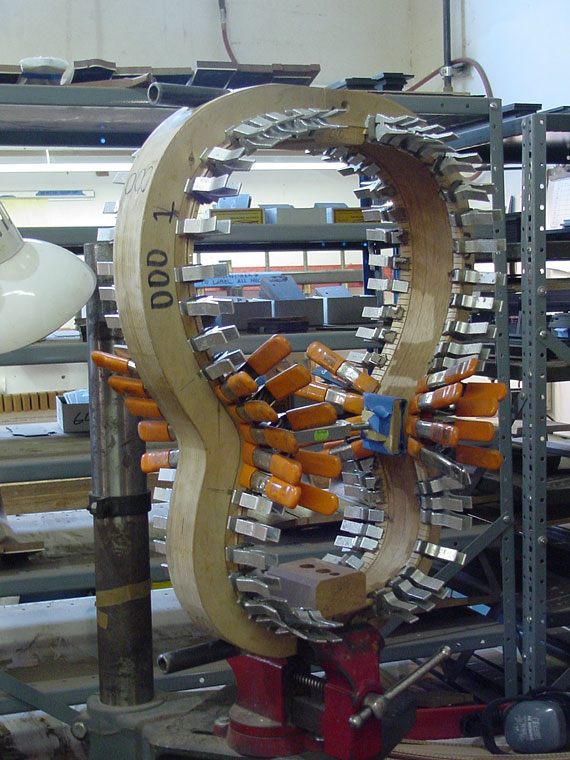
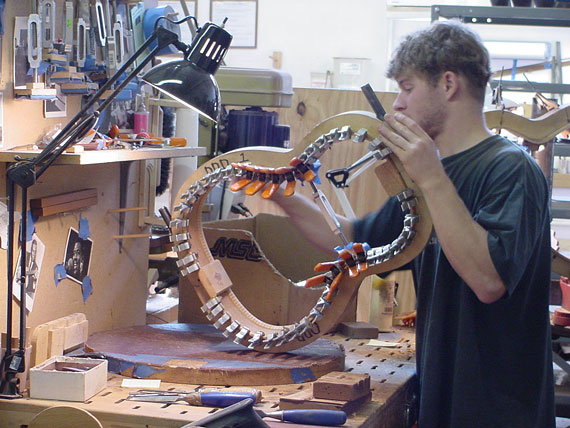
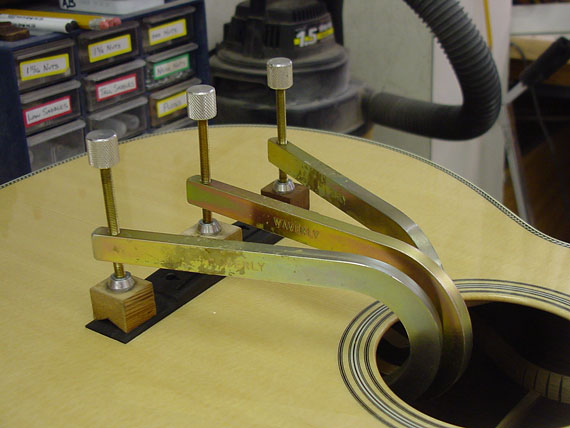
The classic shot. Seems like every photographer has to take at least one shop photo through a guitar mold.
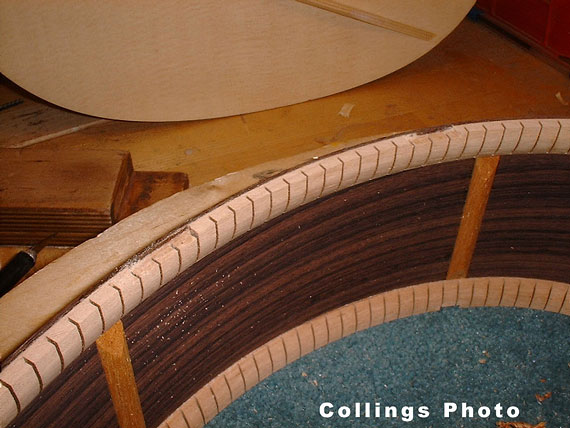
The sides spend as much time as possible in this kind of mold to keep the shape constant.
Wooden side braces help keep the side rigid in case of impact or pressure.
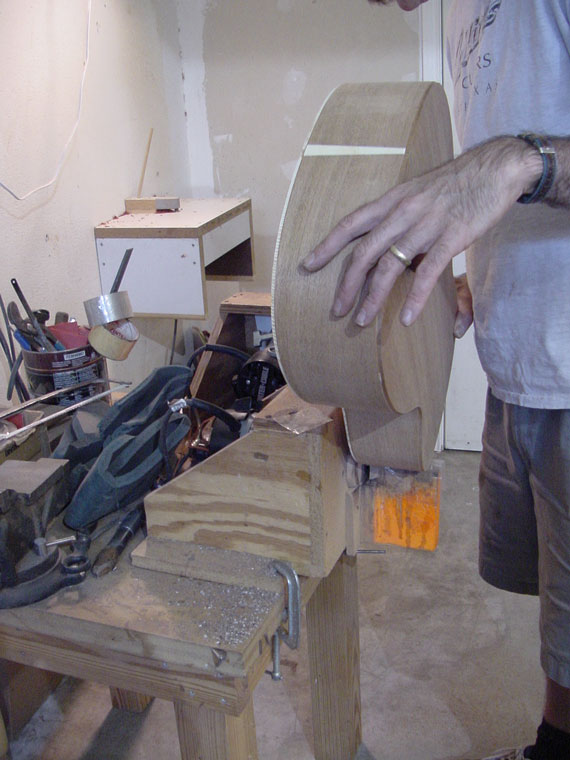
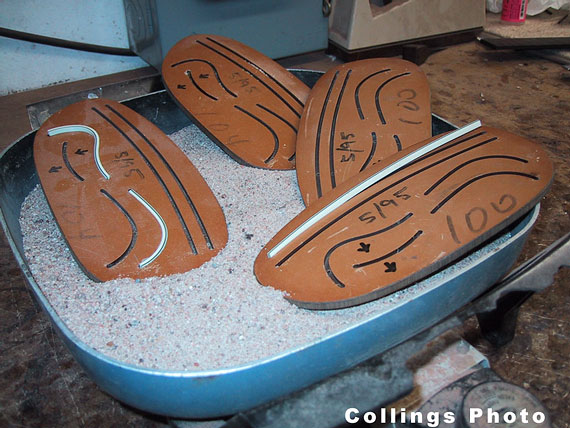
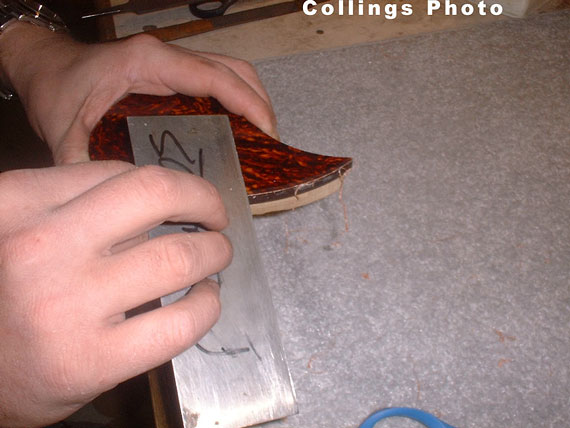
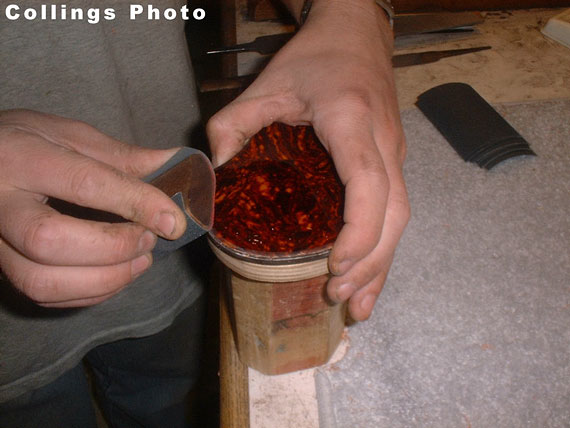
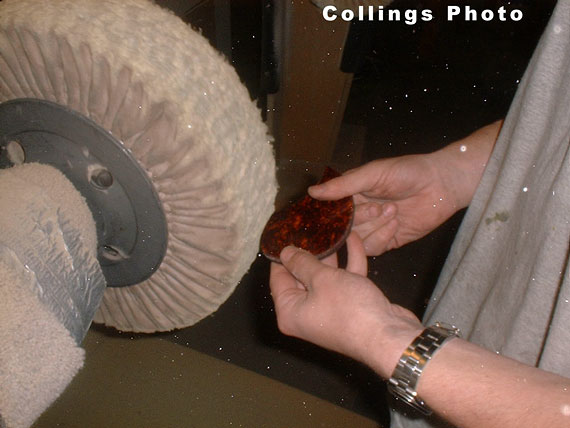
Both the top and back are made with a "radius" form so that they are convex when the body is assembled. The round sandpaper covered plate is a concave "dish" used to sand the completed sides to a matching radius. There is a separate dish with a different radius for the top and back.

Simply holding the assembly on the rotating sandpaper dish is enough pressure to establish the shape.
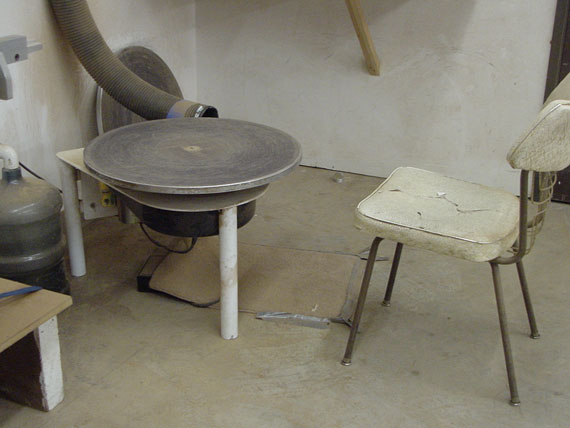
The best part of this process is the tool itself. A standard electric potter's wheel is just the right speed and power for the job
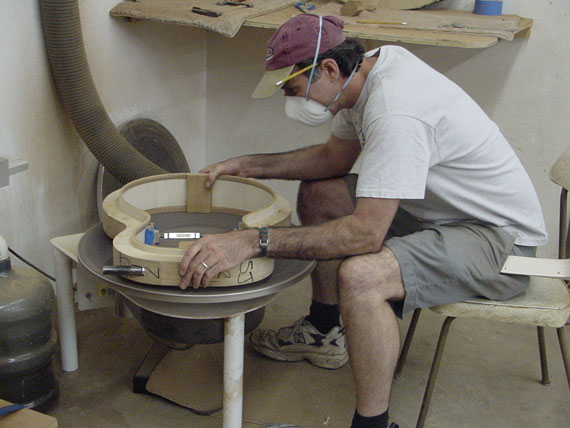
And, you can do the job sitting down!
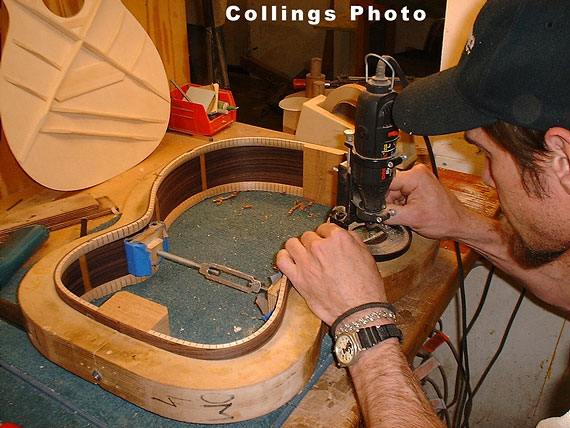
A simple Dremel router setup helps fit the top and back braces.
It's important to "inlet" the braces into the linings to avoid breakage in the event that the top or back gets leaned on or bumped.
Another little drill fixture. This one is for that index pin stuck in the back.
The pin in the back simply drops into this little hole, making it impossible to glue the back on out of alignment.
A similar hole in the top edge of the neck block aligns the top.
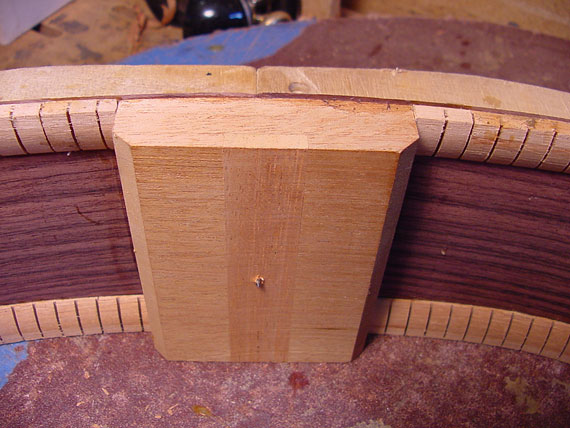
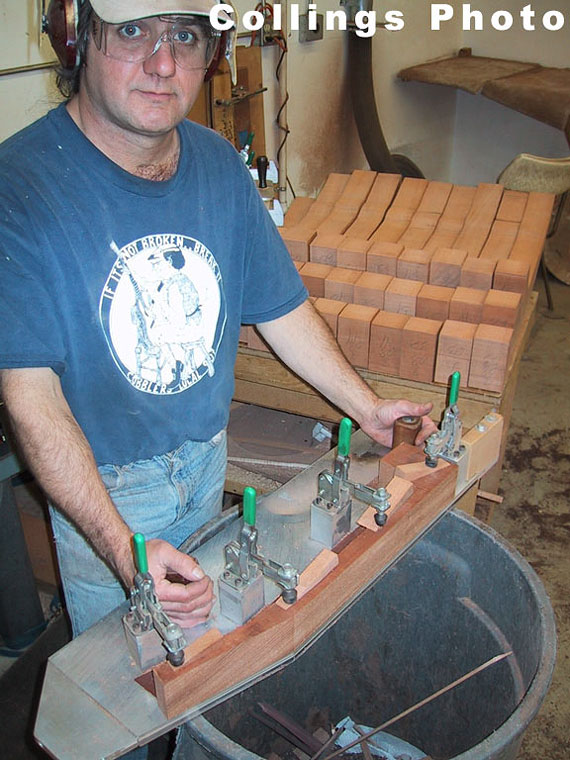
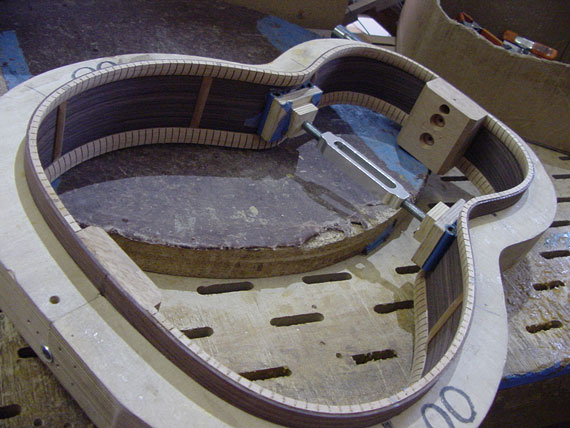
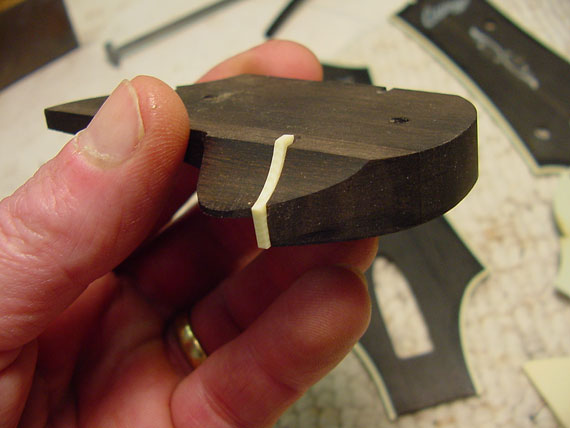
Take a look at the end block. Martin and other makers have used a reinforcement strip to help keep the end block from splitting in case of a dropping accident. Collings does them all one better by actually inlaying the reinforcement for extra rigidity.
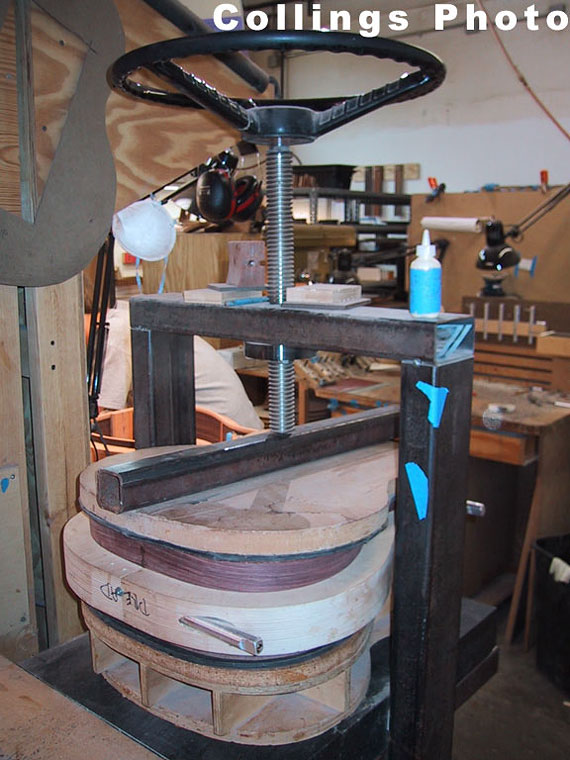
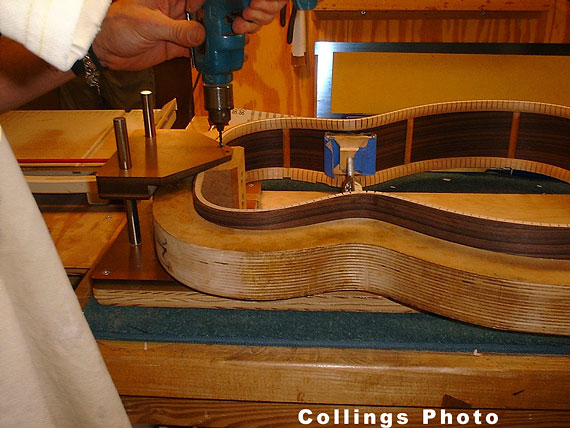
Tops and backs are glued on simultaneously in this press. Notice the truck steering wheel. (It is Texas, after all.)
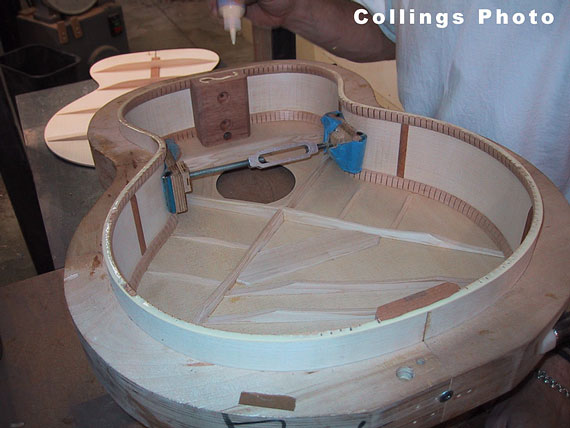
As they are glued up, the sides remain in the mold and are held there by a spreader.
Here you can see the spreader through the soundhole as the braces are fitted into the linings.
After glue-up the spreader comes out through the soundhole.
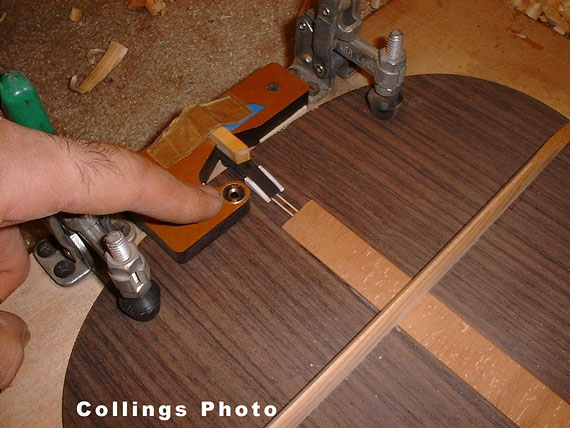
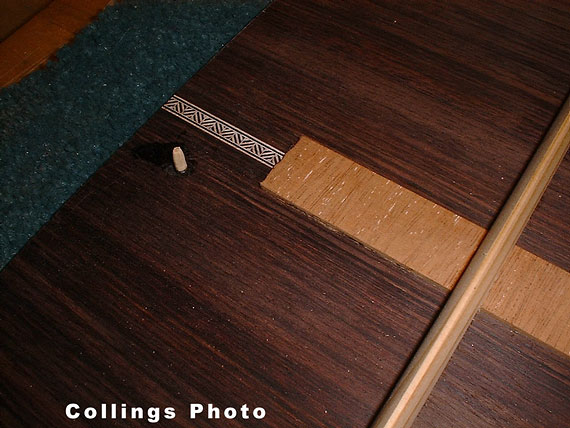
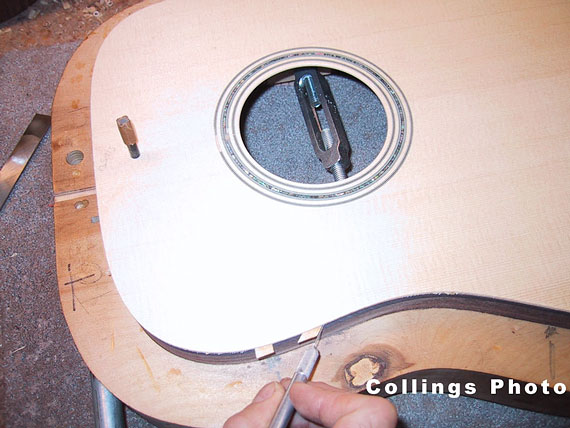
The end wedge inlay is router using a laminate trimmer and a simple fixture
It's easy to locate this fixture, sighting it to the back center inlay.
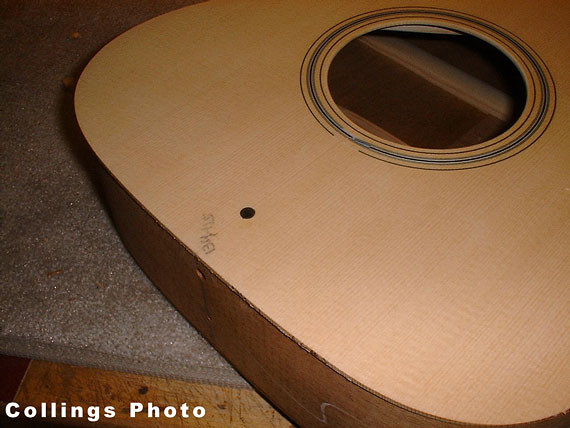
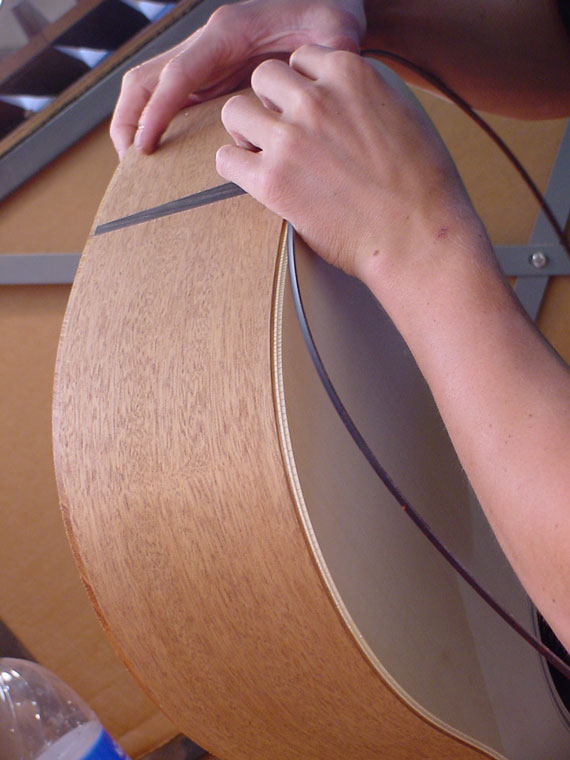
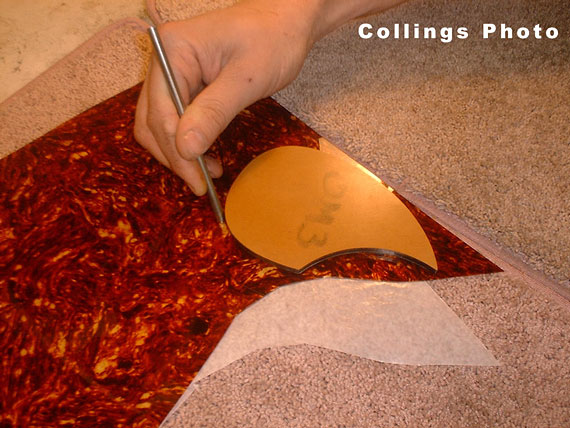
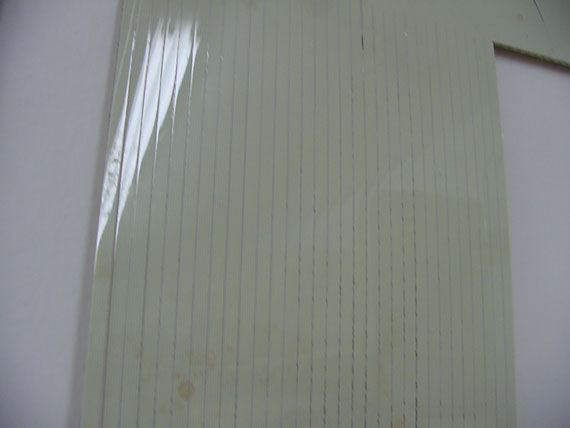
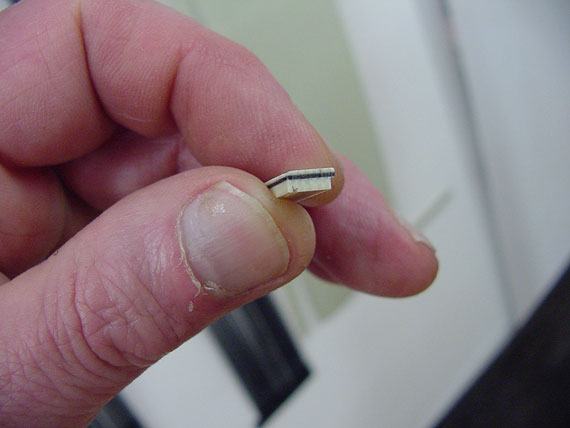
Ivoroid inlay and purfling.
Before the top and back binding is routed, the end inlay is glued in place and trimmed.

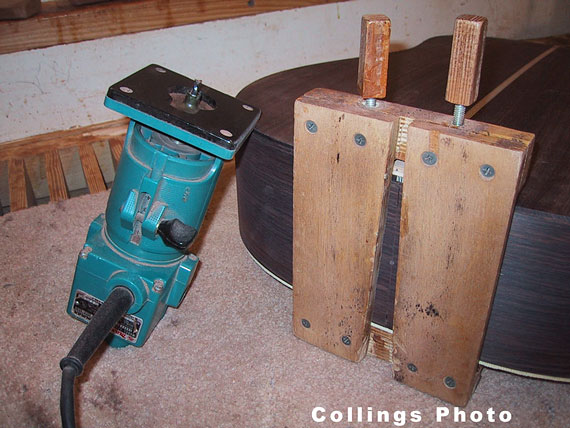
Here's another "first generation" fixture - a pair of regular routers mounted in a bench setup.

Each router has a wooden bearing collar and tongue on which the guitar body is guided as the binding ledge is routed.
A few layers of packing tape adjust the depth of cut. Like most factories, the Collings shop is a combination of various kinds of tooling. Old style tools still do their jobs as new ones are developed.
It takes a steady hand to guide the guitar body across the cutters.
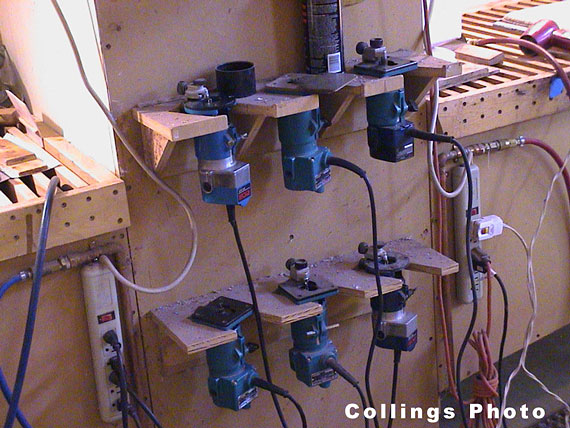
There's quite a battery of other routers, each set up for a specific purfling cut.
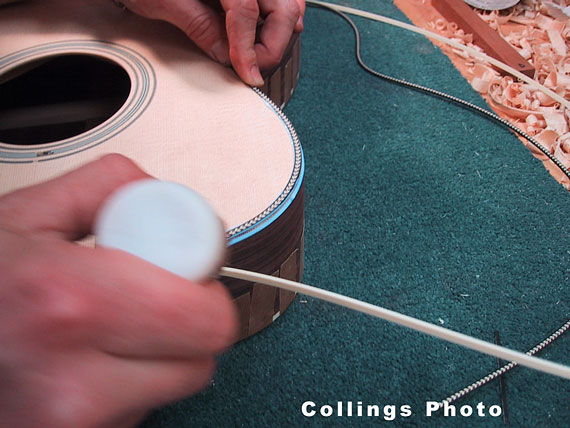
Binding is hand fitted around the body. (As if there were any other way!)
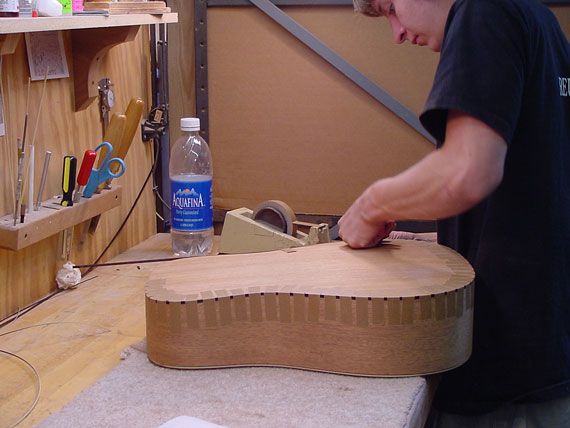
Masking tape does a fine job of holding the binding as the glue dries.
More hand work. There's always a bit of trimming here and there.
Check out this cool sanding block. It's plastic (high density polyethylene, maybe) with lateral saw kerfs making it extremely flexible in only one direction.

With this long block, it's easy to "fair" the curves of the sides.
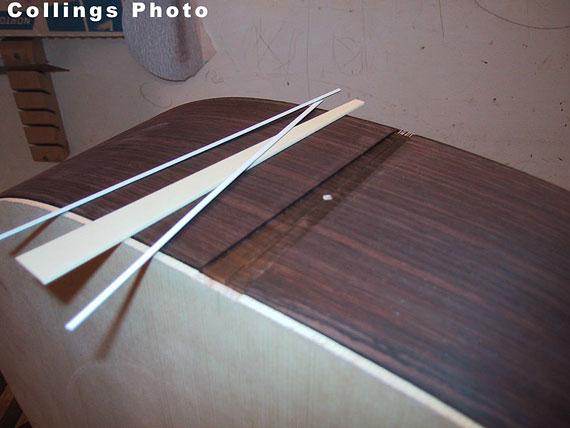
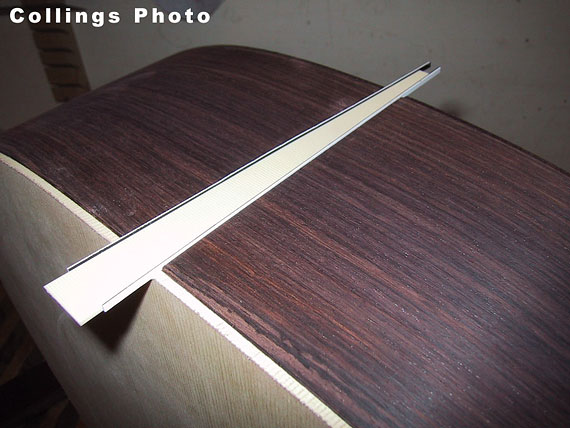
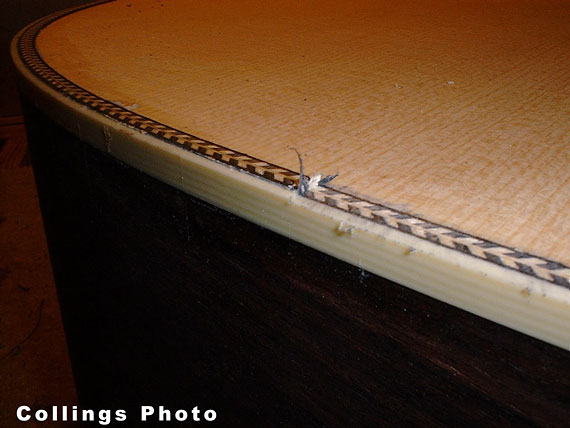
Here comes another cool simple setup. Herringbone wood top purfling and ivoroid binding are glued all around the body.
That particular combination of materials is a bit of a problem to sand or scrape level with the spruce top without damaging the soft spruce.
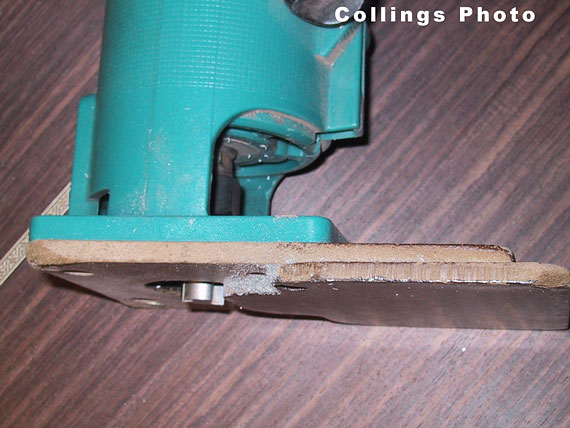
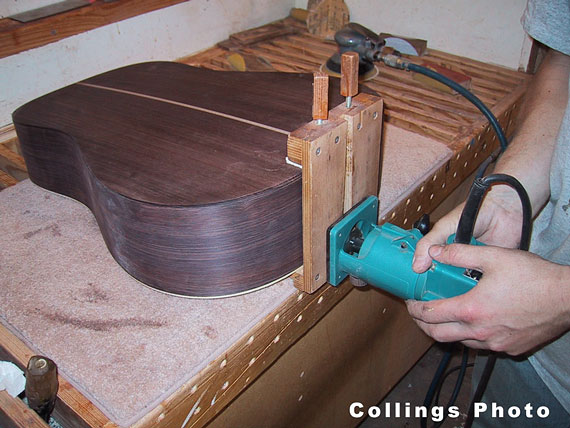
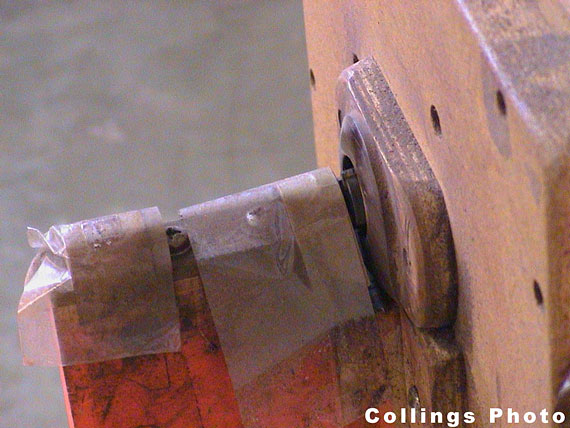
The Collings solution. A flush cutting router setup.
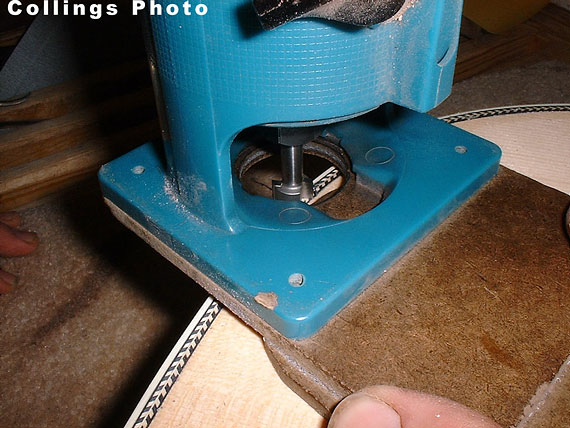
Simply running the cutter around the top, it slices the binding a purfling without touching the spruce.
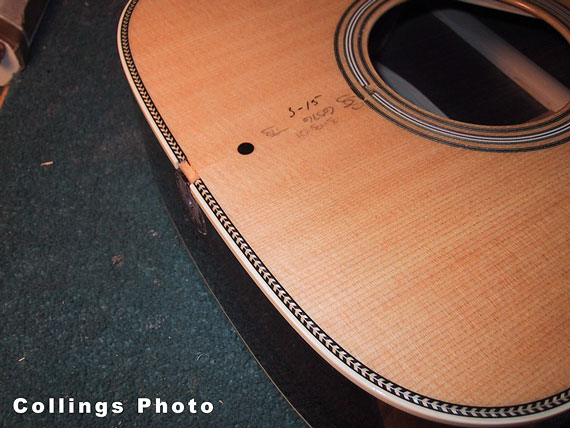
Neat, isn't it?
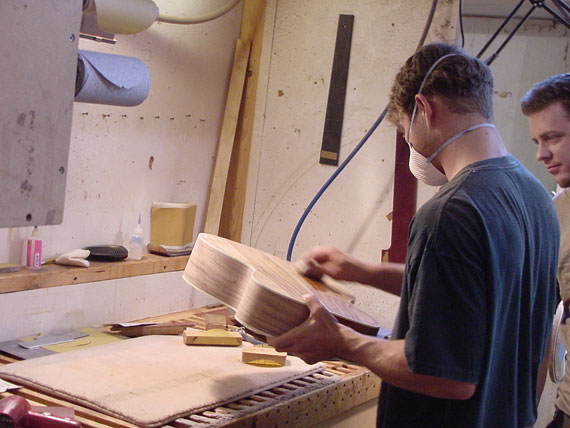
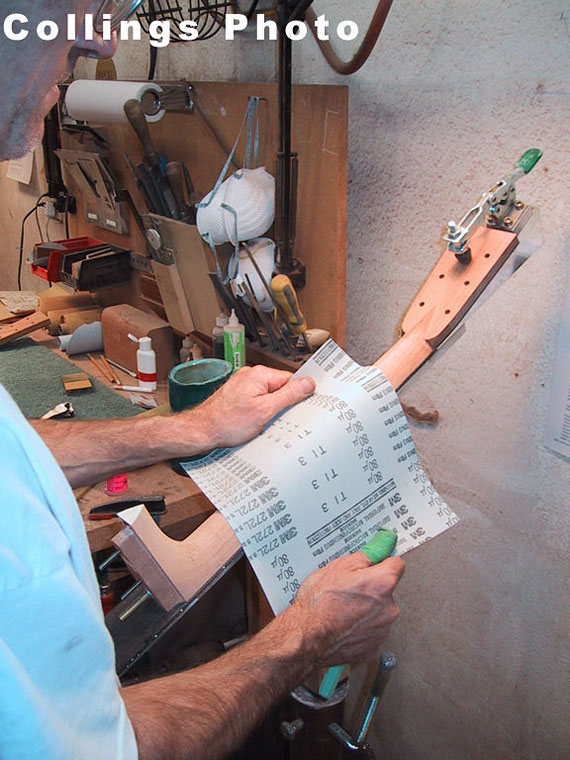
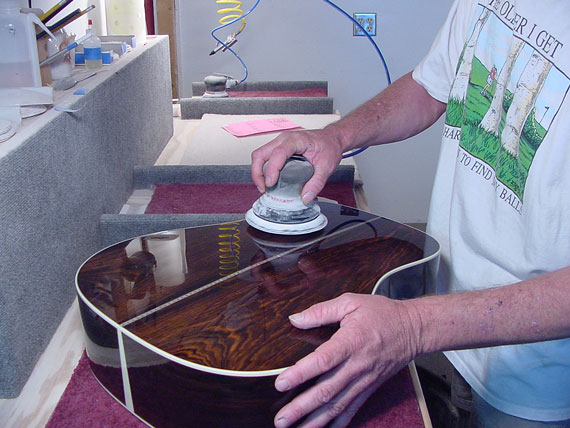
A bit of finish sanding at the downdraft sanding bench.
All the time, angles are kept constant.
And everything is checked, and checked again.
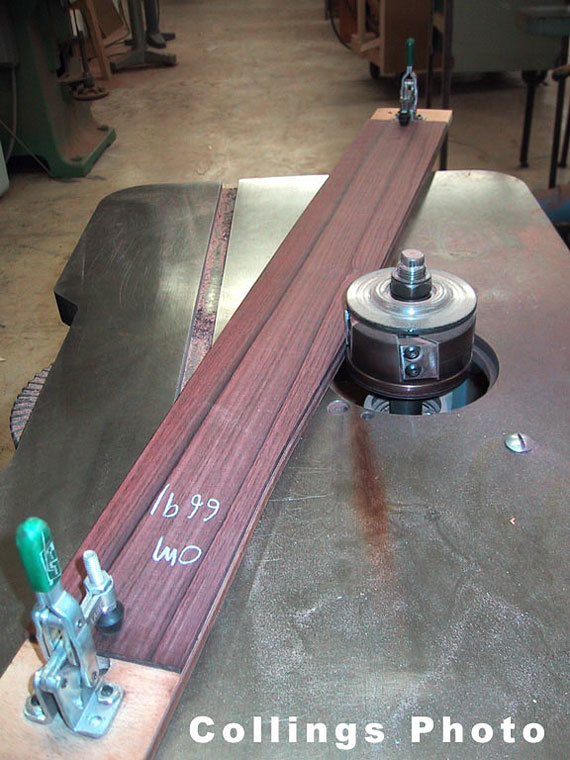
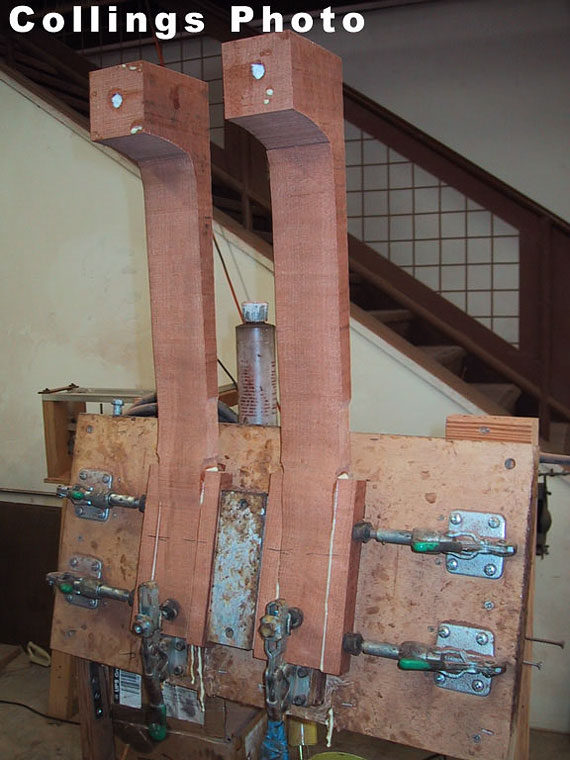
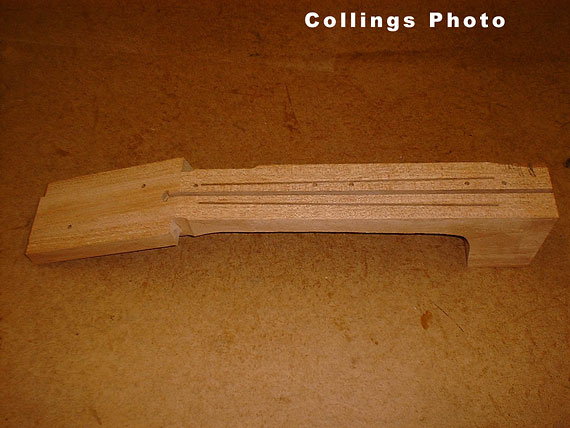
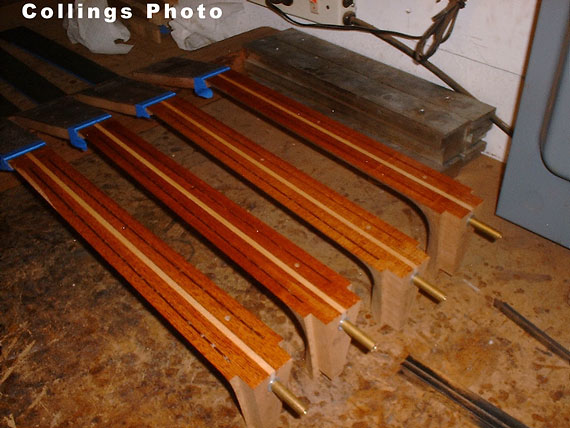
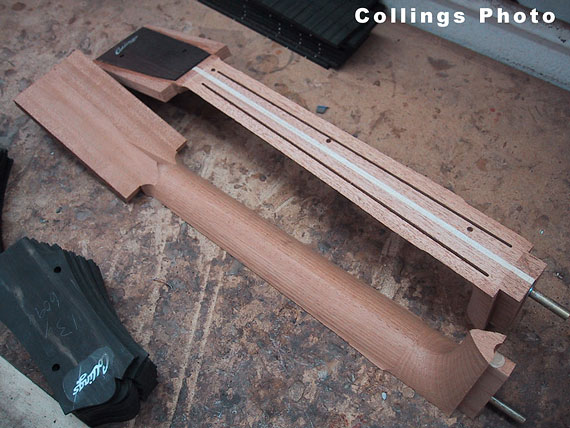
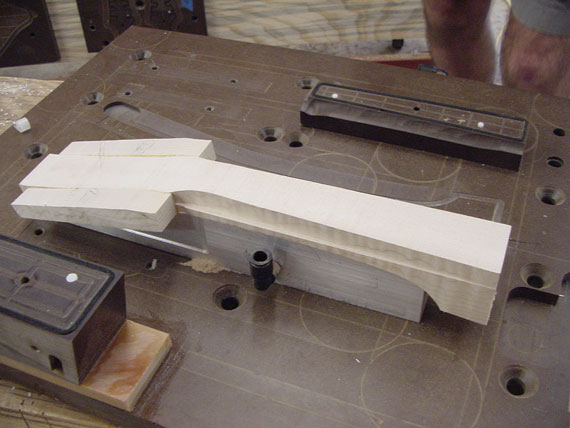
Necks are made from seasoned genuine mahogany. Rough blanks are laid out for cutting on the band saw.
The rough blank is trimmed on a shaper fixture.

And, as with so many other parts, alignment holes are drilled so the blank will "index" on various fixtures.
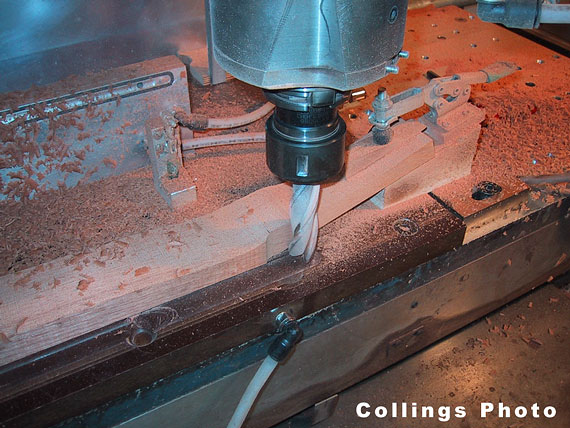
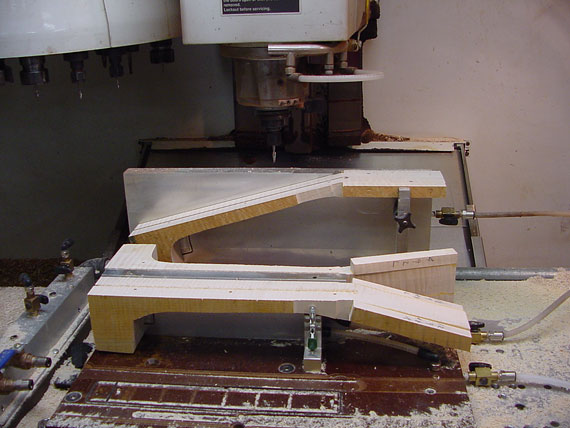
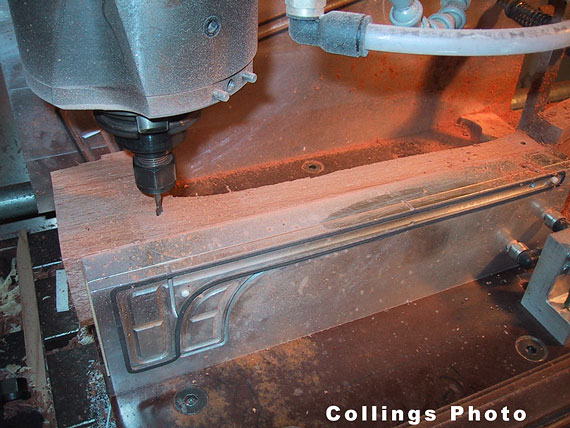
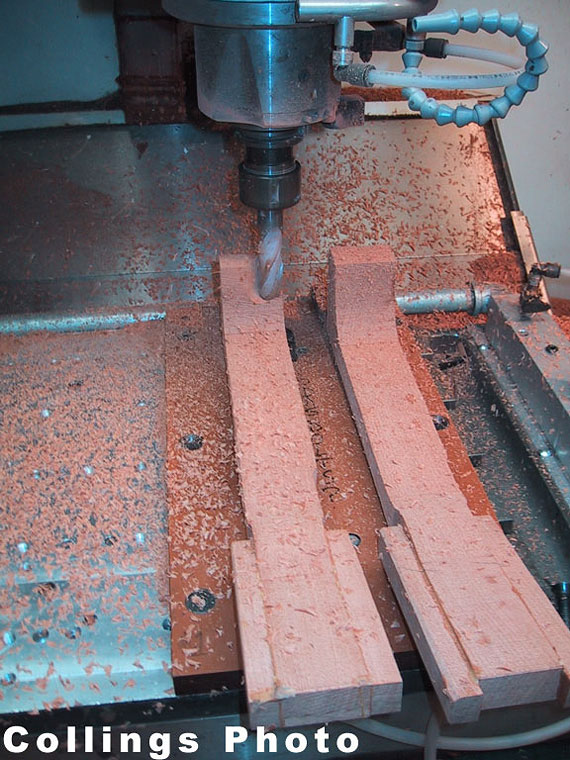
Here's where the CNC really shines. Nothing matches its ability as a neck making appliance. Right now, it's trimming the peghead for gluing on the "ears."
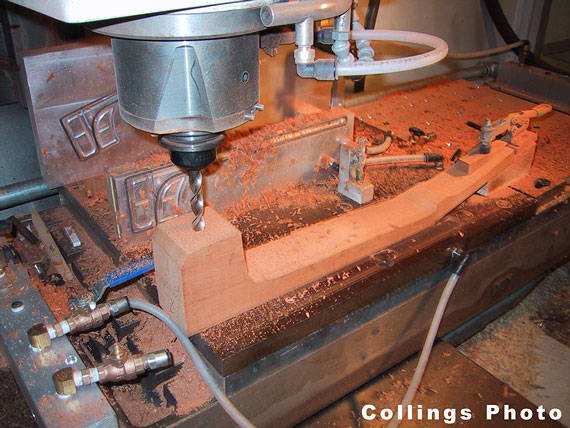
Changing cutter heads, the machine drills a hole at the heel end.
A heavy hardwood dowel is glued into the hole.
Everything is calculated to line up just right. Here, the dowel reinforces the neck mortise joint so the hanger bolts will hold extra well.
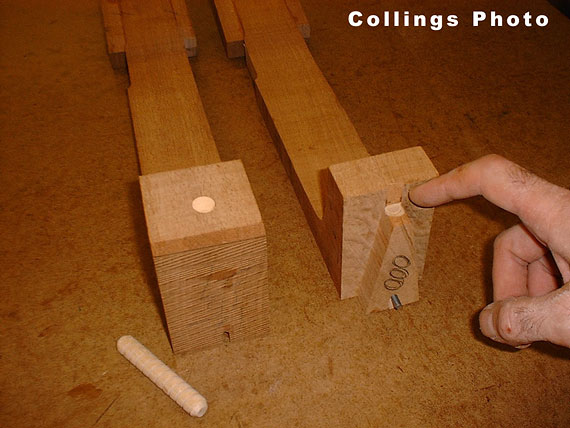
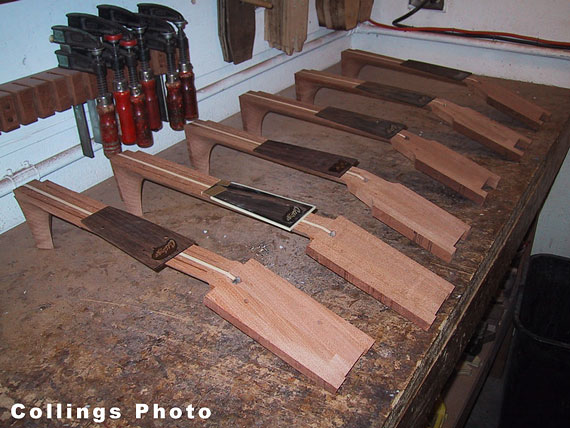
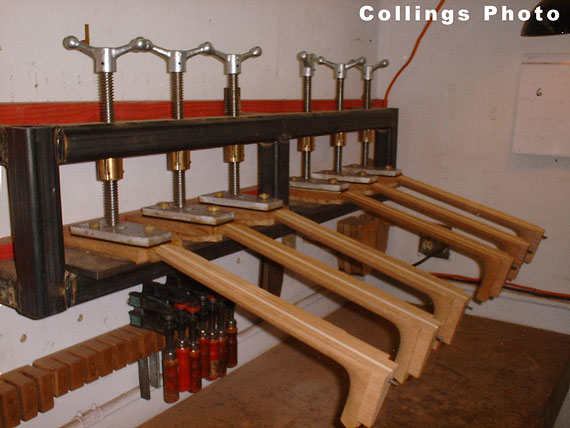
The ear gluing bench.
Gluing ears. To avoid wasting a lot of mahogany cutting an entire neck from a 4-inch thick piece, Collings adds a bit of extra width at the peghead by gluing on these little ears.
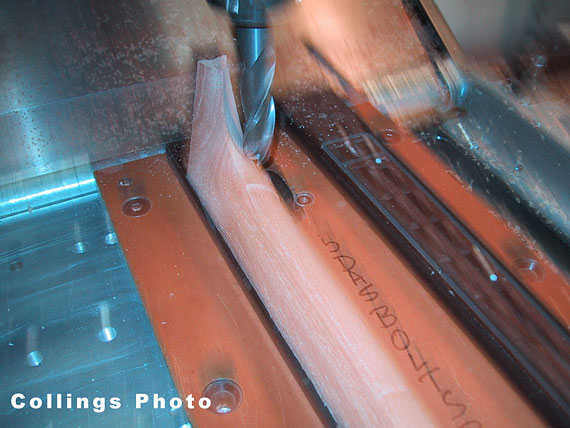
Back on the CNC for some more tooling.
Flattening the peghead.
And, leveling the fingerboard surface.
Much of the CNC work is done on wooden parts held by vacuum. Each of these vacuum chucks is custom made for just one purpose.
Another index hole.
Routing the channel for the truss rod.
A neck blank showing the truss rod channels.
The peghead veneer gluing station.
All clamped up.
The adjustable truss rod has a heavy slug at the end opposite the adjusting nut
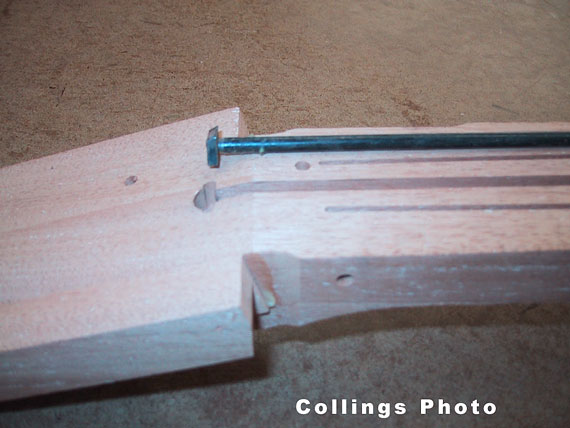
It's a fixed anchor mounted at the peghead end of the neck, near the nut.
On top of the truss rod, a filler strip is glued to keep it in place near the back of the neck.
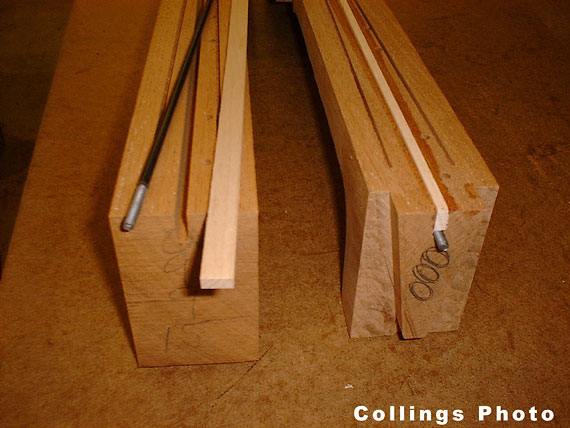
Those other two channels get filled with epoxy.
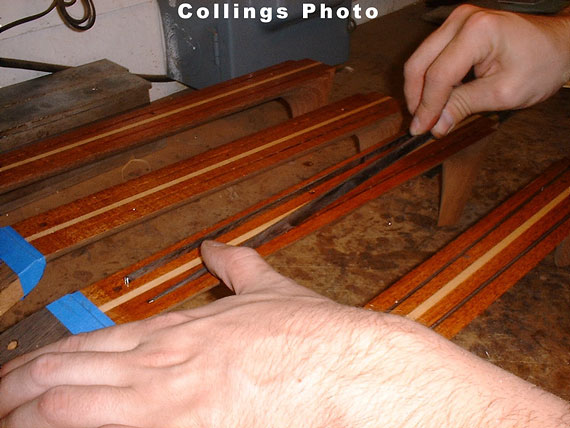
And into each channel are inserted strips of spring steel. Mounted on edge, these steel strips add a good deal of rigidity to the neck.
The long brass adjusting nut sticks into the body for easy access through the soundhole.
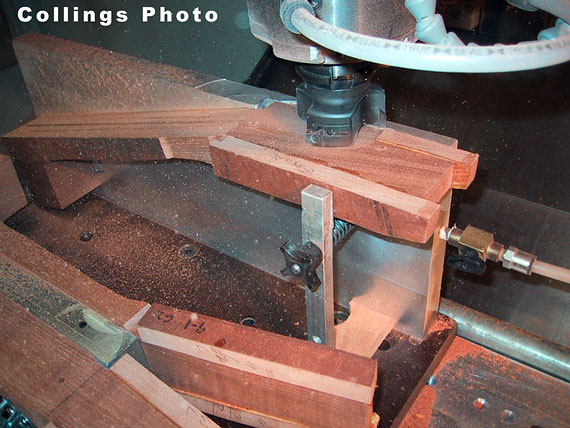
More CNC.
A rounded end mill carves the neck and heel profile.
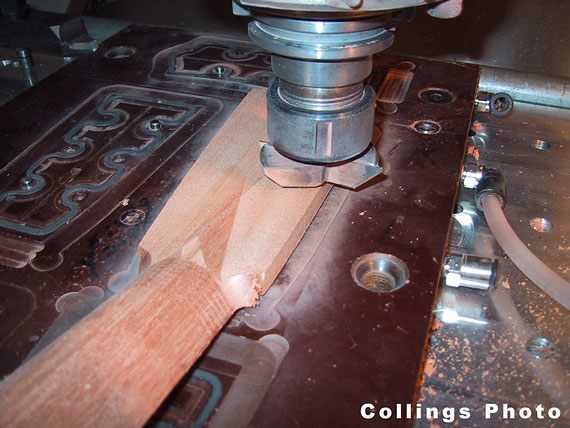
Leveling the back of the peghead and forming the "diamond."
Automatically, changing heads, the machine trims the end of the peghead.
Another tool change and tuner holes are drilled.
Some finish cuts on a slotted peghead for a 12-fret model.
The nut slot is cut with the same precision as the nut itself for a perfect fit.
Look at the final product from the CNC.
All this CNC machining does not save much time. In fact, I suspect it would be somewhat faster to make guitars without as much CNC tooling. Collings uses the tooling, not to increase speed, but to increase precision.
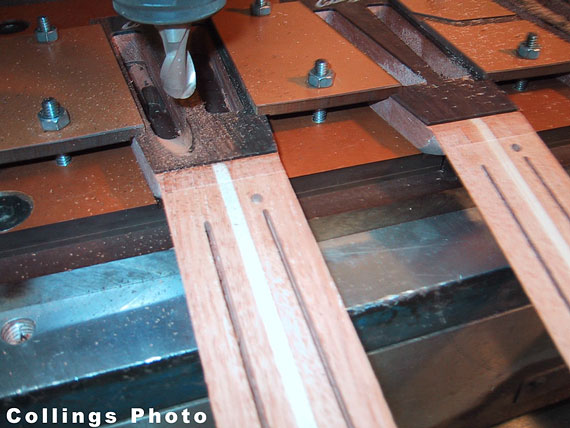
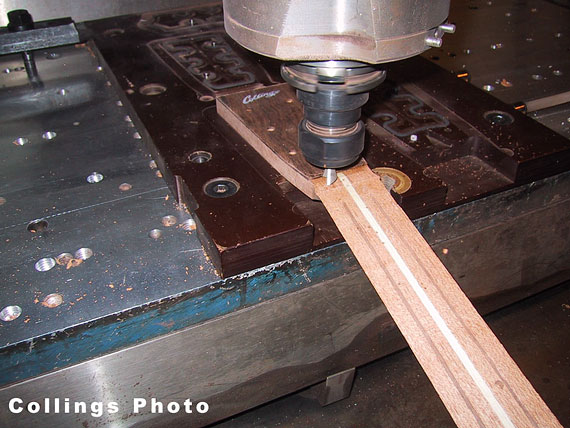
The CNC is the perfect tool for making fingerboards. Fret slots are cut to precise tolerances
The machine automatically changes tools and trims the ends of the boards.
Changing to a straight cutter, the side profile is trimmed
And again, routing the cavities for inlay position markers.

A final leveling cut.

Held up against this fence, the fingerboard holder indexes on the little rod at the bottom
The fingerboard edge is drilled for the side position markers.
Tape protects the fingerboard from excessive glue squeeze out.
Fingerboards are glued on with epoxy to avoid having any distortion by water absorbed from glue.
Fingerboards are clamped against a rigid and flat caul.
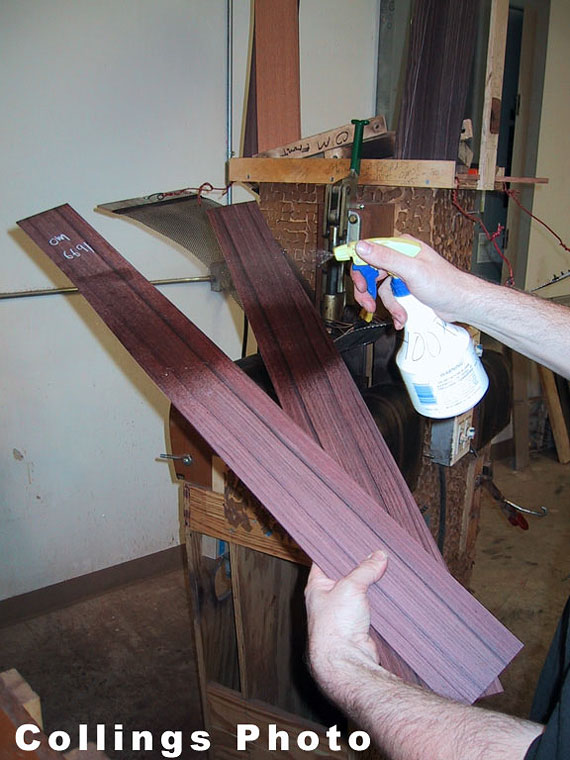
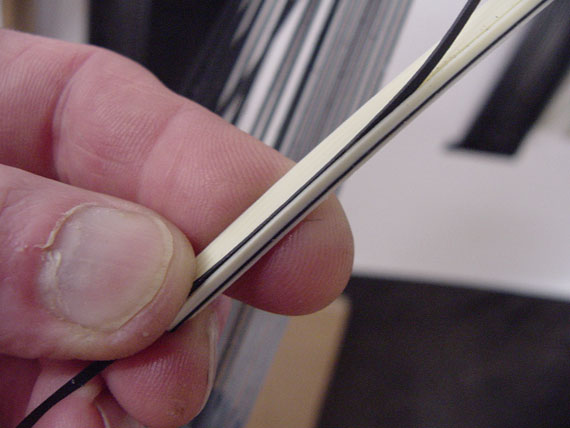
Here's some real precision applied to the problem of complex plastic binding. Laminated ivoroid binding strips are bent and held in these phenolic holders, which are swished through a bath of hot sand, making the strips conform to the curved shapes.
Once cool, the strips are taken from those heated holders and placed into CNC forms, where the ends are trimmed precisely.
Then, both the peghead overlay (previously itself cut on CNC) and the binding are glued up in yet another CNC milled form
Here, everything snaps precisely into place and is held as the glue dries, forming the neatest possible joints.
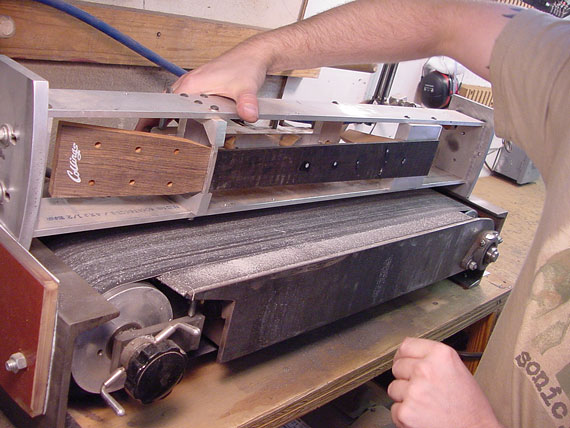
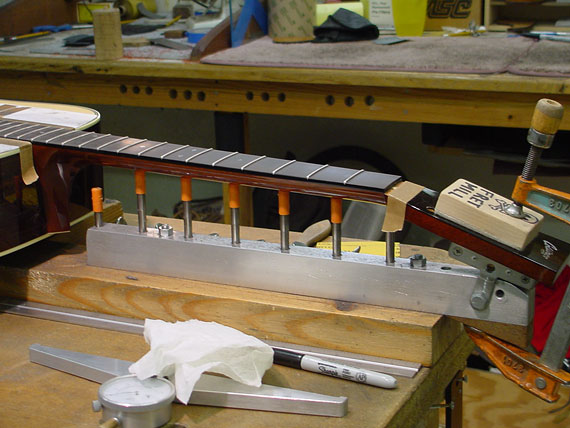
The flat fingerboard gets its radius established on this special belt sander.
There's a vacuum chuck to hold the overhanging end of the fingerboard.
The nut slot fits precisely onto this end of the holder.
At the back edge, there are a couple of adjustable supports to keep the shaft of the neck from deflecting during the sanding operation.
Now, the entire business is pressed against the running sanding belt.
At each end of the rig, there's a rocker. As the neck is rocked back and forth, the fingerboard is sanded to a nice straight radius shape.
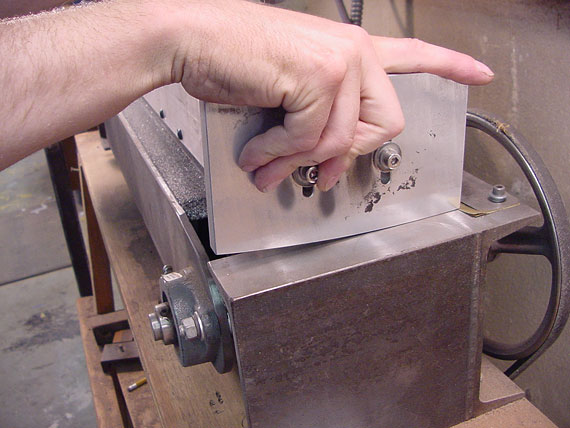
The end rockers have different radii, producing the classic compound radius fingerboard for great playability
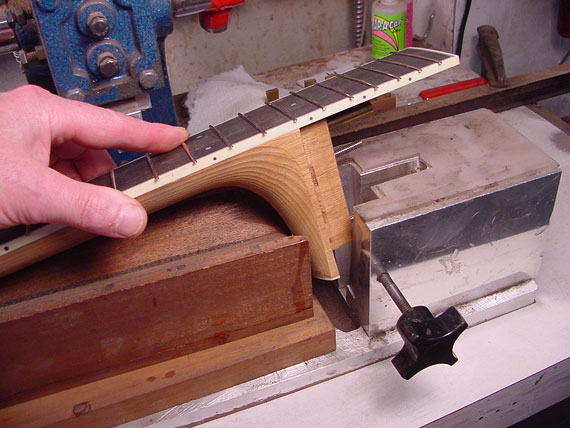
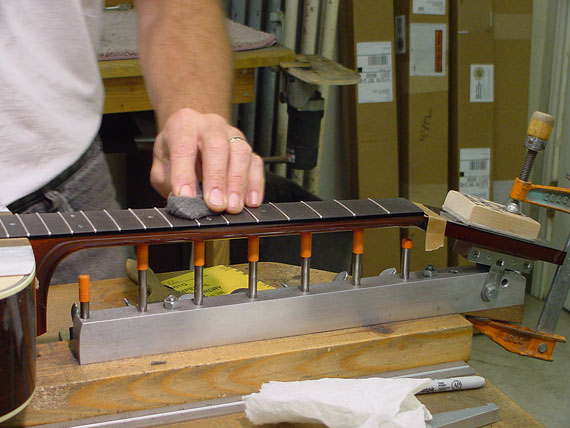
Out of that machine and into another special holder. This one has a rigid support for the heel and end of the fingerboard
The shaft of the neck is also supported for its entire length beneath the arbor press.
Frets are pressed in place with this unique compound radius aluminum "foot."

It has the same compound radius, compressed to only about 3/4" so that it will fit any fret along the entire fingerboard length.
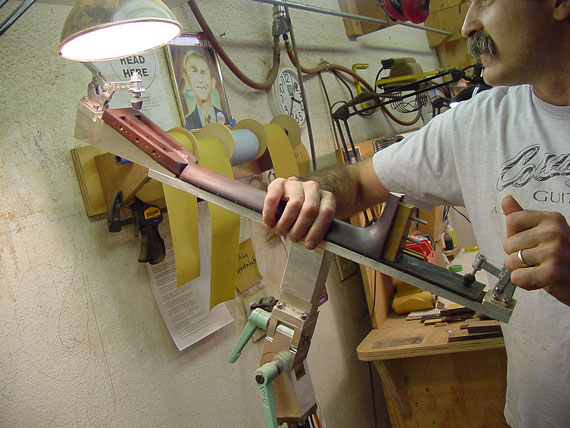
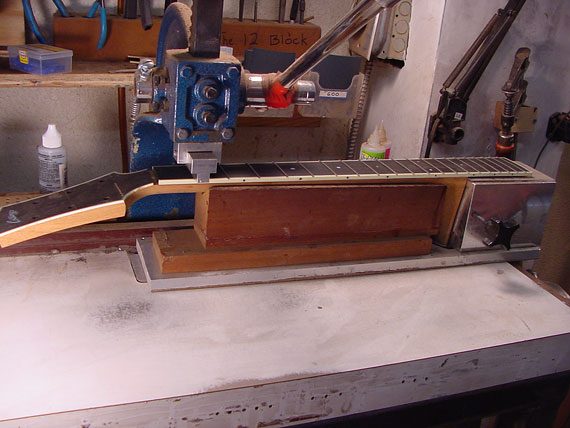
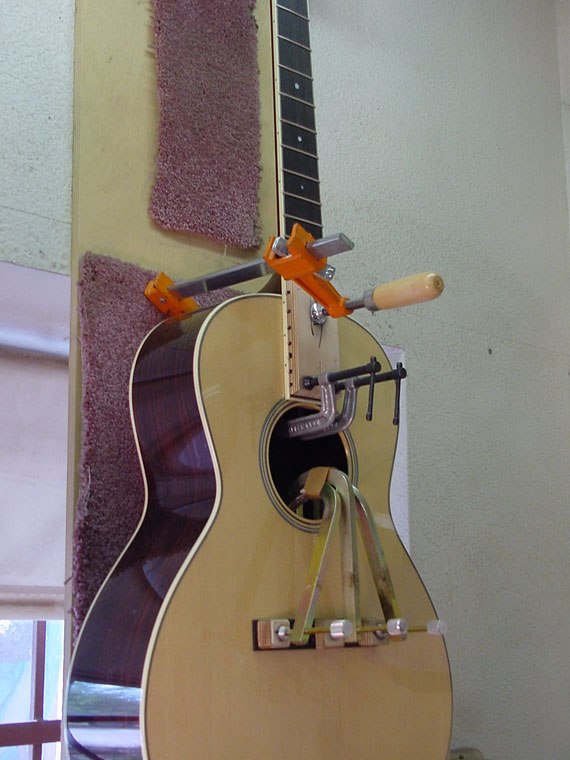
Here's another cool neck fixture.
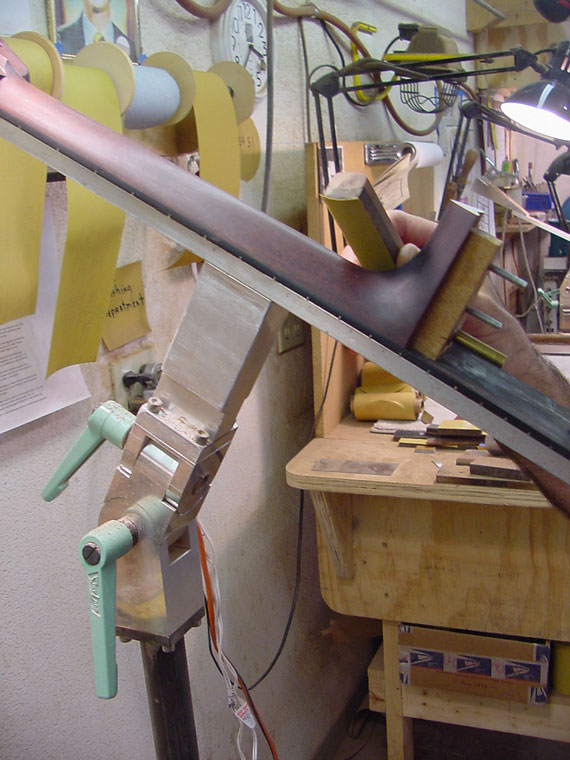
It's a free standing neck holder, adjustable to any angle or height.
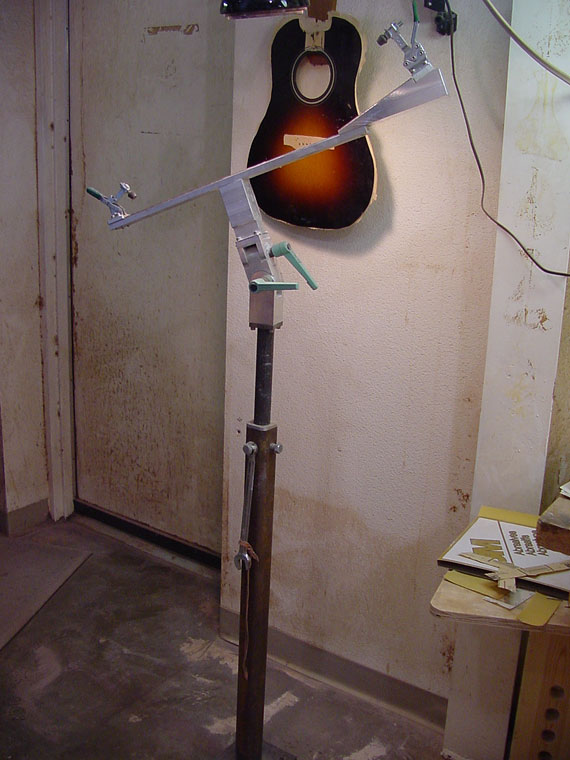
Easy to walk and work around.
A little "Chattanooga Choo-Choo" action on a new neck.
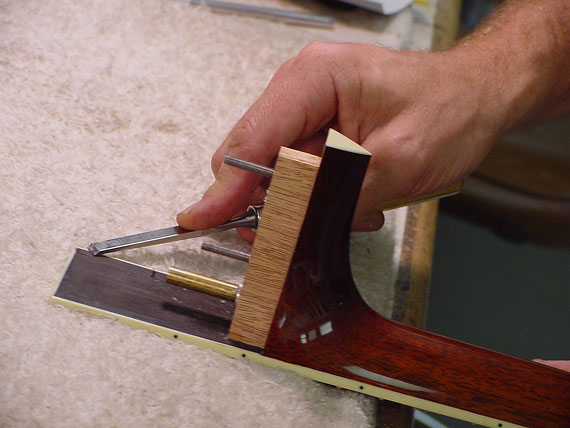
Here's the neck joint.
Here's the neck joint with its bolts in place.
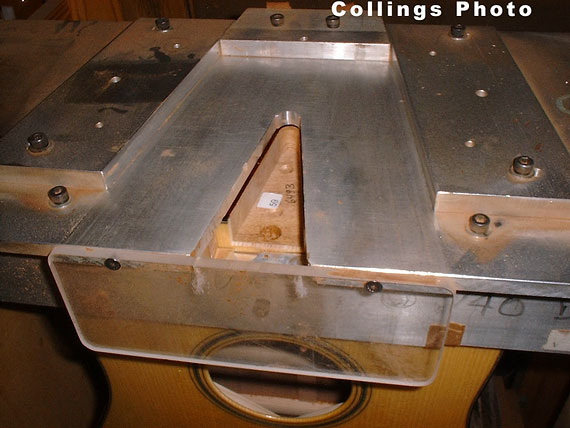
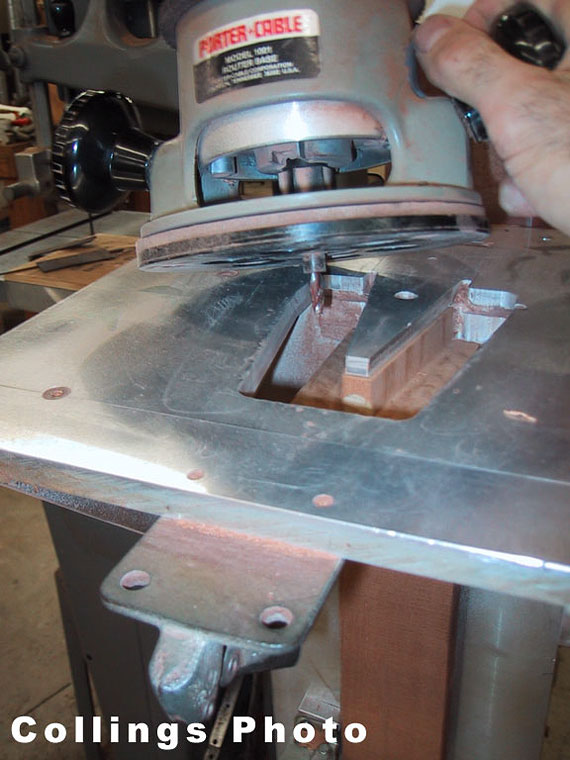
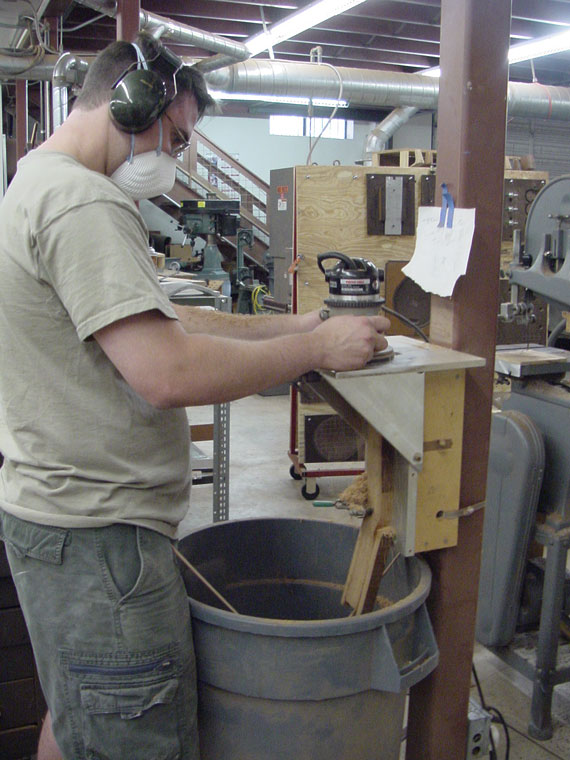
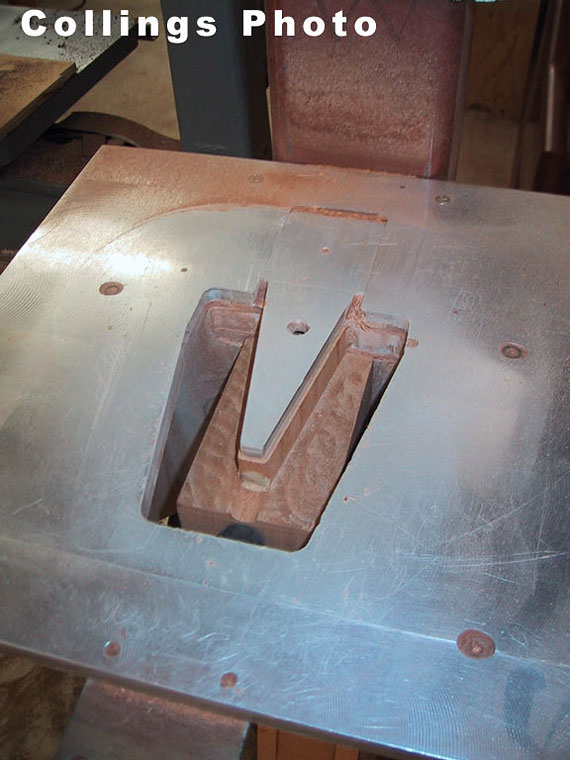
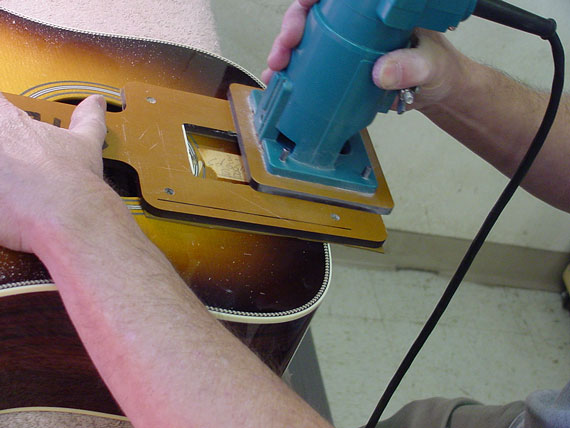
The body gets a matching mortise cavity routed using this fixture.
No comment.
The neck tenon is cut in a similar fashion.
A router fixture, and a straight cutter give the neck the approximate joint configuration,
I wondered why this isn't a CNC job.
Although the joint is established, it will need some fine tuning to make the angle just right.
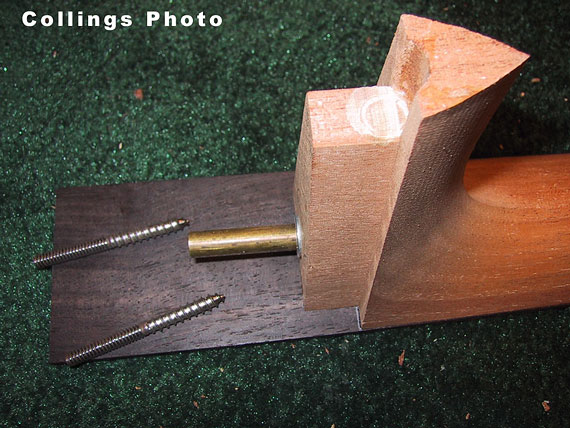
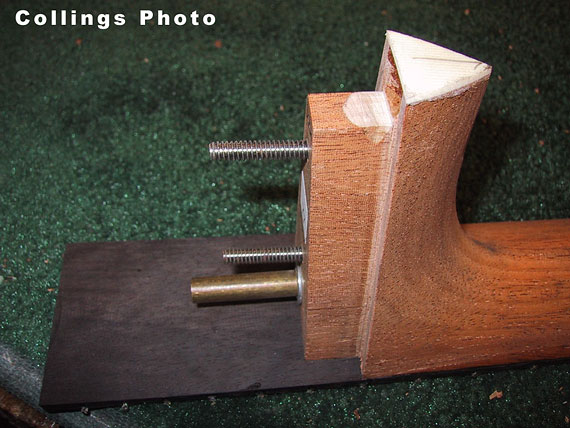
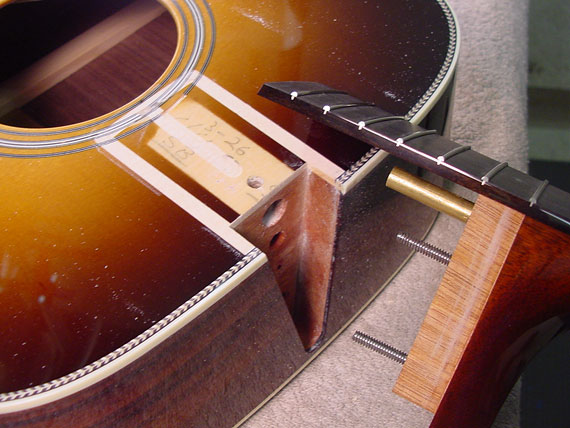
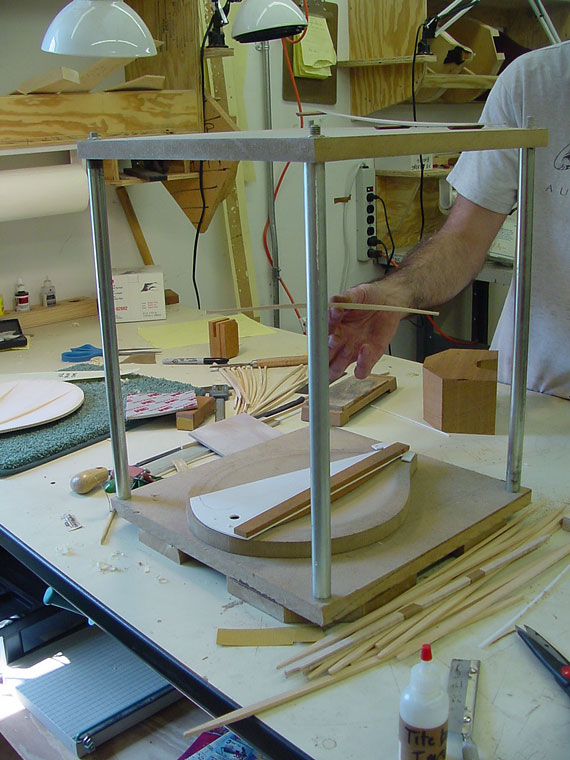
Now, here's a tool I'd like to have around the shop.
The neck fits into one end.
And the body into the other.

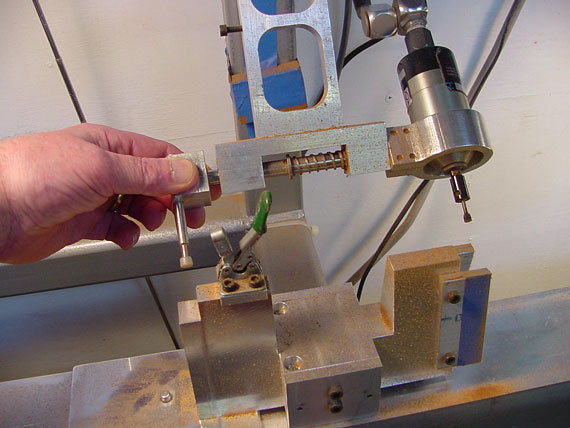
To simulate the ideal bridge height, a machined spacer is placed right where the bridge will eventually be situated on the top of the guitar before the body is clamped into place.
The body fits right onto a surrogate neck tenon.
Now, the fun stuff.
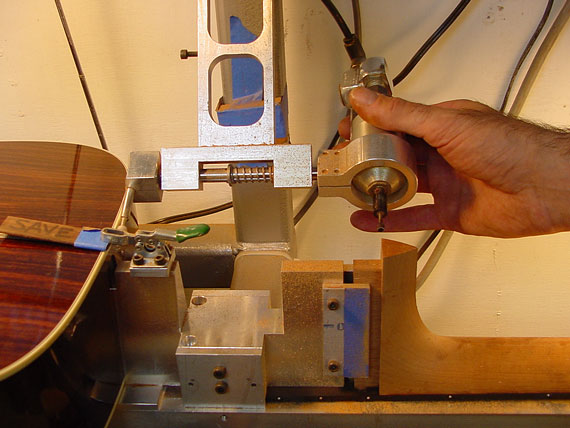
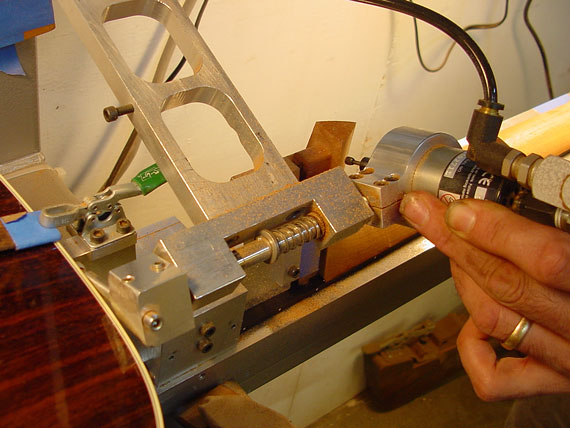
An air turbine drives a little cutter along the heel.
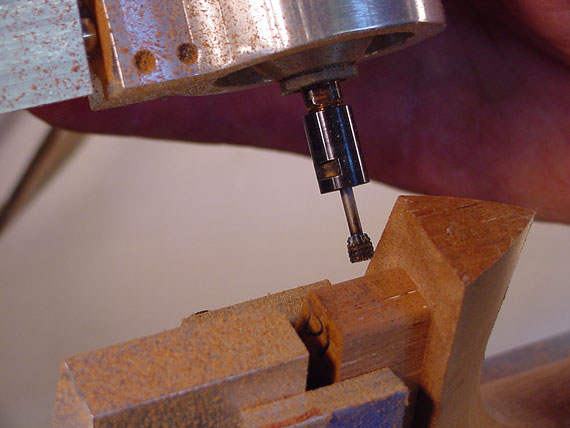
Precisely cutting the mating surface against which the neck angle will be established when the neck is bolted on the body.
A tiny bit of hand fitting makes for an airtight joint.
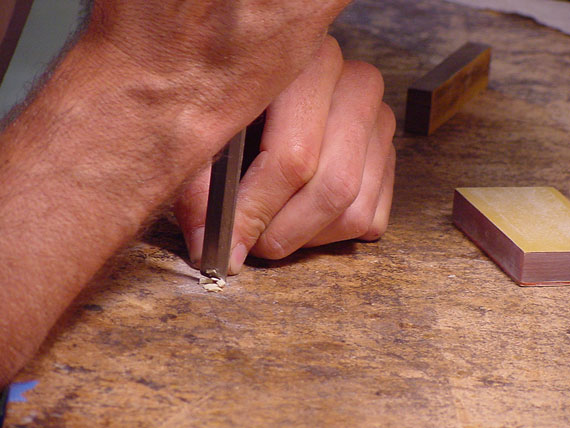
A quick bit of spot drying on a small binding repair before the body goes "into finish."
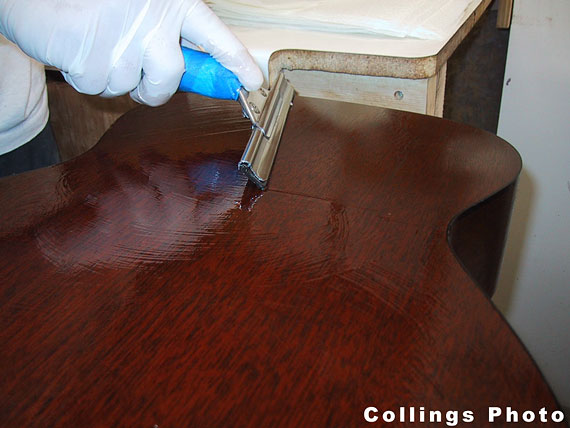
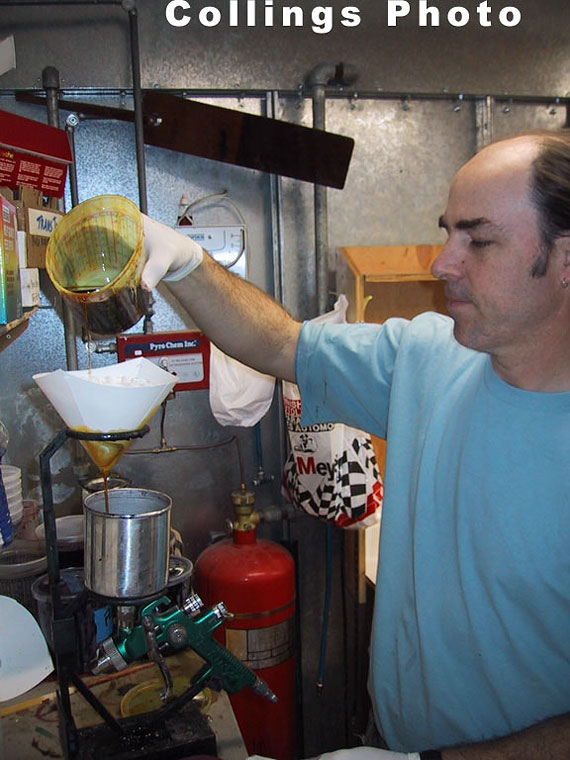
A thick, clear polymer coating is applied with at classic tool.
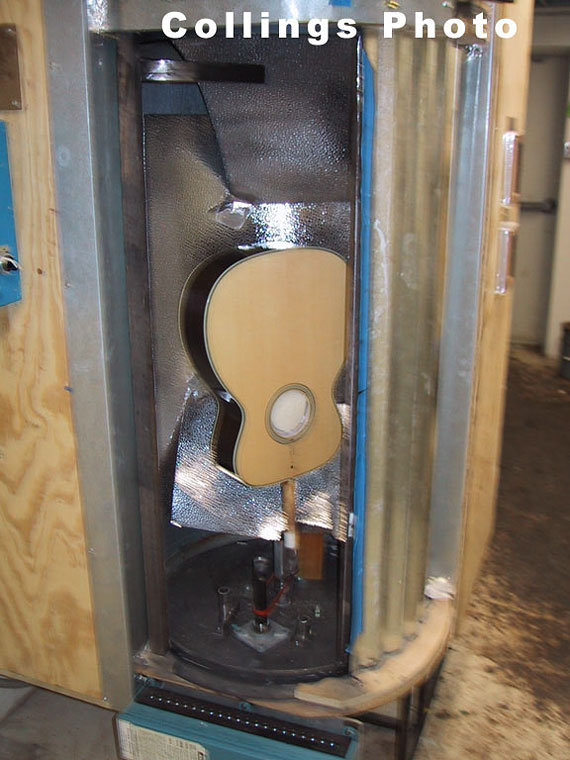
That polymer filler/sealer is cured in a special high intensity UV light booth.
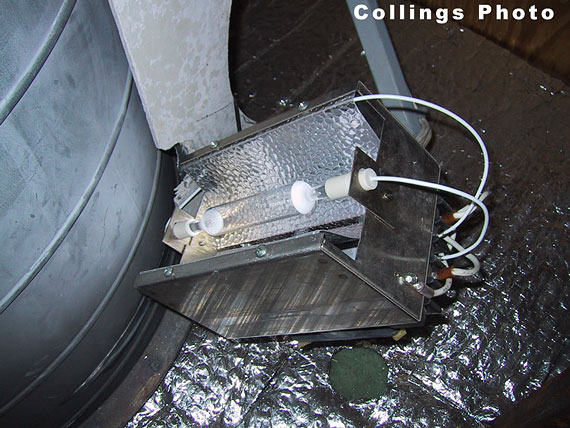
That's one bright light, and it cycles up and around the rotating body or neck, curing the coating in a matter of a few seconds.
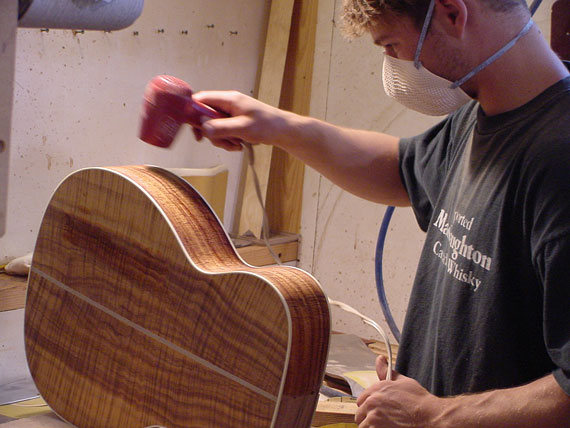
Collings guitars are finished with nitrocellulose lacquer, and this mad chemist is John Allison, master sunburst application expert.
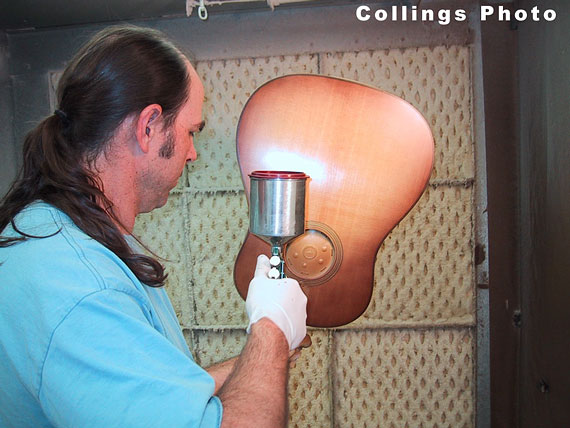
It's hand-and-eye work all the way.
Every possible area is carefully masked to facilitate cleanup.
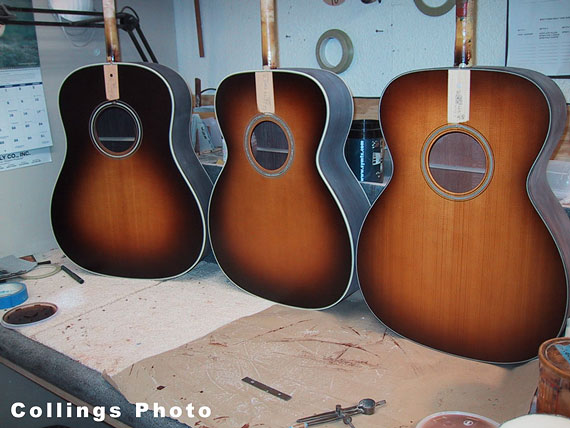
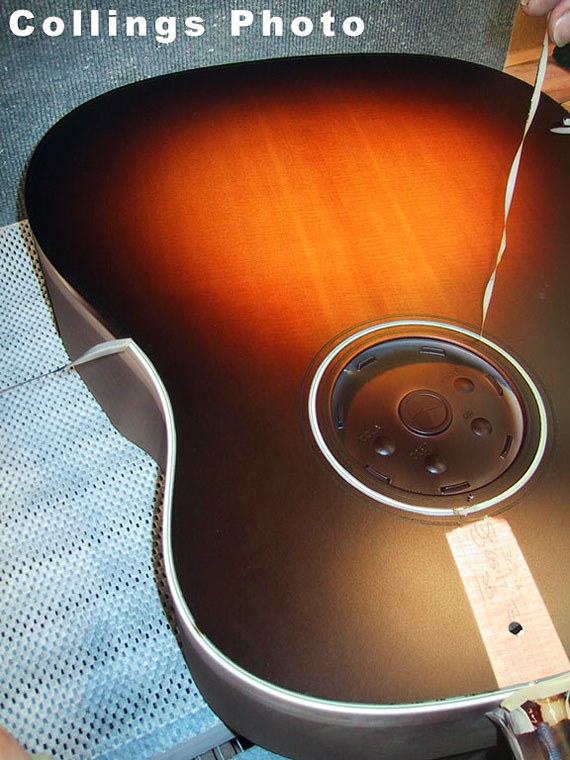
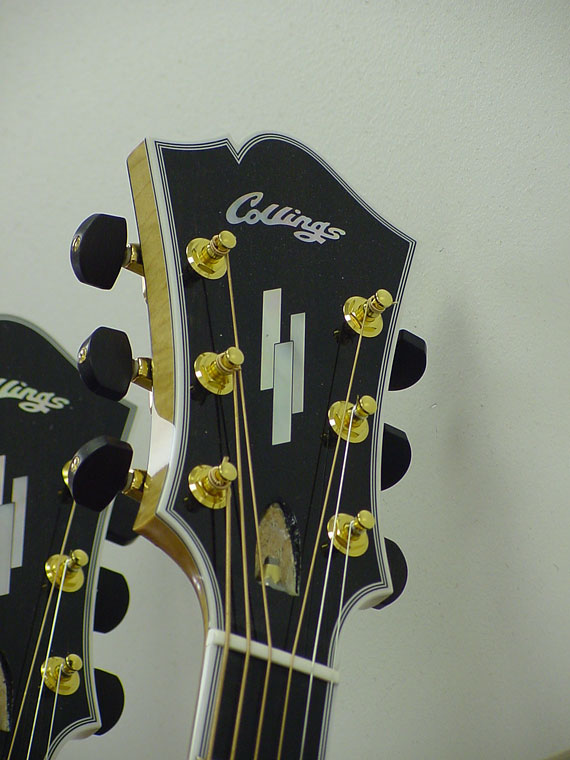
And, here's the result. Notice that the guitar on the left is a slope shouldered D, basically a Gibson replica. That one got a sunburst clearly in keeping with the Gibson tradition. The other two are Martin style instruments, and their sunburst patterns are clearly of Martin origin. It's this attention to detail that characterizes Collings guitar. I think of it as a matter of "doing your homework" and knowing the history of these things!
A bit of orbital scuff sanding before a final "flow coat"
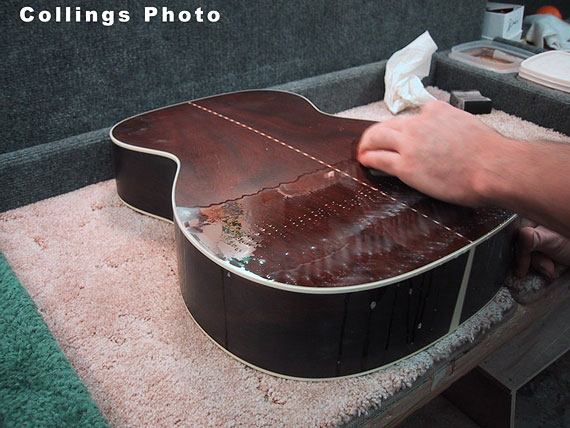
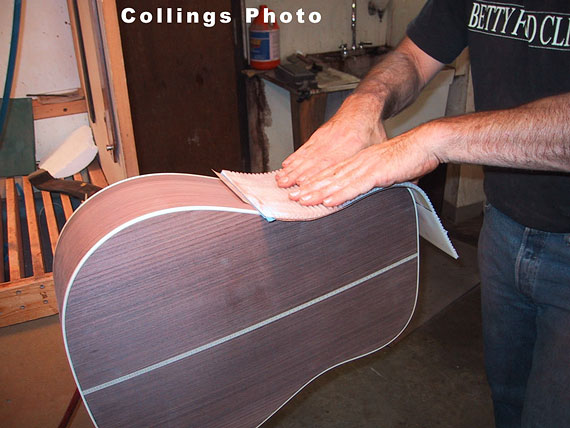
And wet sanding before buffing.
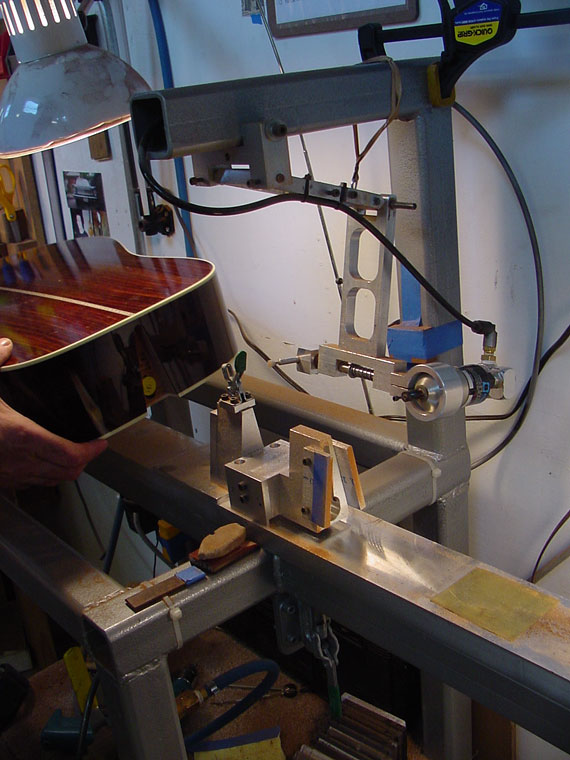
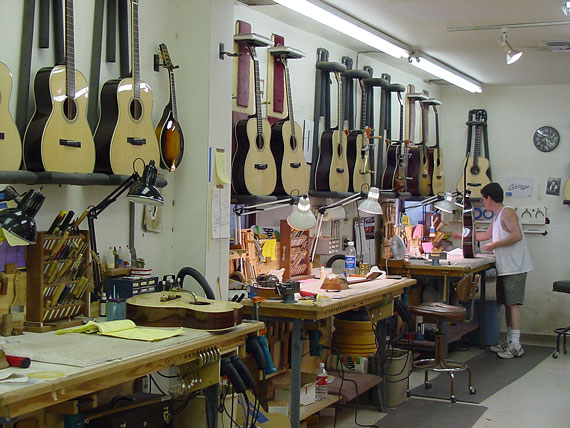
The drying room has some beauties hanging around.
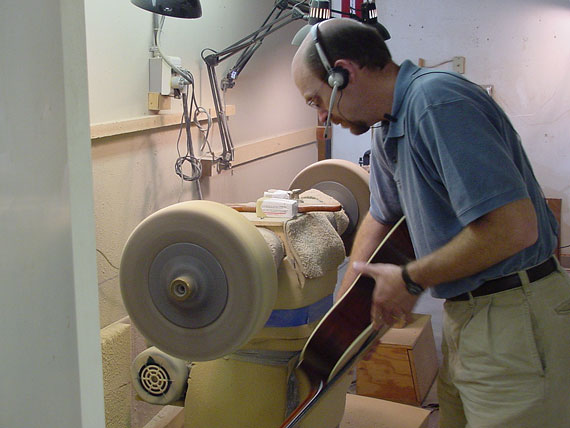
Steve McCreary gives this one a final buff.

Roy Strait works against a lot of glare as he inspects the finish for any flaws
Here's the result of staring at all that glare. All around the setup area, people talked about the little flaws they found, and discussed how to fix them. I found out that there are no real secrets to making a perfect finish, it's just a matter of chasing down all the tiny details!
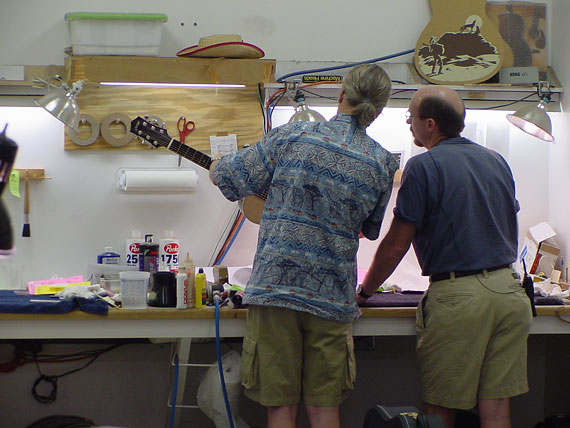
Richard Johnston and Steve McCreary discuss exactly that.
They do take it seriously here, don't they?
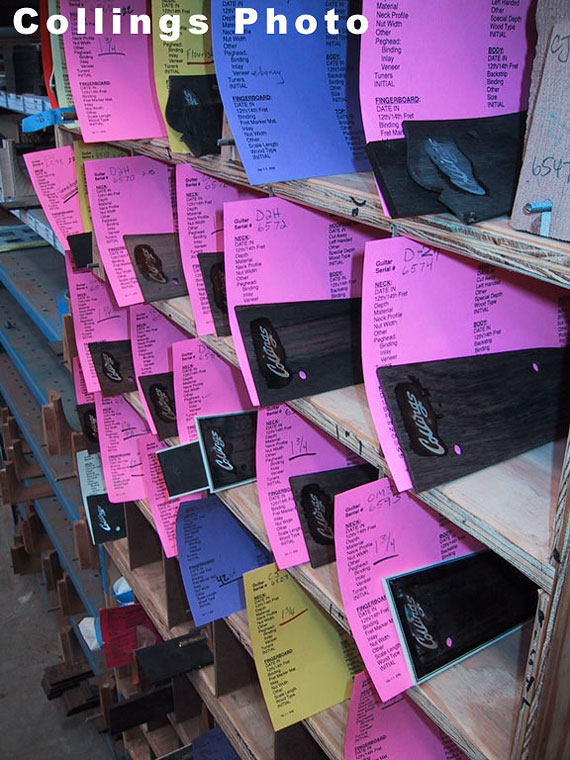
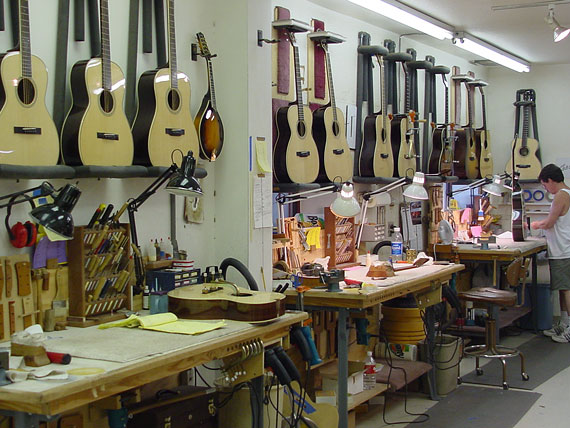
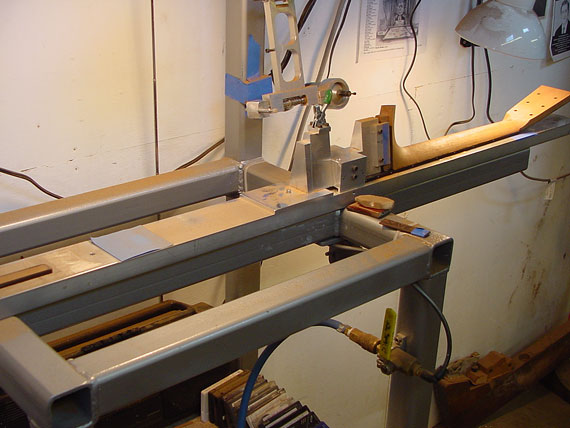
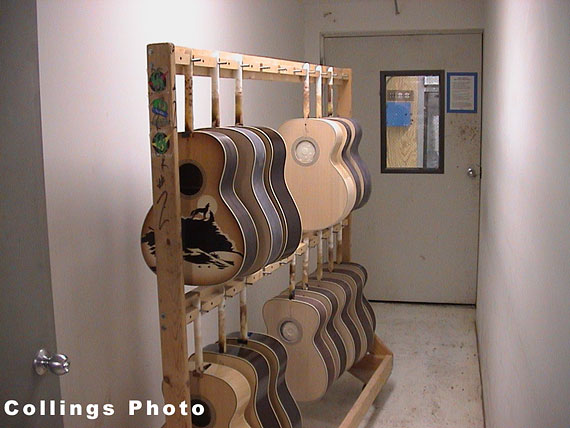
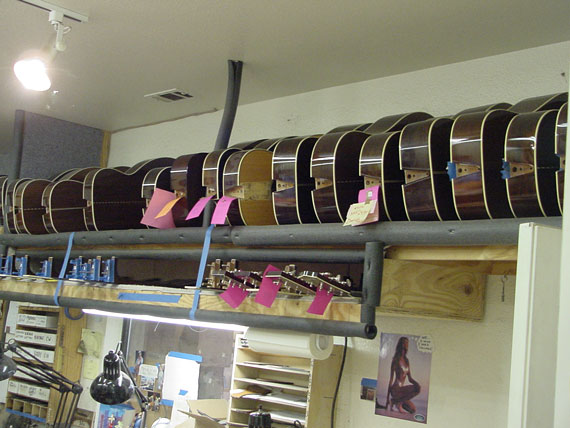
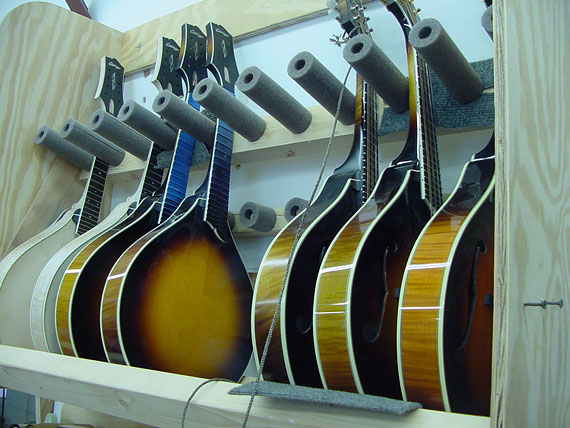
All over the place, there are instrument in progress. Bins of necks with their paperwork wait for their bodies to get ready.
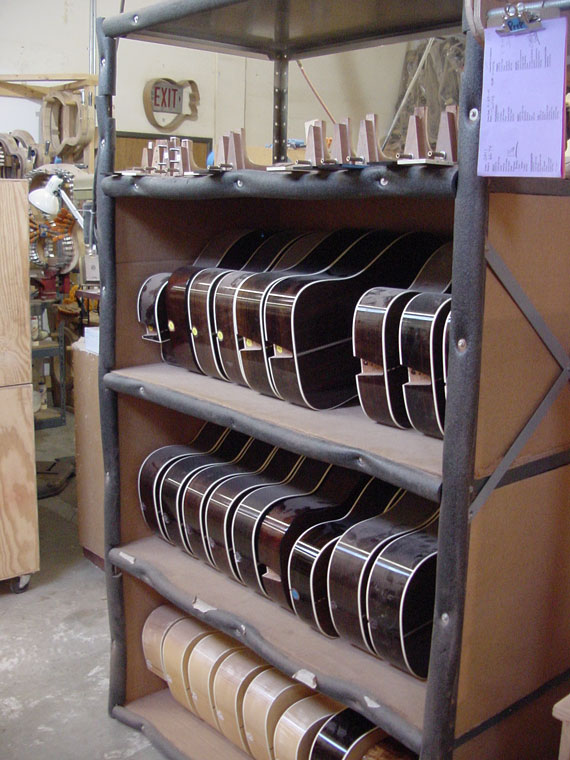
Racks of bodies are stashed above most of the work stations.
And on roll-around carts.
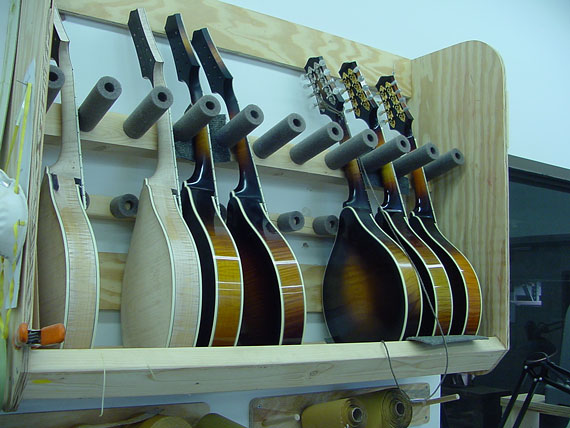
Upstairs, there are mandolins in progress. More on that a bit later.
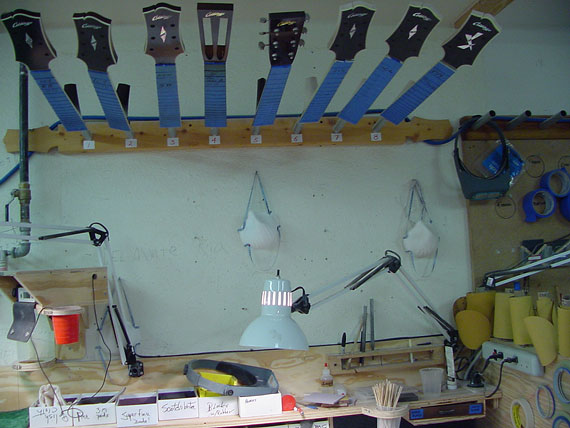
In the setup area, more work hangs overhead.
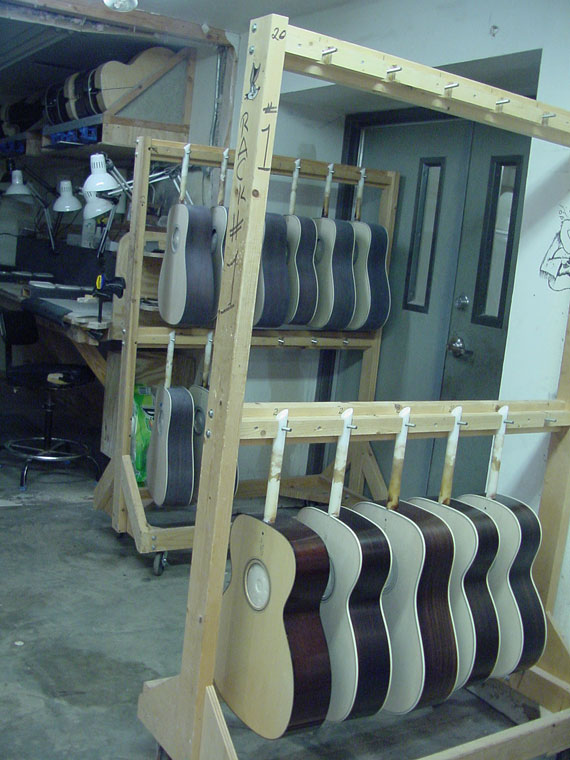
Outside the finish area, racks of bodies in progress. I asked Steve how many instruments were in progress at any given time. "A couple hundred, I think. Could be more," he said.
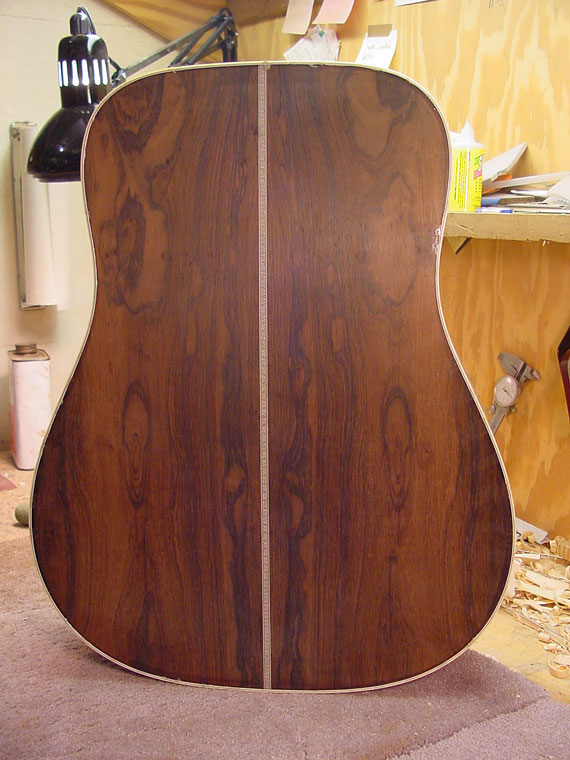
Here's a very special one. It's Gryphon's next Brazilian rosewood dreadnought, featuring wood selected by Richard during his visit last year.
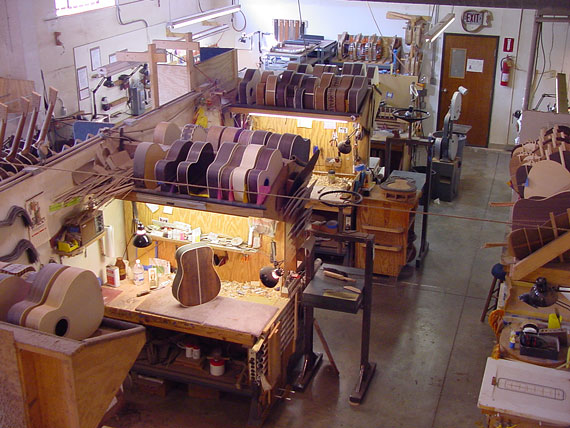
An aerial shot.
Here's the setup room.
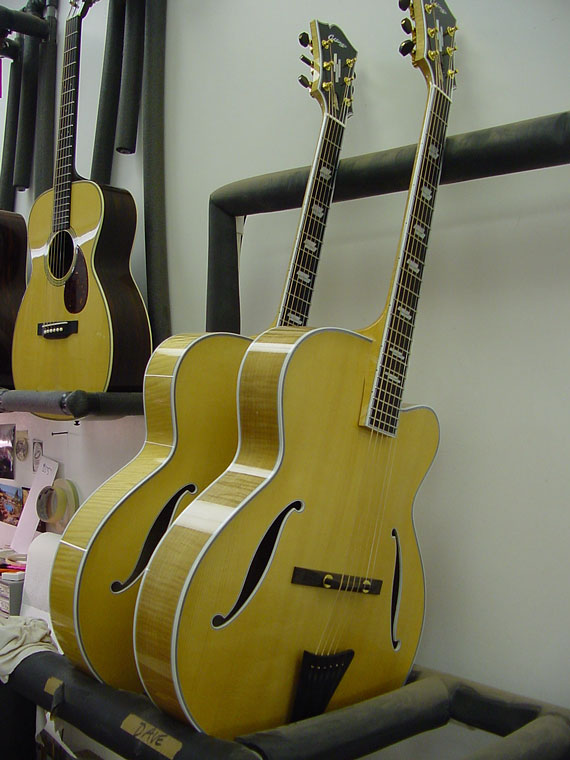
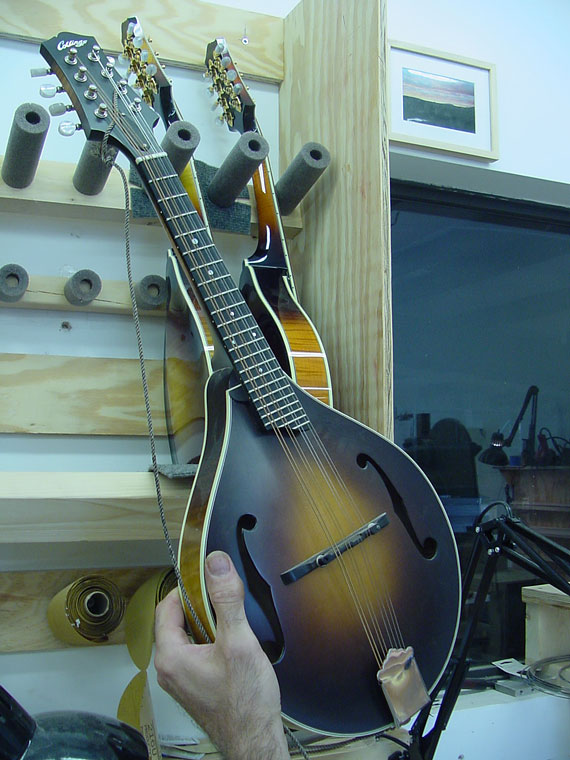
And a couple of the illusive Collings jazz guitars.
Not many of these guitars get made every year because there's so much demand for "standard" instruments.
Some of this week's work.
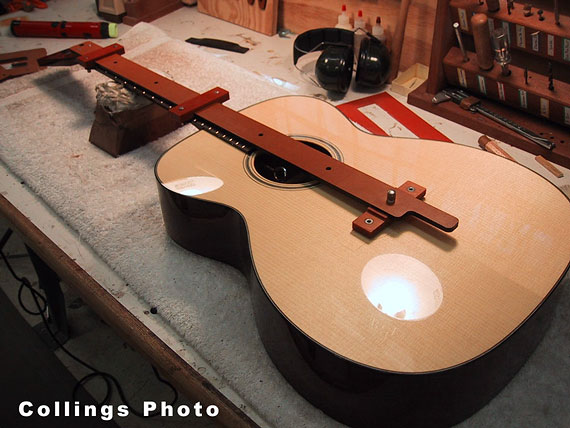
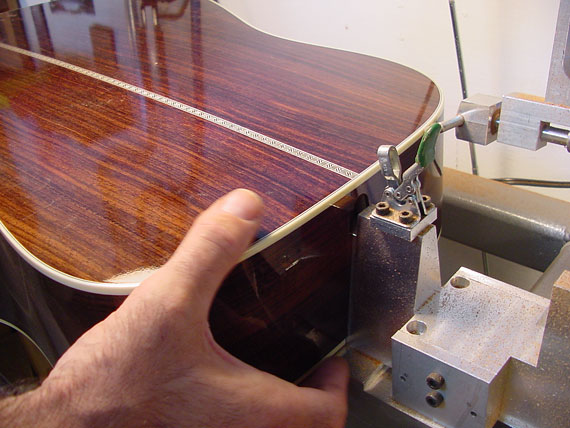
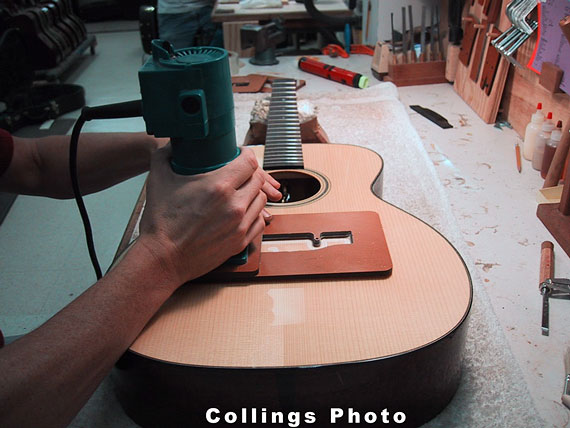
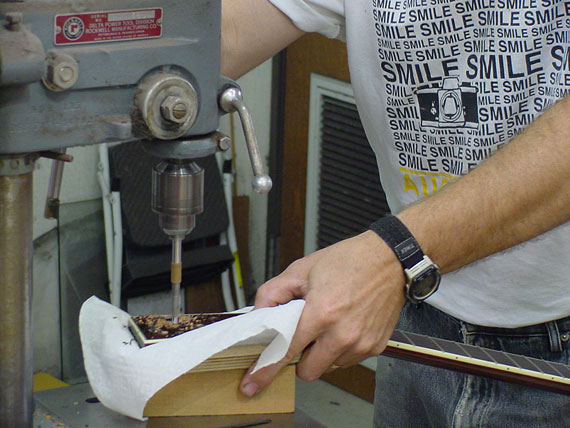
Setup includes assembling the neck and bridge. This fixture locates the bridge position, and centers on the neck.
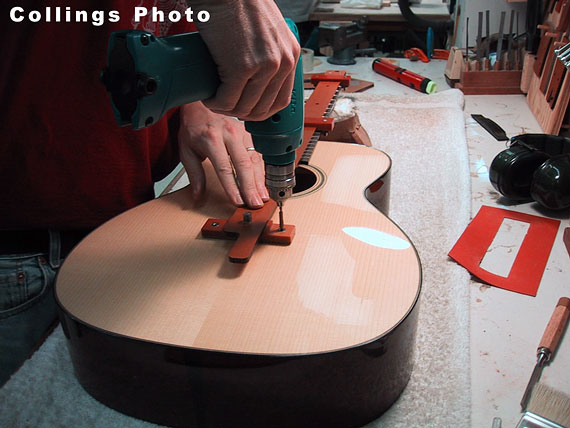
A couple of quick index holes.
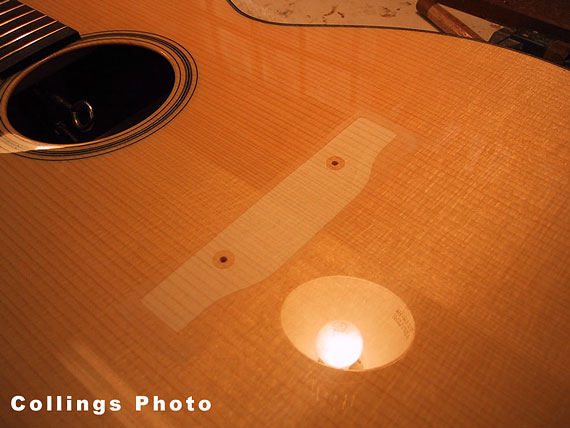
And a slightly undersize surrogate bridge drops right in place.
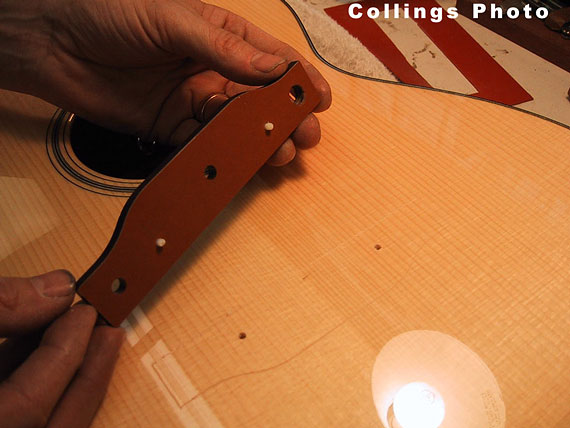
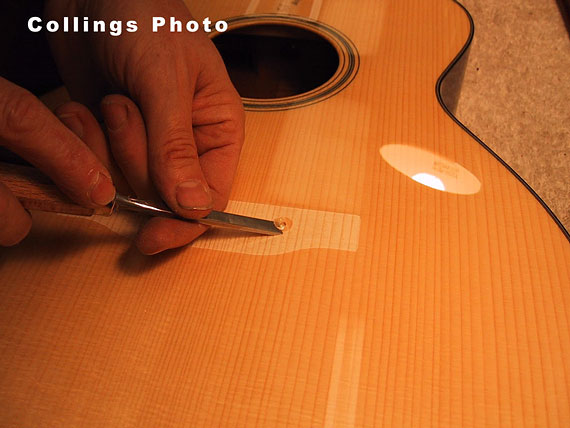
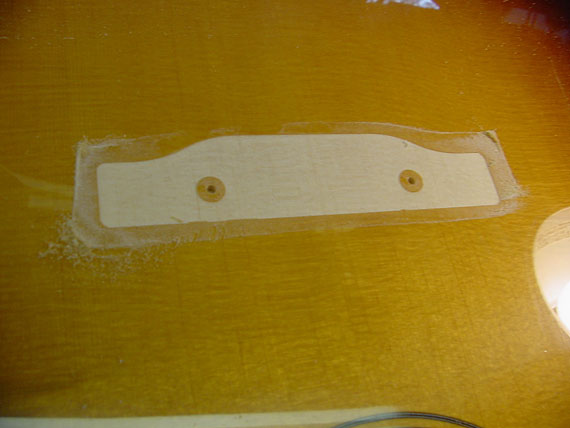
Scribing around the template with a sharp knife, a really clean line is established.

Then, on comes another template.
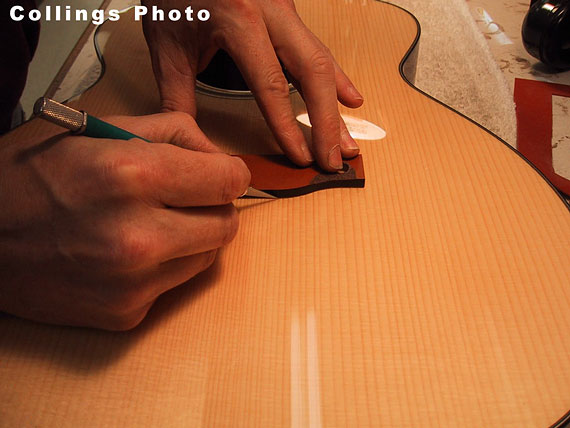
This one guides a router
And the finish is routed off. The cutter is set to slice off just the finish within the scribed lines.
Pretty neat!
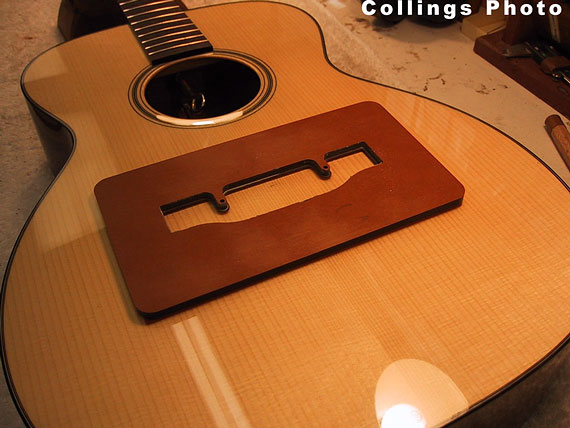
Then a bit of chisel work to take off the two little doughnuts of finish, and to point up the corners of the gluing area.
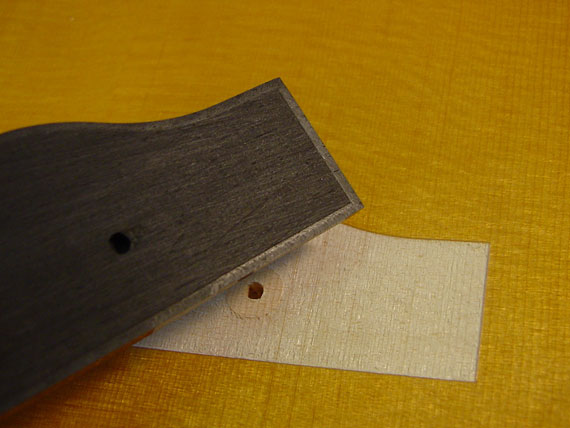
Notice the bottom of the bridge. A little ridge was established by CNC machining, so that the bridge actually overhangs the finish by about 1/16" all around for an incredibly neat glue job.
Each setup station has a neat array of hand tools.
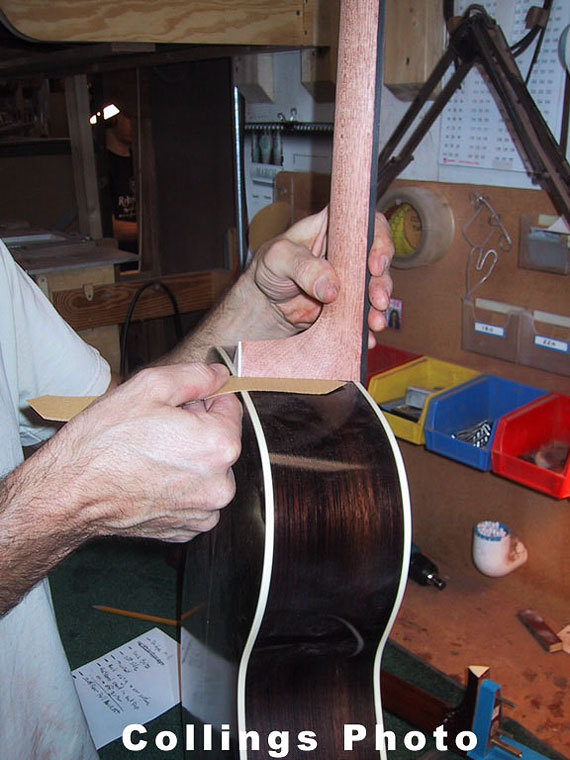
Jay Mercadal trial fits a neck.
Masking tape comes off the neck tenon.
And the last little bit of tape goo is cleaned off.
Holes are counterbored for tuners and bushings.
Here's that routed bridge area again.
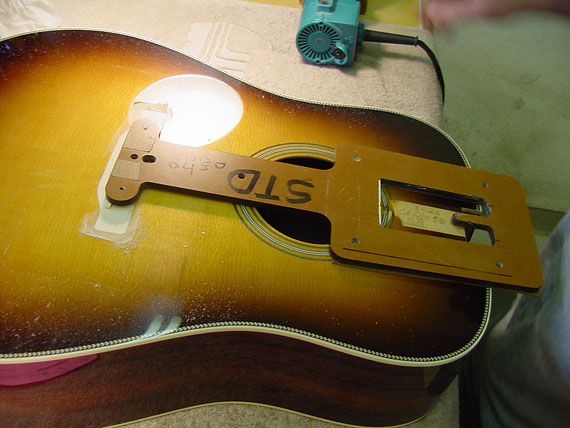
This time another jig keys into the holes.
Oh, yes, and this is yet another instrument destined for a trip to California!
With this jig in place, the router removes finish where the fingerboard will be glued.
The fingerboard doesn't need a lot of gluing strength at this point, and glue is applied only to the "E" shaped track routed in the top. Then, if the neck needs to be removed some day, there is less likelihood of damage to the top.
Bridges get clamped in the usual manner.
And, the instrument hangs around for the glue to dry
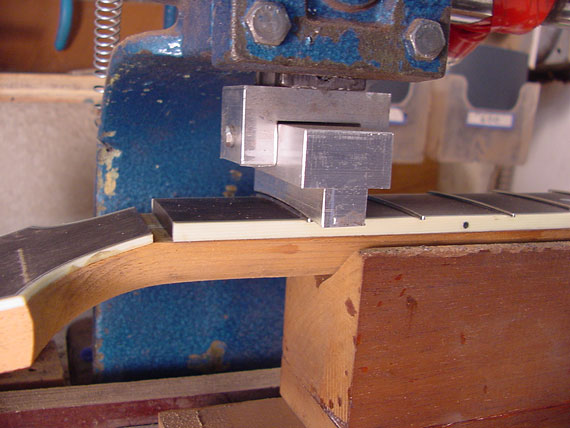
Last minute detail work on the frets includes a bit of leveling.
Buffing the frets and fingerboard.
Steve McCreary says, "Mine is the last operation. I do all the pickguard gluing so that I'm the last guy who touches a guitar. That way, I can also inspect each one an make sure everything is right. If I'm not at work, we don't ship any guitars that day. Simple as that."
He takes the rough pickguard and sticks it to a simple shaper template, and runs it on the pin router.
He bevels the edge.
Sands and fairs the bevel.
Finally, he buffs the pickguard to a high shine. Another Collings guitar has made it through the incredible gauntlet of operations and inspections!

Mandolins:
Not a full exposé, but some cool pictures.
Mandolin production is the newest enterprise at the Collings factory.
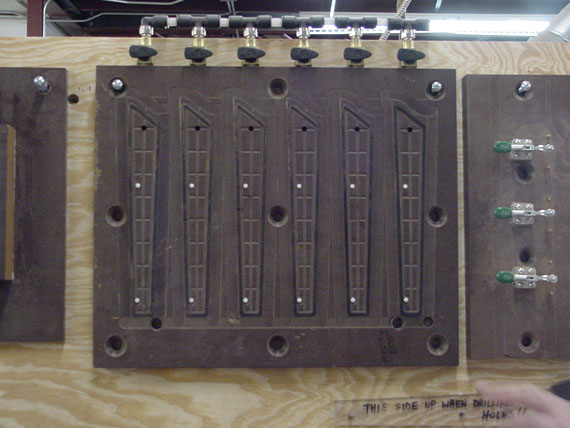
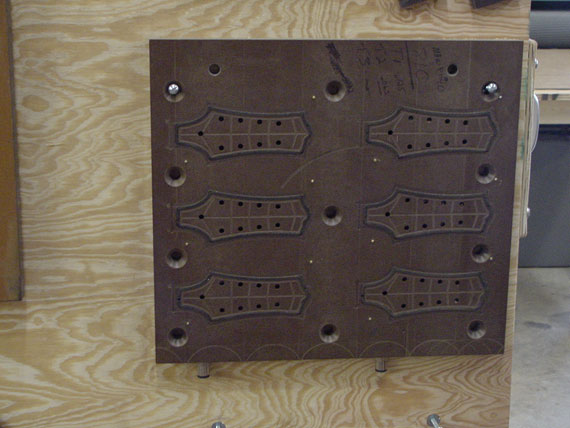
CNC fixturing is just as important in the mandolin section.
All of the mandolin tooling is bright and shiny, because it's mostly quite new.
Vacuum chucks for fingerboards
Vacuum chucks for peg heads
A tiny go bar deck for a tiny body.
Check this out. It's a real pain to fit those curved top braces to a curved top.
Not so, if you make BOTH on CNC equipment.
Here a billet of spruce is precisely machined to fit to the curve of the mandolin top. It's a snap to rip out a couple of perfect braces from this piece.
A simple jig locates the braces.
There are only two top braces inside a mandolin.
The mandolin side bending rig.
This is clearly the direction that the guitar side bender will take.

Spring clothes pins fit the smaller linings of a mandolin.
Neck and end blocks, also made on CNC, are glued at the same time.
Sides are held in CNC made phenolic and aluminum molds.
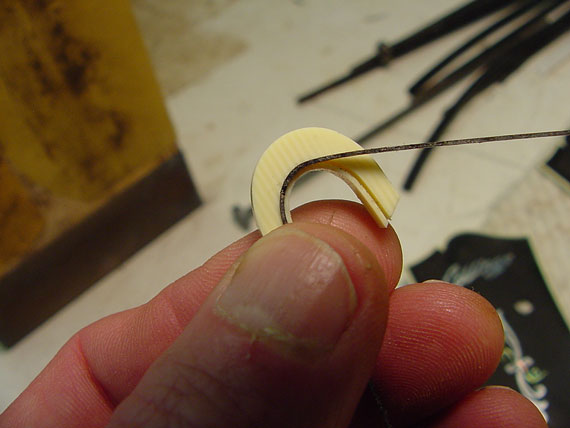
Check out this bit of binding. Rather than assembling and mitering, the entire outline was cut from a solid piece of ivoroid. No sweat, if you happen to have your CNC programmed to cut the peghead veneer, too.
More CNC parlor tricks. The end of the bound fingerboard is undercut on the CNC.
And, sheets of laminated ivoroid are cut to match.
Look at this little piece.
Here's the back side.

Simply snap in place.
And you get a terrific look of binding and purfling.

This is the cantilever support for the fingerboard as it hangs over the body. Only Collings makes this out of one piece.
A tricky little CNC-cut piece of ivoroid goes in here.
To complete the top binding. If you're not into mandolins, you may not recognize this piece. Take my word for it, it's way cool.
This next CNC trick is just plain not fair. Strips of laminated ivoroid are sliced on the machine.
And, a tiny 0.020" cut is made along the length of each strip.
Into that strip fits a 0.020" black strip, forming the most perfect laminated binding, with built in side purfling!
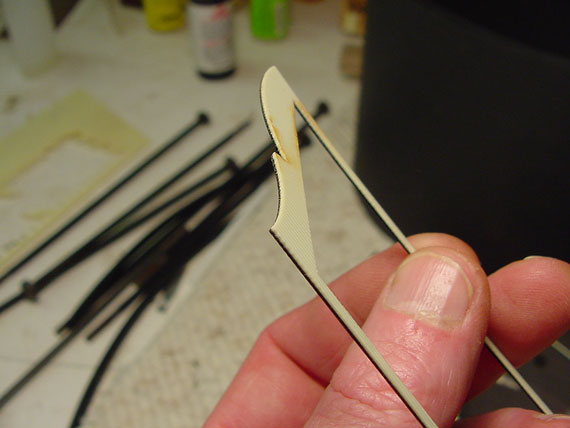
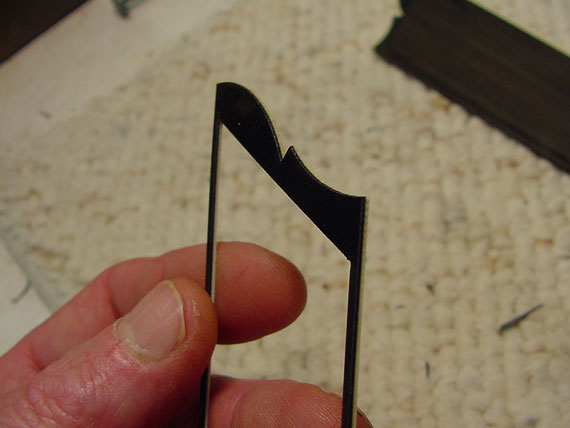
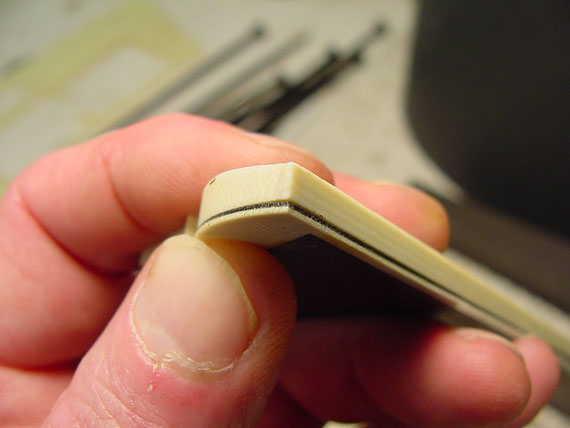
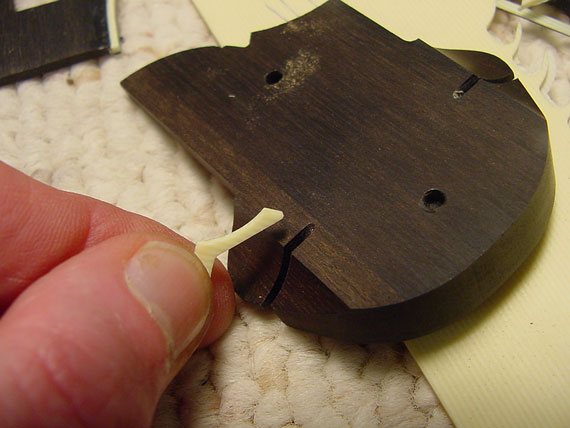
And, that nasty piece around the "button" of the heel. Why not make it of solid ivoroid with an inlay, so you don't have to bend it either? Why not, indeed.
The ubiquitous rack of instruments in progress.
Collings mandolin #1.
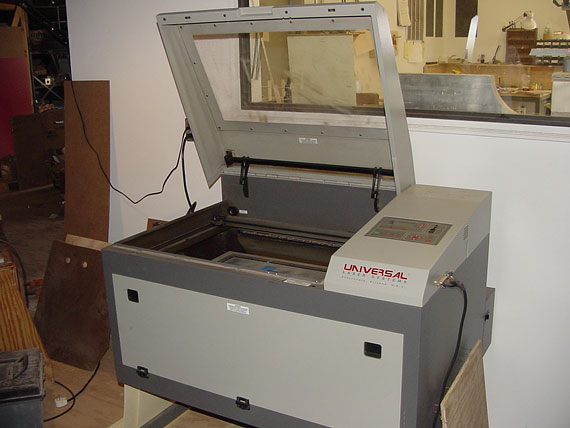
A laser. Any good mandolin maker needs a laser. Oh yeah.
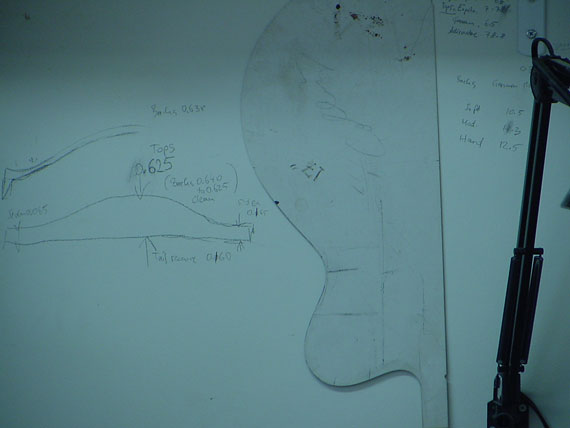
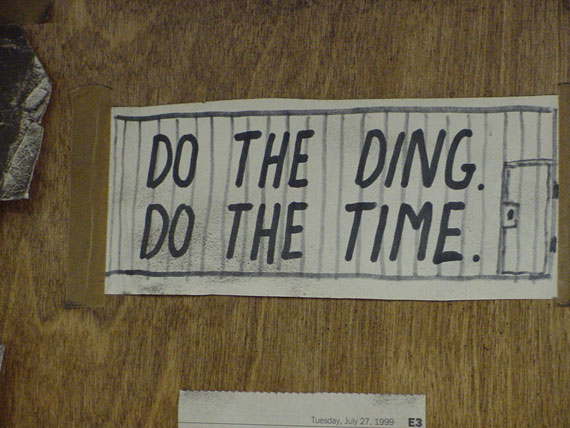
Secrets, posted on the wall.
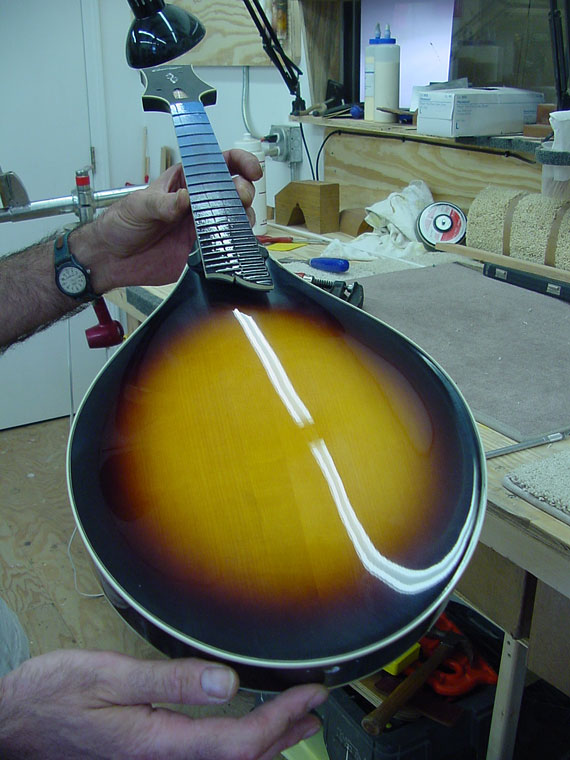
A finished mandolin. Yep, they really are finished completely, just like this, before the holes are cut.
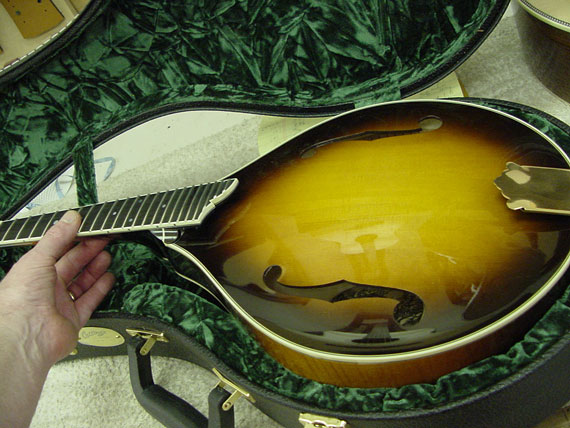
And, wouldn't you know it, they're cut on the laser! Now, that's really not fair. When the laser cuts the f-holes, it doesn't crinkle the finish in the slightest, and it also burnishes the edges of the holes, so there's no cleanup to do at all.