
Stick Shellac
A quick introduction to Stick Shellac
Shellac is a natural resin we use in liquid form dissolved in alcohol. It's also useful in the solid state because it can be melted and used to fill nicks and voids in finishes. (Sealing wax is opaque colored shellac.)
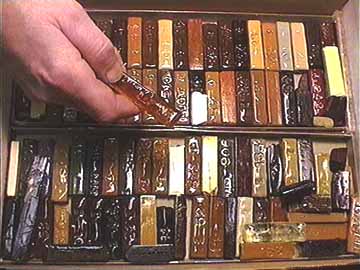
Shellac for melting is generally known as "stick shellac" because it's made up as little bars for easy handling. This solid shellac comes in its natural very dark amber color, refined to lighter shades of transparent amber, or opaque, mixed with pigments in every imaginable color:
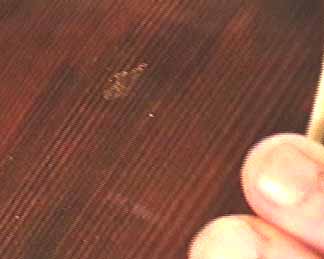
Most of the time, I work with transparent finishes and I use the amber shades, like the light amber one I'm holding.
The process of melting solid stick shellac into a finish is known as "burning-in." Hence, the sticks are frequently called burn-in sticks, and the hot knife used in the process, a burn-in knife.
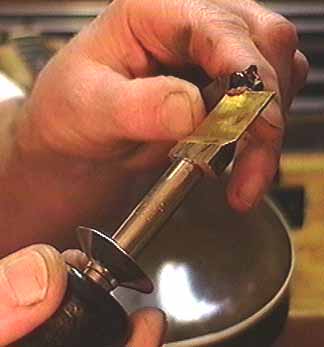
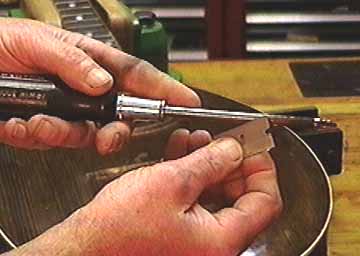
Burn-in knives may be any sort of heated blade, but the most popular one is mounted with an electric element like a soldering iron:
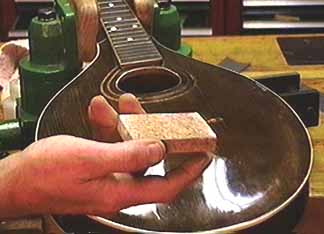
Here I'm using the burn-in knife to carve off a small piece of medium amber stick shellac to use in filling these holes in the face of this 1919 Gibson A-2 mandolin:
I get a bit of the stick shellac melted on the tip of the blade, and press it into the wound in the finish.
Sometimes the stick shellac gets hot enough to bubble as I'm pressing it down. I've found that I can squish the bubbles and improve adhesion if I take the knife off the surface and immediately mash down the shellac with my finger.
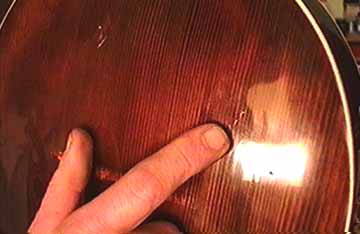
It was tough to get a shot of this, but here's a big lump of shellac I've burned into the finish:
It completely fills the holes, and stands high above the finish, covering a big area compared to the size of the holes.
My task is then to carve the lump down to the surface, so that the only remaining stick shellac is that which went down into the holes.
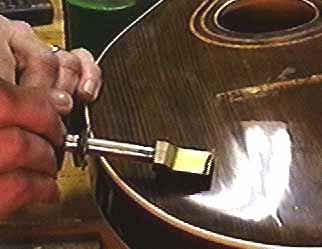
I'll use my razor blade scraping trick to level this lump of very brittle finish:
First, I draw a bur on the blade:
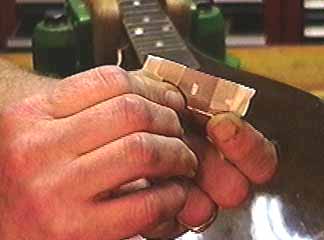
Then tape the ends so I don't scratch the surrounding finish:
And scrape the shellac lump almost down to the surface:
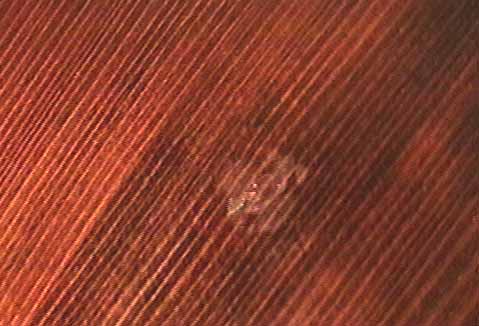
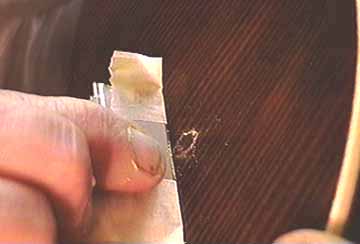
Here you can see the lump of shellac appears almost like a transparent smear:
I've scraped the lump so close to the finish that there's only about 0.002" protruding above.
From here I need to do just a tiny amount of block sanding to level the filled area to the surrounding finish, and I can polish the surface:
Stick shellac is obviously the ideal fill for a shellac finish, because it's the same stuff. It also works perfectly with varnish finishes. Stick shellac needs no time to dry because there are no solvents to evaporate, so the filled area is completely cured the moment it cools.
This mandolin is featured in the French polish article. I filled the largest of the holes in the face with stick shellac before applying the new shellac coats in the French polish method.
Under shellac French polish, the stick shellac filled areas are a seamless part of the finish. Large stick shellac fills should not be used under lacquer finish because the lacquer causes the stick shellac to soften and remain pliable for months, at least.
Like many of the "obsolete" techniques, French polishing and stick shellac require practice to master. I believe that as restorers, we should work with the materials and techniques used when the instrument was built.
The old time techniques are neither lost nor mysterious. We can learn them. After all, thousands of craftsmen did this stuff every day only a few decades ago throughout the woodworking industry. No reason we can't learn to be efficient working this way, too!