
Fingerboard Top Crack
It can be serious, so a little prevention is a good idea.
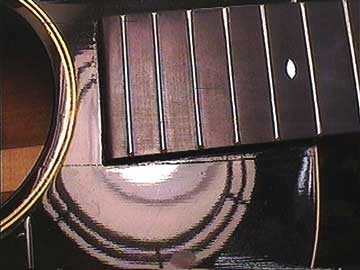
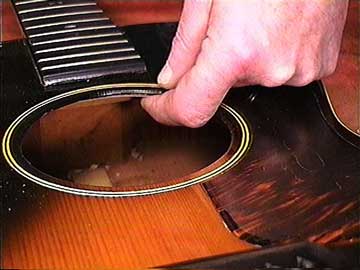
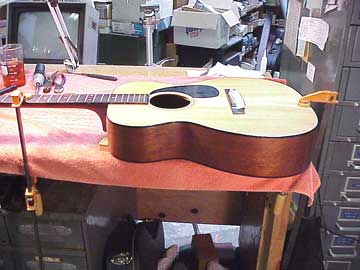
The patient is a 1940s Gibson guitar, with an all-too-common crack in the top, right alongside the fingerboard:
This crack had been glued up, and the guitar refinished some fifteen years ago. Now the crack is starting to show through the finish because it has come loose again. From the end of the fingerboard to the soundhole the crack is open, but the rest of it appears to be tightly glued. I suspect this guitar has been exposed to some excess heat because the finish is deformed over the crack, but not actually broken. Fortunately, the two sides of the crack have not moved longitudinally.
I'm very concerned about this particular crack, because the end of the fingerboard has quite a load on it from the string tension. If the braces under the top were to loosen in this area (say, in the high heat of a parked car) the string tension would cause the fingerboard to push the middle of the top forward, taking the neck block with it, and radically changing the neck angle. The soundhole rings would buckle, break, or pop out. Then, we'd have a real mess.
As it is, there's no immediate danger, and now's a good time to reinforce the area.
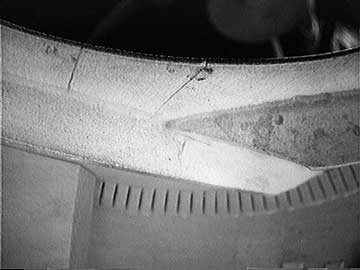
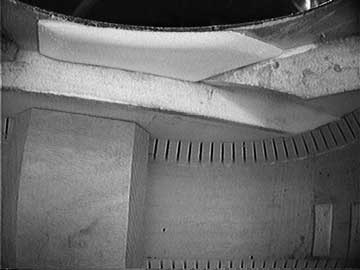
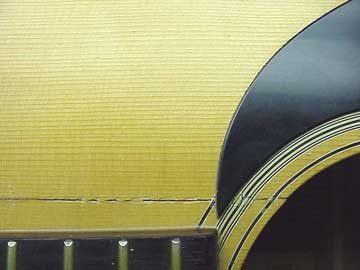
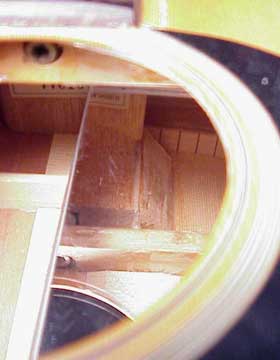
Here's a view from the inside:
Notice that the top center joint has separated as well.
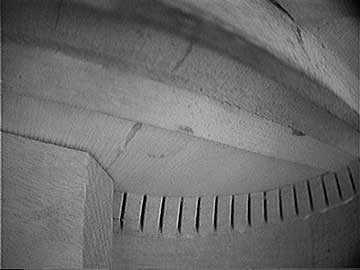
Further back, you can see the rest of the crack where the glue is still holding well.
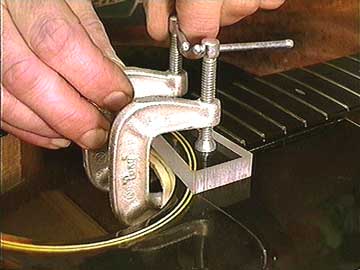
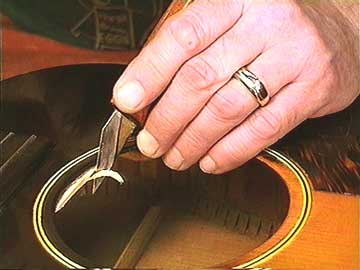
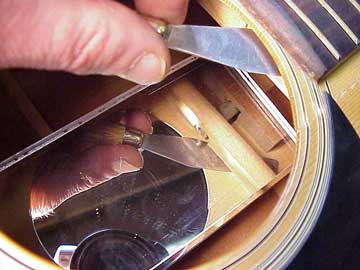
I'll clamp a piece of spruce under the edge with the grain oriented perpendicular to the top grain:
I'm using a long enough reinforcement piece to bridge over the loose center joint as well.
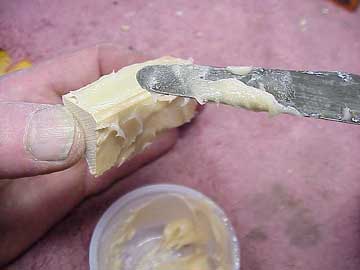
I want to be sure my new patch holds tight and will avoid creeping under the load, so I'm using hide glue. Hide glue can't creep even at elevated temperatures, as regular aliphatic resin wood glue can.
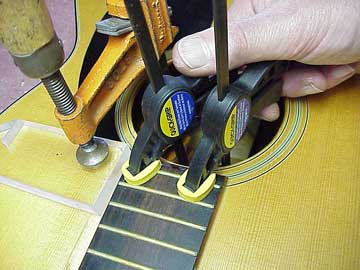
I was careful to trim the patch to fit neatly against the interior braces, but I left it overhanging into the soundhole. I find it easy and neat to trim the patch once it's in place, and the wider patch is easier to clamp well.
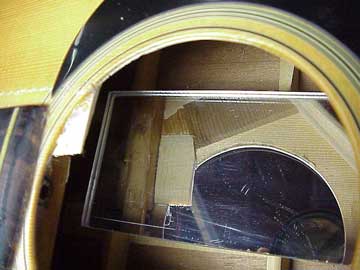
I can adjust the amount of bevel on the edge of the patch, so that it's not obtrusive when you look through the soundhole in that area:
Inside, it looks pretty neat, too:
Next, I'll add a couple of reinforcements to the rest of that long crack. I'm not concerned with affecting tone by adding braces in this dead area of the top, and I want to make certain that the top is stable under the load of string tension.
On the next page, I have some pictures of a similar crack repair on a Takamine, showing what happens when the crack is left unattended. . .
This one did become serious
Fingerboard Top Crack, Part Two
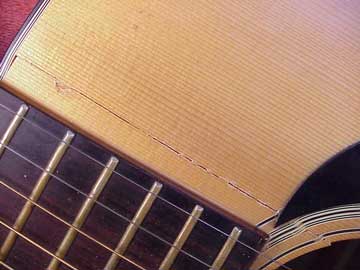
Look closely at this one:
This guitar was undoubtedly left in a hot environment (a parked car, maybe) and the fingerboard section of the cracked top actually slid forward. The string tension brought the neck forward, and the action became higher as a result. Notice the deformation in the soundhole rings, and the gap at the edge binding by the 14th fret.
In the heat, the glue under the top brace became weakened and allowed the top to slide over the brace. Later, the glue joint's strength was restored as the instrument cooled.
Here the job is clearly more complicated than the previous one.
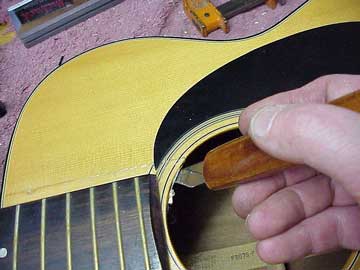
First, I needed to loosen the brace again, by prying it from the top using my thin palette knife:
With the top brace loose, I was able to clamp the neck backward to realign the broken top:
You can just see a 3/4" plywood block sticking out under the heel. I'm using that as the fulcrum as I strain the neck backward, clamping it to the bench.
See? Now things line up again:
Once the top brace is loose, it doesn't take much pressure to slide the top back where it belongs. The trick is to keep it there!
Some new glue and clamping for that loose brace:
I certainly couldn't count on that one little brace to keep the top aligned under the relentless pull of six steel strings, so I made a little angle block to secure the top to the neck block and the mahogany truss rod block under the fingerboard:
I mixed up some epoxy, thickened to peanut butter consistency, and simply placed it alongside the mahogany neck and truss rod blocks. (You can just see that truss rod block in the photo above, where I'm prying the brace loose. A corner of the brace is visible just above the end of my palette knife.) The epoxy patch holds itself in place nicely and doesn't require any clamping, because the glue has terrific cohesive strength.
Here's the patch in place:
I don't like to use the thick epoxy trick on Martins or other fine guitars, but it does seem appropriate on a Takamine, where repair cost is a serious issue. Hot hide glue works much the same way, but requires more surface preparation inside the guitar.
In front of the brace, I added a little spruce patch, just as in the Gibson repair on the previous page:
And trimmed it out the same way:
The crack still shows from the front, of course, but otherwise this guitar is as good as new with its neck angle restored.