
Rebuilding a Cave-in
Like the violin maker's classic "chest patch"
Here's a tough situation.
This mandolin had apparently been dropped on its end pin, either in shipment or before. The musician who purchased it from an out of state dealer didn't notice the damage, and tuned it up to hear a loud "crunch" as the end block pushed forward and the top collapsed ahead of it. Now, he could have claimed the damage to the the shipping company, and would have been able to recover his purchase price.
But he didn't, and for a very good reason. This may possibly be the only Gibson A-4 from this early period (around 1906) that was an original left handed instrument. So, he could have gotten his money back only to lose the instrument. He chose to have it restored instead. Sure, he'll have paid for it twice, but that's hardly the point when you consider that it's a unique and irreplaceable instrument.
There are less expensive and esoteric ways to repair this kind of damage, but this is the traditional way to ensure good structural integrity without sacrificing form or function.
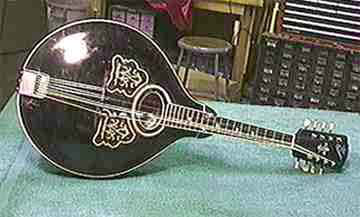
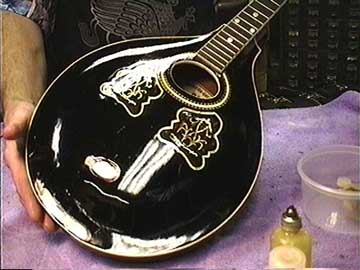
Here's the venerable A-4, with its original double inlaid pickguards:
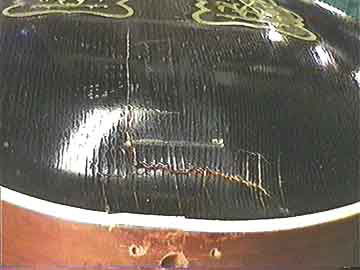
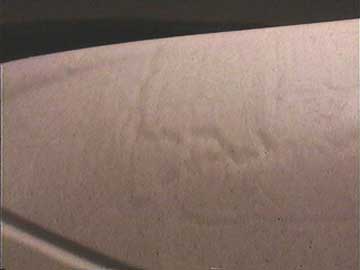
It's hard to see the damage because of the original black finish:
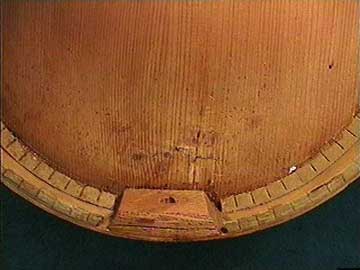
You'll get a better view from the inside.
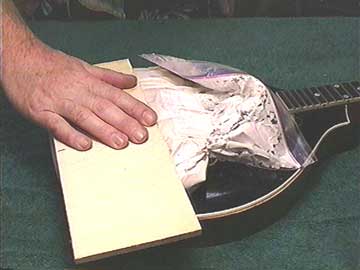
In order to have a really solid work board for this damaged area I'm making a plaster cast:
I've mixed up some regular plaster of Paris and poured it into a zip lock bag. That way I can just lay the bag on the mandolin and squish to down lightly with a board. The board will leave the back side of my mold flat so I can glue the board on for extra strength.
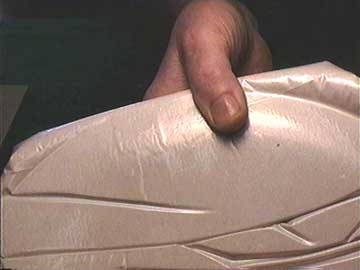
Here's the plaster mold, right off the mandolin:
The wrinkles in the bag are not in the area where I'll be working.
With the plastic bag off, I think you can see that the plaster molded right into the damaged and cracked area:
I've glued the plaster to the board and cut away the excess, leaving only enough to cover the area in which I'll be working:
I'm sanding the mold with a contoured block, checking with a contour gauge, to correct the arch of the mold. I want to rebuild the broken area to look as though it had not caved in, and this is my opportunity to make any adjustments in the arching and contour of the area.
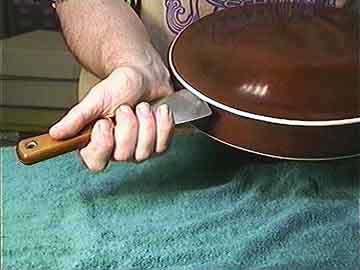
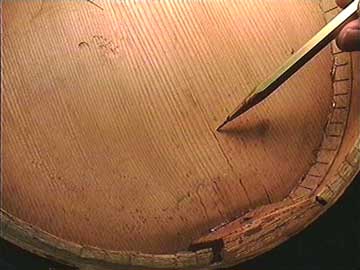
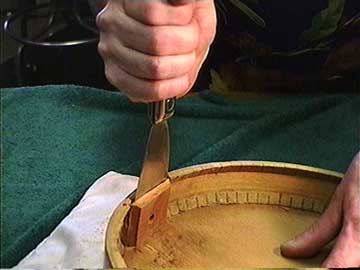
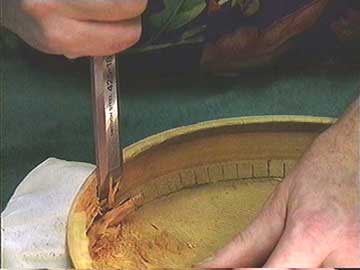
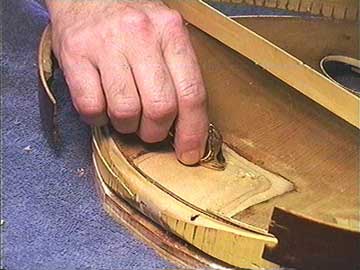
Back to the job itself. I'm using my flexible knife to pry carefully at the back, and loosen it all around:
The binding comes just to the joint between the back and sides, so I don't have to remove the binding. A ninety year old mandolin usually comes apart with the back intact, and this one was no exception.
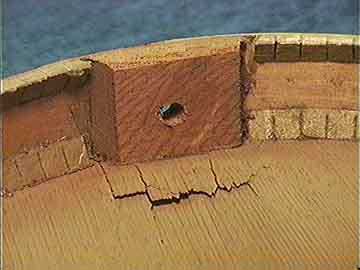
Inside, it's really easy to see the terrible damage done by the fall and subsequent string tension:
My first order of business was to glue all these cracks back together. It wasn't easy, but working one by one I managed to get them aligned and glued up. Most of them required no clamping to keep them aligned while the glue set.
By the way, I'm using traditional hide glue for this entire repair because I think it's the superior adhesive for the job, being very rigid and not sensitive to heat. After all, the mandolin was originally build entirely with hide glue, and that's what a future repairer will expect to find in here.
All the cracks are glued up except this nasty one. It's out in the middle of the face, and there's no way to clamp it shut while the glue sets:
Or is there?
I've released the top from the end block now, so I can do a bit of tricky clamping.
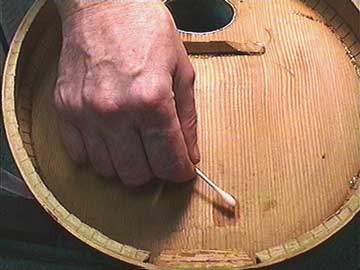
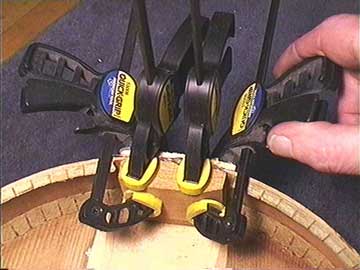
First, I'll swab a little cyanoacrylate catalyst (accelerator) on the area around the crack, being extremely careful not to let any actually run into the crack:
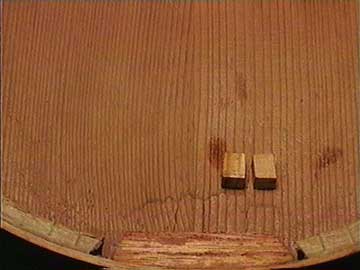
Next, I put a drop of medium viscosity cyanoacrylate on the bottom of each of two little scraps of wood, and stick them right to the top, where they bond instantly:
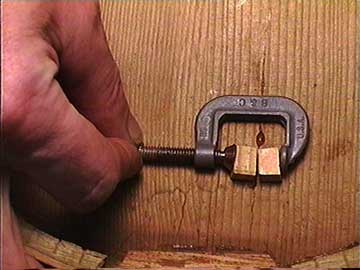
Now, I have two little flat surfaces to mount my tiny c-clamp:
I coat the crack with fresh hot hide glue, and clamp up!
Next day, after the glue dries, I chip off the little scraps and scrape off the residual cyanoacrylate glue.
Well, here it is, with all the cracks glued up. All the parts are aligned correctly, but the whole area is desperately fragile:
Now I have to be extremely careful not to break the cracked area open again, and when I do, I have to reglue the crack before proceeding.
The end block is extremely well glued to the sides, so I'll split in in two:
And use my sharpest chisel to chip off all the end block from the sides:
Then I'll carefully pry the sides loose from the top just as I pried the back loose.
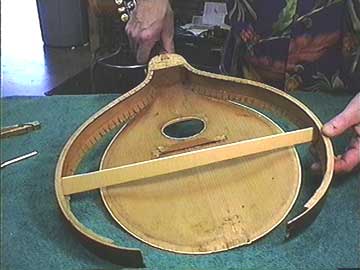
With the sides loose and the end block removed, I can spread the sides to get access to the damaged area:
Wow! That's a lot of preparation just to get to the area to be fixed.
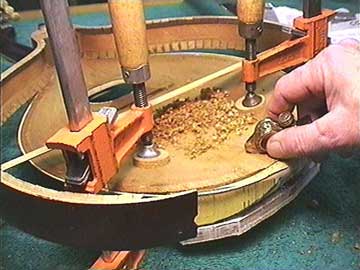
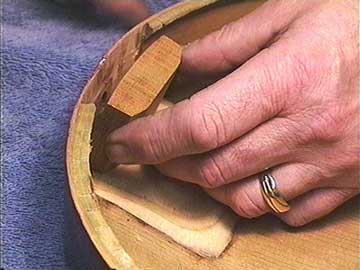
I have the top clamped to my plaster mold and I'm beginning to cut into the damaged area with my small "finger plane"
In this area, the top is only a couple of millimeters thick, so any pressure will crack it for sure. But with a perfectly fitted plaster cast underneath, I can bear down with my little plane and work with no danger of straining the top.

Now, I've scooped out a lot of the top:
In the damaged area, I've cut the top very thin indeed.
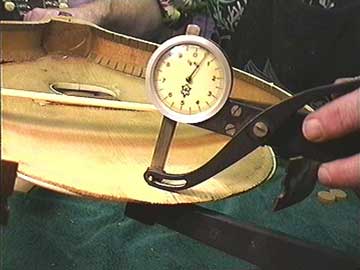
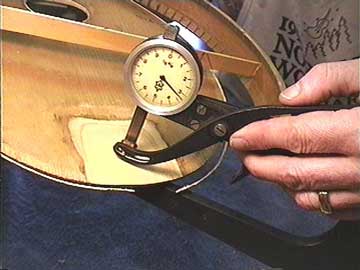
It's hard to see the place where I cut the top away, but it's a dished area around the damage. As you can see by my thickness gauge, I've left only half a millimeter of thickness in the cracked area:
Talk about fragile! I can't wait to get something glued to this.
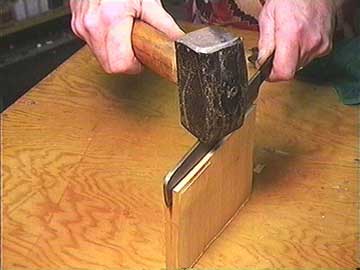
I got ahold of some fine grain spruce,and split it:
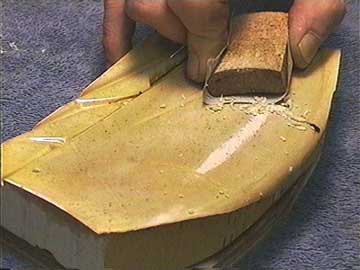
The idea is to get some thin pieces with absolutely no grain runout for extra strength. I then sanded the pieces down to 0.5mm thick, and clamped them, one by one, gluing and laminating them into the dished area I cut out:
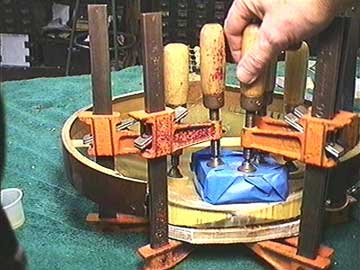
With a soft resilient pad on top and my hard plaster cast underneath, I'm assured that the laminations will conform and the top will be restored to its original contour.
Working with my little finger plane, I'll level and graduate the area to its original thickness:
Now I have reinforced the area with laminations of spruce for strength and I haven't added any extra thickness to the top in that area, so there will be minimal effect on the tone.
I could have inlaid a single piece of spruce in that area, but I chose to laminate three layers with the grain all parallel to the top grain. That way my laminations will actually be stronger than a single piece and there won't be any "short grain" that could break in the contoured area as it did before. This area of the top is the most highly stressed of all because it takes the entire load of the tailpiece and string tension.
Time to start putting things back together:
First, I'll clamp up the sides to the top.
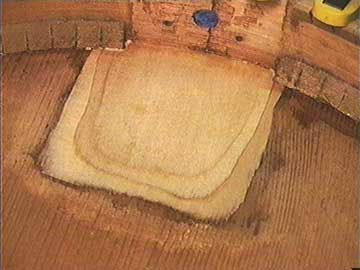
Note how the patch "feathers" out at the edges. It's crucial that the reinforcement taper off to nothing at the edges so it won't propagate new cracks in the top as a result of string tension.
Time to fit up a new end block:
Things are really getting along now:
End block clamped in place.
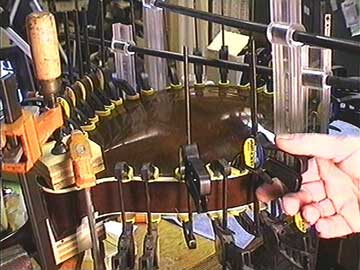
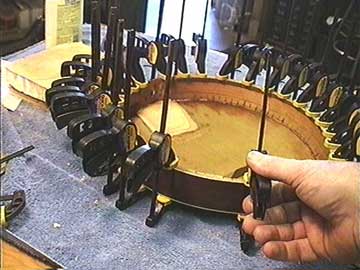
Here's a real forest of little clamps as I hustle to get the back glued up:
You have to work fast to clamp up the hot hide glue before it cools and starts to gel!
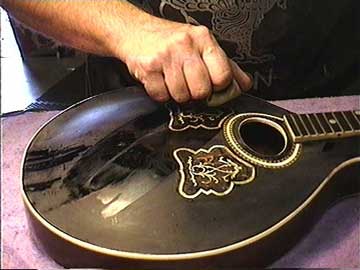
A light "scuff sanding" with 320 grit and I'll start to do a little French polishing to restore the finish:
This step wouldn't have been strictly necessary, but it does offer me the chance to hide the cracks that extended out beyond the tailpiece.
Now it looks great, and will be strong enough to stand the strain of being a mandolin again:
The shine will dull back a little as the crazing of the original finish starts to show through. In a year or so, it will be hard to tell any finish work had been done.